Results 21 to 30 of 4688
Thread: The Butchered Blade
-
08-11-2015, 01:39 AM #21

Delve on in, Mike! I have found that treating this stabilizer mod is a progressive thing. I have attempted it all at once and was a disaster. Getting everything even is key, Getting it smooth makes for a better-looking job.
Too much heat leads to a wreck, so a little at a time is preferable to me. At some point, I run my fingers down the edge across where the stabilizer was and convince myself I feel no 'bump' so I tape the spine with a few layers and swoop it very lightly upon a worn DMT for a few and look it over. Very telling as to how much more it needs and where. No rush.
I am thinking of a tip treatment. Perhaps something about the grob. I am still uncertain of the angle I used on the end. I am satisfied whatever I finally decide will benefit from the initial grinding. French point? I have no idea and shan't until I get a proper heel and bevel. Time to lay it aside and work upon it a bit at a time.
Working upon the scales some brings ideas forth. Perhaps a change in that direction.
Such a big, hefty tang may do with a nice thumbnotch? Who knows?
Your turn, My Friend! "Don't be stubborn. You are missing out."
I rest my case.
-
08-11-2015, 02:13 AM #22
-
The Following User Says Thank You to sharptonn For This Useful Post:
MikeB52 (08-11-2015)
-
08-11-2015, 02:36 AM #23Senior Member


- Join Date
- Apr 2012
- Location
- Diamond Bar, CA
- Posts
- 6,553
Thanked: 3215
I thin stabilizers with a Dremel and fine grit drum sander. A variable speed Dremel and a flex shaft make the process easier and safer, use a slow speed, final polish and shape with wet & dry.
Tape the part of the edge you do not want to mess up with thin cardboard and duct tape for extra protection against a slip. Get close and sneak up on the final profile of the smile with a hand diamond file from EZ Lap. They are not that expensive and are great for repairing hooked heels.
Rest the razor on the spine and shape, one stroke at a time.
-
-
08-11-2015, 03:28 AM #24
-
08-11-2015, 02:12 PM #25

Yes, I use this little hand-sander at the very end. Keeps me from overdoing things!
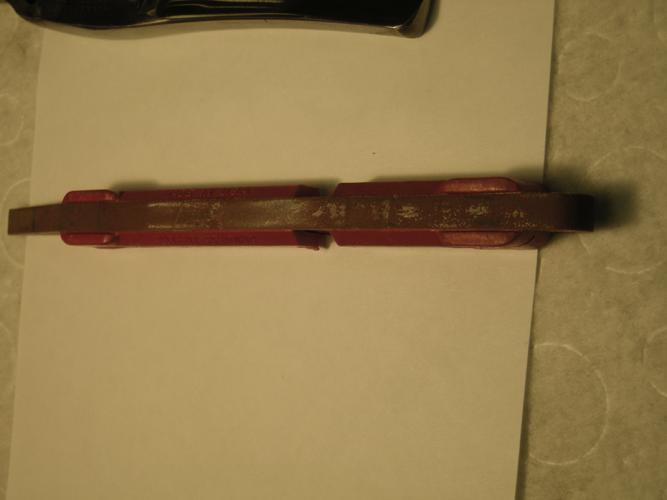
Back to templates, a good idea though I rarely use them. I seem to go with what I like.
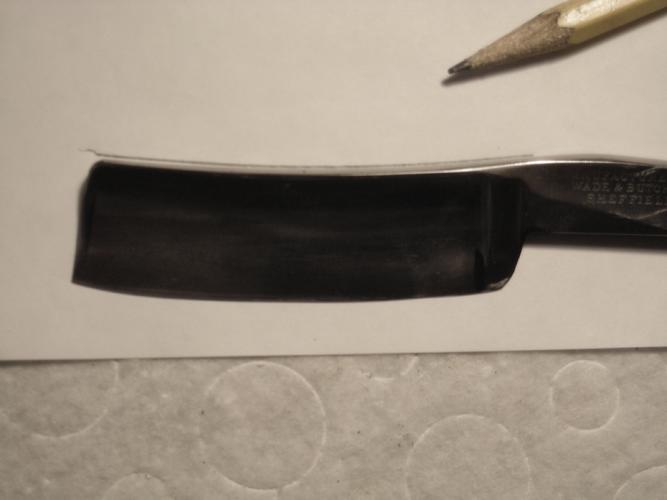
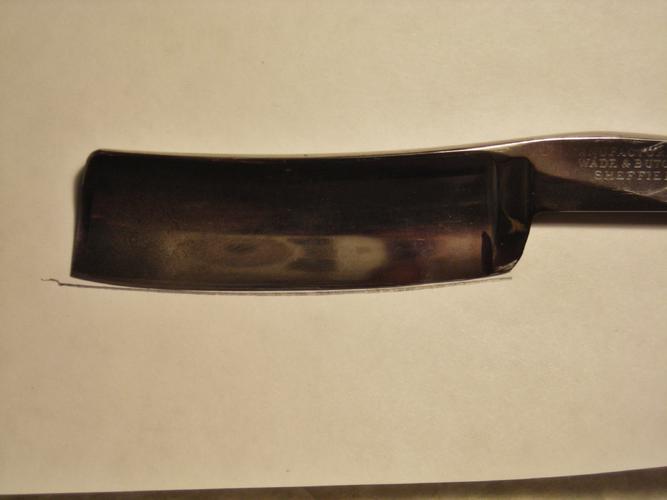
Figured I would see how I did on matching smile to the spine.....Seems I like things a bit radical! The width IS the same all the way across, however!
Last edited by sharptonn; 08-11-2015 at 03:26 PM.
"Don't be stubborn. You are missing out."
I rest my case.
-
The Following User Says Thank You to sharptonn For This Useful Post:
MikeB52 (08-11-2015)
-
08-11-2015, 03:20 PM #26
-
08-11-2015, 04:04 PM #27Str8Faced Gent.


- Join Date
- Aug 2013
- Location
- Orangeville, Ontario
- Posts
- 8,456
- Blog Entries
- 1
Thanked: 4207 "Depression is just anger,, without the enthusiasm."
Steven Wright
https://mobro.co/michaelbolton65?mc=5
-
08-11-2015, 05:05 PM #28

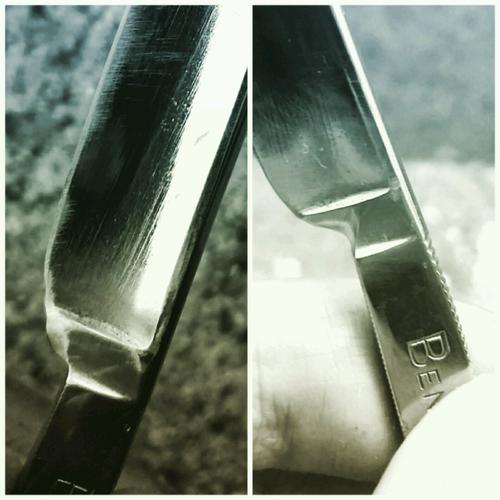
The problem is that I have nothing beat up to work on at the moment, but I can share a recent salvation of a heel on my Cadman Bengall. Maybe something will come up again soon

 As the time passes, so we learn.
-
08-11-2015, 11:35 PM #29Str8Faced Gent.


- Join Date
- Aug 2013
- Location
- Orangeville, Ontario
- Posts
- 8,456
- Blog Entries
- 1
Thanked: 4207
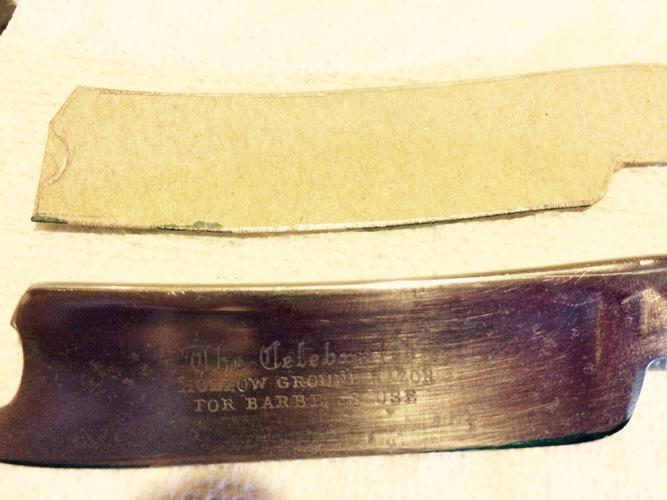
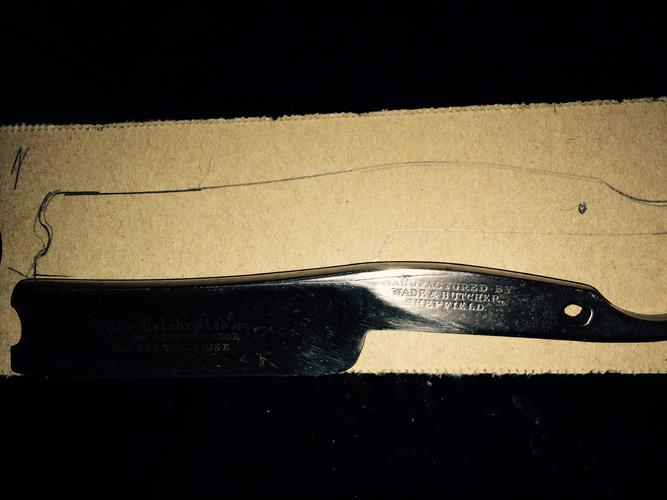
Spent some time tracing and trimming cardboard. Trying to match the spine curve best I can.
Nice heel recovery on that Bengall sir."Depression is just anger,, without the enthusiasm."
Steven Wright
https://mobro.co/michaelbolton65?mc=5
-
08-11-2015, 11:40 PM #30

Give it a bit more, Mike!
 "Don't be stubborn. You are missing out."
I rest my case.


 13682Likes
 LinkBack URL
 About LinkBacks


 Reply With Quote
