
Results 1,491 to 1,500 of 2526
 8897Likes
Thread: 51 MG restoration.
 LinkBack URL
 About LinkBacks
-
02-07-2022, 04:05 AM #1491Str8Faced Gent.


- Join Date
- Aug 2013
- Location
- Orangeville, Ontario
- Posts
- 8,463
- Blog Entries
- 1
Thanked: 4207
The mahogany veneer from Lee Valley worked pretty good. Little tear out along the edge but the chrome trim may cover that.
After some trial and error, I decided roof flashing was the material to make my glove box out of. Original was pressed cardboard so the flashing although thinner will actually be stronger.
So I started with a cut out slightly smaller than the opening in the dash underlay to serve as my bottom of box.
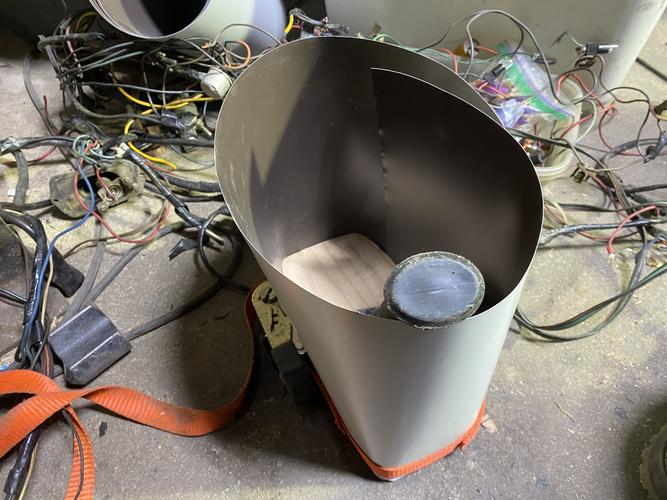
Raised it up into the flashing about 1.5 so Id have some material to roll around the back of the wood and used a ratchet strap and some epoxy I cinched it to shape.
Let it cure, then while the epoxy held everything in its curved state, I rolled the bottom around the wood form and secured everything with metal screws.
Punched some holes for the electronic chargers that are needed in every car these days, but I wanted out of the way in Noddy.
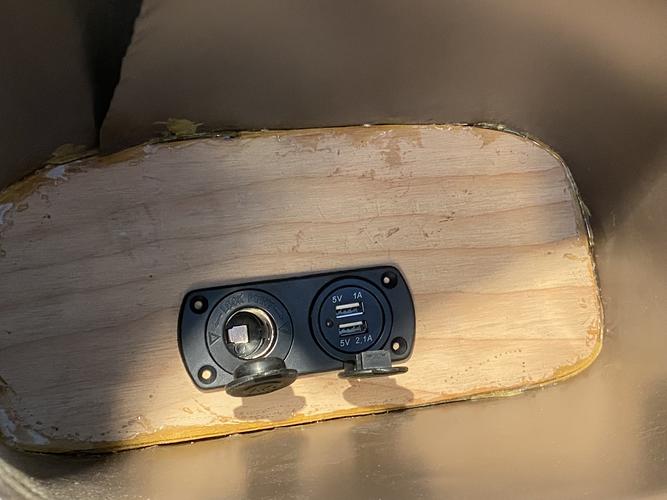
Intentionally left the charge ports raised off the bottom so the car manual can lay flat under anything plugged in.
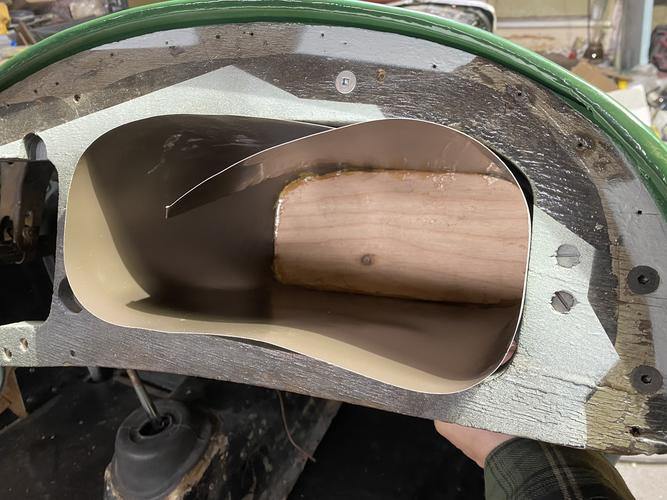
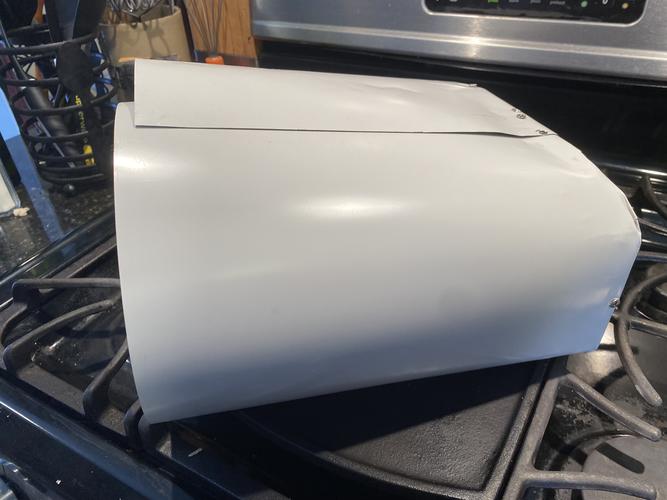
Can see how Ive left the side shape loose enough still to draw out the taper as I secure it to the under dash with screws, as well as roll the edge over flush with the front.
Will then pop a few rivets into the overlap before cladding the entire interior, in place, in black felt that will also fold over the edge of the underdash and be captured and hidden by the finished dash.
Shall be plenty strong and more weather proof than the original.

Also added the proper, enameled new medallion to Noddys nosepiece.
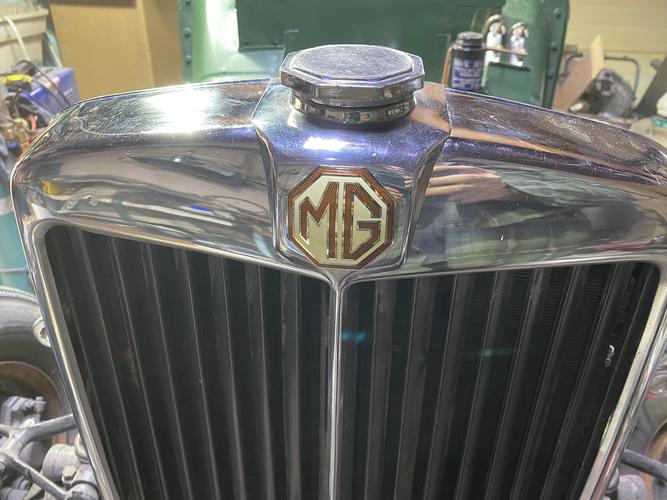
Shes going to look right proper again before long!"Depression is just anger,, without the enthusiasm."
Steven Wright
https://mobro.co/michaelbolton65?mc=5
-
02-07-2022, 04:36 AM #1492Razor Vulture

- Join Date
- Oct 2010
- Location
- Lone Star State
- Posts
- 26,168
Thanked: 8617
Cool, Mike! I have a stash of some thin aluminum sheet and I make such things at times with the epoxy adhering it, but get things lined-up for using a right-angle drill and some pop rivets to make it right for cure before the epoxy is applied after which the rivets go in.
I use wood and shims, anything handy to stretch it all out.
Good work! Fun to seeLast edited by sharptonn; 02-07-2022 at 04:41 AM.
MikeB52 likes this.
-
02-07-2022, 04:57 AM #1493Str8Faced Gent.
- Join Date
- Aug 2013
- Location
- Orangeville, Ontario
- Posts
- 8,463
- Blog Entries
- 1
Thanked: 4207
Yup, if I laid out some guide holes the epoxy wouldn’t have cracked during the screw in stage but thats ok, I felt it a temporary bond till the hardware was added.
Your way the epoxy stays part of the bond, I like that too.
"Depression is just anger,, without the enthusiasm."
Steven Wright
https://mobro.co/michaelbolton65?mc=5
-
02-16-2022, 10:36 PM #1494Str8Faced Gent.
- Join Date
- Aug 2013
- Location
- Orangeville, Ontario
- Posts
- 8,463
- Blog Entries
- 1
Thanked: 4207
About 12 coats into the varnish now, but granted Ive sanded away at least half of them slowly building up the finish. Problem with saying perfect is the goal, is thats an easy bar to miss and as long as the 1000 grit wet step shows flaws,,, rinse repeat ..
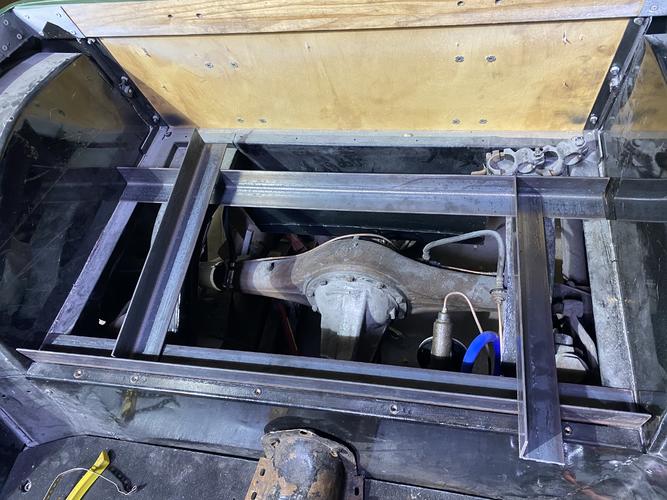
Aside from that, working on yet another little enhancement for the car. Under the boot is wasted space, IMO hence why I put the brake booster there. Well I think I can add a 2 deep storage compartment as well between the frame rails, so sketched something up.
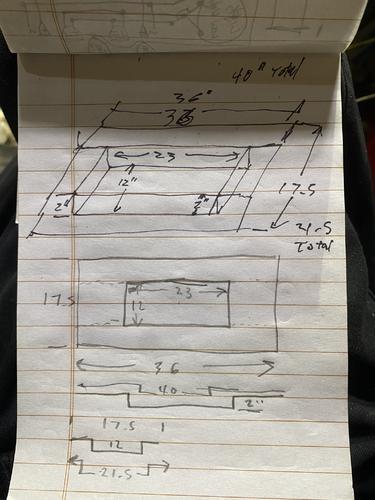
Will be near invisible when closed and can hold the tonneau cover when not in use, or maybe the racing screens, if they fit..
Will use 1/8 x2 wide angle iron for my frame and drop an 18 gage steel pan in the bottom which can be removed to easy access the axle, fuel pump, or booster in the future for maintenance reasons.
100% resto-mod..
Cheers.."Depression is just anger,, without the enthusiasm."
Steven Wright
https://mobro.co/michaelbolton65?mc=5
-
02-21-2022, 05:22 AM #1495Str8Faced Gent.
- Join Date
- Aug 2013
- Location
- Orangeville, Ontario
- Posts
- 8,463
- Blog Entries
- 1
Thanked: 4207
Dash finish is just about as good as I can get it. A few slight depressions where the grain was particularly open grained, but with wood ya really cant help it I suppose.
Onto the hardware, glovebox door hinges and such, then I can connect the wiring harness to the main controls and start to terminate everything.
.
"Depression is just anger,, without the enthusiasm."
Steven Wright
https://mobro.co/michaelbolton65?mc=5
-
02-22-2022, 05:17 AM #1496Str8Faced Gent.
- Join Date
- Aug 2013
- Location
- Orangeville, Ontario
- Posts
- 8,463
- Blog Entries
- 1
Thanked: 4207
Easy to lose track of time in the enjoyable, little details of a job you are into.
Spent all day just getting the glove box door the way I wanted.
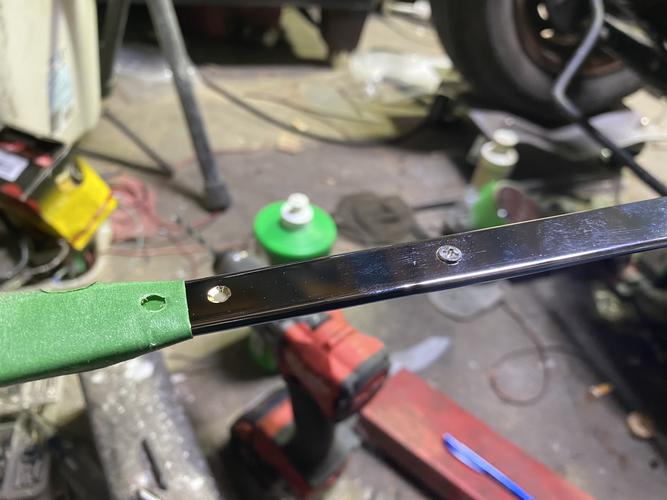
What with the trim needing to be bent, and the screws needing countersinking, but not too much or little or the screws wouldnt sit properly. And the screw holes needing to be done before any bending, so I had to figure out where the holes would be, account for the curves,and not crease anything.
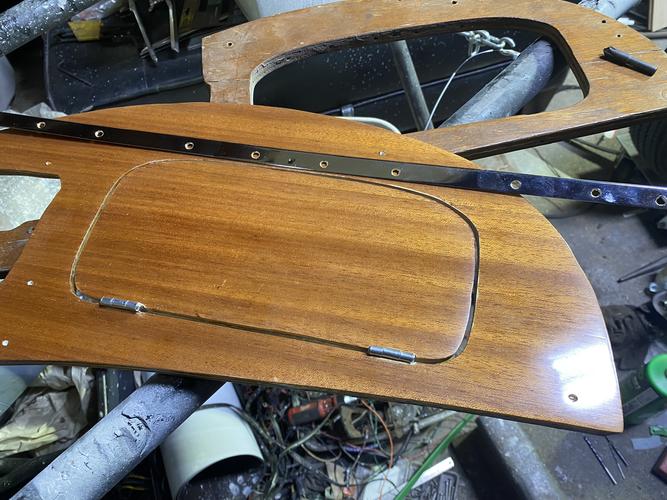

Still not done, but getting close, and happy with the way it looks.

Wish I didnt have to work tomorrow, Id keep at it.
Cheers gents."Depression is just anger,, without the enthusiasm."
Steven Wright
https://mobro.co/michaelbolton65?mc=5
-
02-22-2022, 03:57 PM #1497Senior Member


- Join Date
- Aug 2009
- Location
- New Hampshire
- Posts
- 3,955
Thanked: 581
I see a green bottle there….the white cap is throwing me off….did you get the ACA500 ( first cut ) ?
-
02-22-2022, 04:29 PM #1498Str8Faced Gent.
- Join Date
- Aug 2013
- Location
- Orangeville, Ontario
- Posts
- 8,463
- Blog Entries
- 1
Thanked: 4207
The AAT 501 and 502. Didn’t have stock on much as it was a general distributor but I grabbed what I could.
The 501 was used after 2000 grit wet on the dash and I must say it’s a very nice polish. As described, only a few dollops, a mere 1/10th of what I’m used to using and the results were very good. Then the 502 took the haze away and had a very nice smell.
Hope this stuff doesn’t really expire as both were sealed bottles, but they both have expiration dates in 2022."Depression is just anger,, without the enthusiasm."
Steven Wright
https://mobro.co/michaelbolton65?mc=5
-
02-23-2022, 03:24 AM #1499Str8Faced Gent.
- Join Date
- Aug 2013
- Location
- Orangeville, Ontario
- Posts
- 8,463
- Blog Entries
- 1
Thanked: 4207
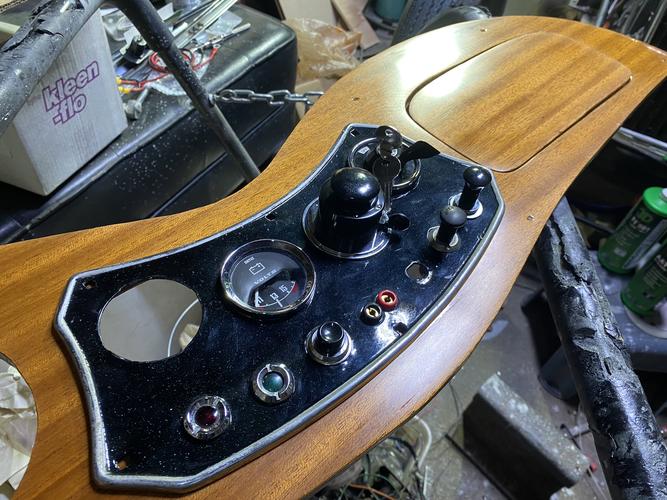
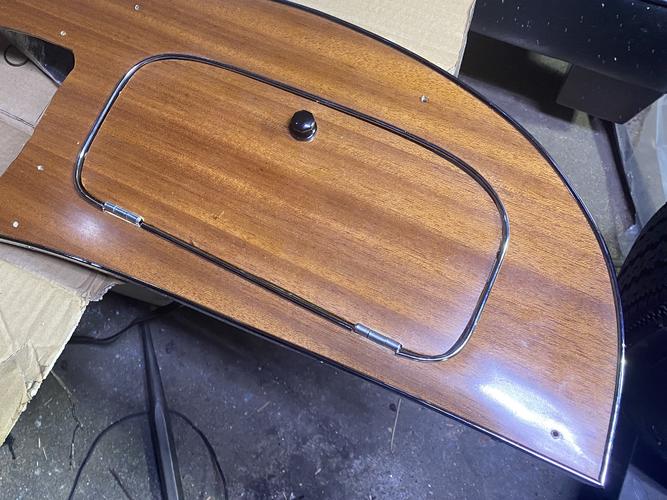
This is ready for electrical now!

Ill leave the dual temp gauge and choke pull out until installing the dash in the car as the capillary tube and cables a pain and I dont want to damage either them, or the paint with their parts.
Im pleased with the satin sheen of the finished work as well as the bright work but man my hands and nerves are spent, hehe.
I was even able to source a replica octagon shaped glove box pull and went with a spring loaded ball catch for the door like would have been installed originally.
Woodfords a calling!
Cheers gents. Moving along with the fun stuff.
"Depression is just anger,, without the enthusiasm."
Steven Wright
https://mobro.co/michaelbolton65?mc=5
-
02-23-2022, 03:28 AM #1500Razor Vulture
- Join Date
- Oct 2010
- Location
- Lone Star State
- Posts
- 26,168
Thanked: 8617
Looks killer, Mike! I had wondered if the glove box even had a door.
Lots of Brits (including mine) didn't.
When I remember the mess it was......
It all looks so excellent!
-
The Following User Says Thank You to sharptonn For This Useful Post:
MikeB52 (02-23-2022)


 Reply With Quote