
Results 931 to 940 of 2504
 8857Likes
Thread: 51 MG restoration.
 LinkBack URL
 About LinkBacks
-
06-28-2021, 08:23 PM #931Razor Vulture


- Join Date
- Oct 2010
- Location
- Lone Star State
- Posts
- 26,110
Thanked: 8612
Well. You got our attention?
MikeB52 likes this.
-
06-28-2021, 11:46 PM #932Str8Faced Gent.


- Join Date
- Aug 2013
- Location
- Orangeville, Ontario
- Posts
- 8,449
- Blog Entries
- 1
Thanked: 4206
Sure did,,

I went back through the old messages and see where Ness recommended Sek, as better than por15, but that’s the stuff I can’t get in Canada.
I ‘think’ that my using por15 before the epoxy primer May be where I went square wheel in Ness’s experience.
My thinking was and is that I wanted superior rust entrapment if there was any between my welds, or any other cranny.
Epoxy primer doesn’t chemically bond to rusted metal the way I’ve seen the por15 adhere, hence why I opted for that step first. It’ll be additional sanding and an additional step for another prime coat, but the rust mitigation in the future was a big desire. Wanted to ensure I get no bubbles one day30 years from now.
A happy update from Arizona this am.
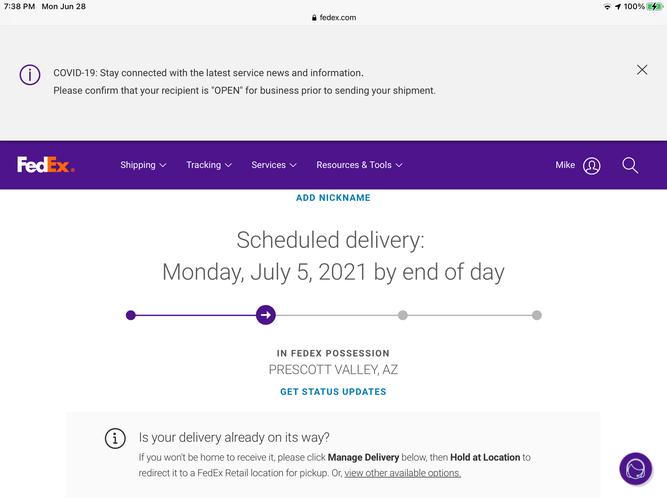
Should be delivered right at the start of a holiday week.

Last edited by MikeB52; 06-28-2021 at 11:52 PM.
"Depression is just anger,, without the enthusiasm."
Steven Wright
https://mobro.co/michaelbolton65?mc=5
-
06-28-2021, 11:59 PM #933Razor Vulture
- Join Date
- Oct 2010
- Location
- Lone Star State
- Posts
- 26,110
Thanked: 8612
Ya There are lots of body shop related things you cannot get in populous counties down here too.
Fumes I guess?
Would that be your firewall on the way?cudarunner and MikeB52 like this.
-
06-29-2021, 12:27 AM #934Str8Faced Gent.
- Join Date
- Aug 2013
- Location
- Orangeville, Ontario
- Posts
- 8,449
- Blog Entries
- 1
Thanked: 4206
Why yes it is sir!!!
Cannot believe it’ll be that quick.. and bet it won’t, cause of the holiday, but that’s cool.
Retouching a bunch of epoxy, wood epoxy that is, before I put her all back on.
Going to clean up around the chassis and basically get the area ready for the final build and paint in place..
"Depression is just anger,, without the enthusiasm."
Steven Wright
https://mobro.co/michaelbolton65?mc=5
-
06-29-2021, 03:45 AM #935Senior Member


- Join Date
- Feb 2016
- Location
- San Antonio, TX
- Posts
- 1,824
Thanked: 427
Well Mike, it's your car! You can do whatever you want. And the rest of us - we can go pound sand!
Semper Fi !
John
-
06-29-2021, 03:59 AM #936Senior Member


- Join Date
- Dec 2018
- Location
- Gainesville, FL
- Posts
- 6,493
Thanked: 661
I certainly enjoy living vicariously through Mike though.
Iron by iron is sharpened, And a man sharpens the face of his friend. PR 27:17
-
06-30-2021, 02:01 PM #937Str8Faced Gent.
- Join Date
- Aug 2013
- Location
- Orangeville, Ontario
- Posts
- 8,449
- Blog Entries
- 1
Thanked: 4206
G’day me friends, spent the evening researching some auto rebuild forums to learn as much as I could, after the fact, about POR15 in the field usage.
Always willing to be wrong is one of my innate super powers and as such I have learned that while POR proclaims that their product adheres to clean new steel well, the field says otherwise. Most state the stuff really only sticks to rough, rusty metal as well as they claim and that it delaminates from fresh panels in time, taking whatever is on it off with it!!
So since I don’t know for sure, and have the time, I’m deciding to use the stuff as my guide coat on all the exterior. Going to sand down the exterior side of everything again to base metal, leaving the por in the crannies it finds, and redo with epoxy primer.
At this stage, everything is only 2 stages of grit away from being corrected, so I have no issues with taking the steps..
Cheers gents."Depression is just anger,, without the enthusiasm."
Steven Wright
https://mobro.co/michaelbolton65?mc=5
-
07-03-2021, 12:17 AM #938Str8Faced Gent.
- Join Date
- Aug 2013
- Location
- Orangeville, Ontario
- Posts
- 8,449
- Blog Entries
- 1
Thanked: 4206
Spent some time today reapplying all the wood braces and cowl interconnects after epoxying one last coat on all the wood.Now shits shiny and epoxy lookin and ready for the final skinning.
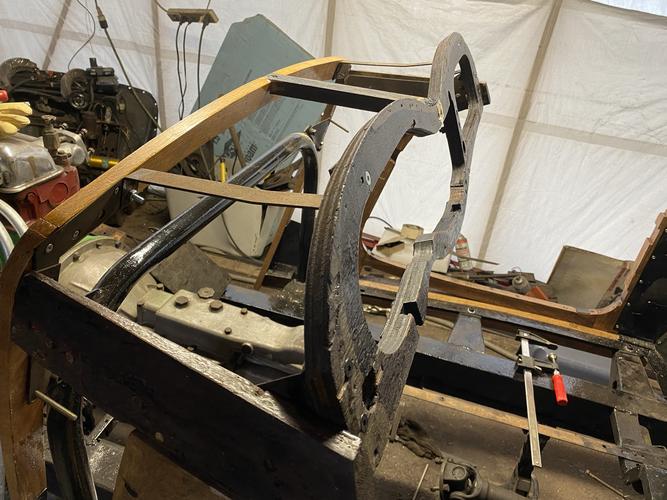

The rear tie bar, all prepped and bolted down, hard to see, but I added an extension piece on the sides to allow more connection to the rear frame, which I heard were prone to breaking, above the door hinges.
Also cleaned under and around the build so I can work safely, and wet things down before various paint steps.
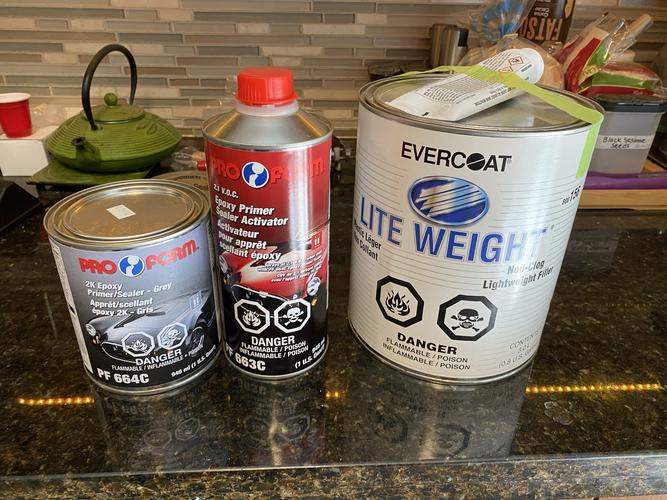
Picked up some materials, alas, didn’t have the evercoat edge, just this kind of light filler. Hope it’s good for the task. Should last me a lifetime.
And the primer will also act as the sealer, at a later step.
Almost ready gents.
Last edited by MikeB52; 07-03-2021 at 12:19 AM.
"Depression is just anger,, without the enthusiasm."
Steven Wright
https://mobro.co/michaelbolton65?mc=5
-
07-03-2021, 02:52 AM #939Str8Faced Gent.
- Join Date
- Aug 2013
- Location
- Orangeville, Ontario
- Posts
- 8,449
- Blog Entries
- 1
Thanked: 4206
I like to work after dark and the missez has gone to bed.
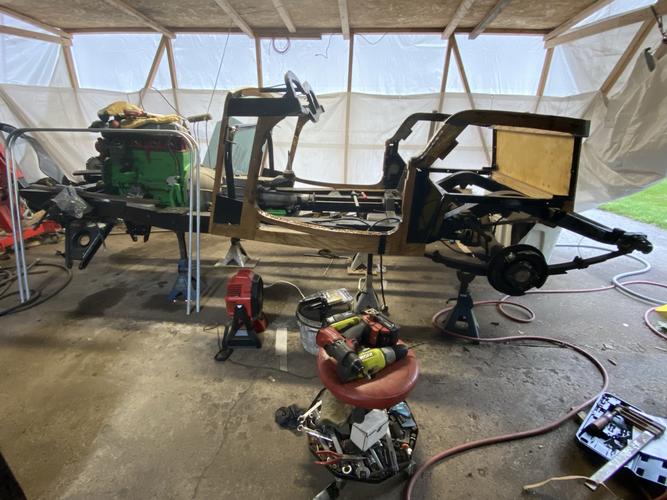
Applied my butyl tape all around contact points and put my panels back on, for the last time!
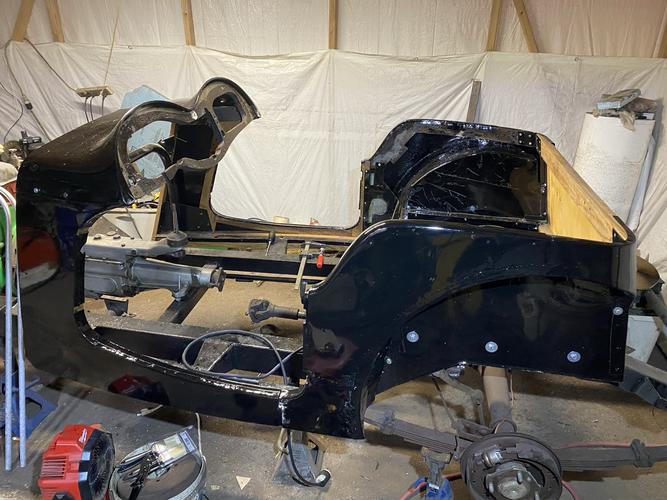
Can see in this shot just how much shorter my prop shaft now is post engine move, about 5 3/4”

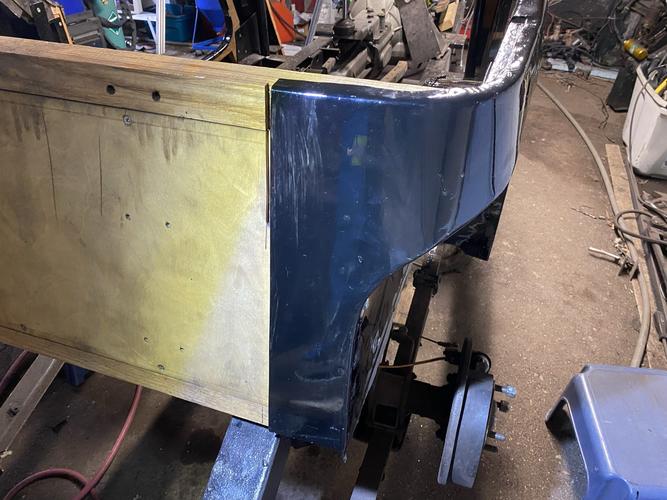
Still need to clean up and add the mid panel for the back, and nail everything down, then fold under the bottoms and sand it all down for the epoxy.
But yeah!
 "Depression is just anger,, without the enthusiasm."
Steven Wright
https://mobro.co/michaelbolton65?mc=5
-
07-03-2021, 03:30 AM #940Senior Member

- Join Date
- Feb 2013
- Location
- Haida Gwaii, British Columbia, Canada
- Posts
- 14,441
Thanked: 4827
All this is far too technical for me to know exactly what you are up to. What I do know for sure, it was a monumental tear down. It’s cool to see it going back together, even if I don’t really understand it. I can also see that you are very busy. I bet you were a handful as a child. Thanks for bringing us along.
It's not what you know, it's who you take fishing!
-
The Following User Says Thank You to RezDog For This Useful Post:
MikeB52 (07-03-2021)


 Reply With Quote