
Results 13,231 to 13,240 of 20573
 91473Likes
Thread: What are you working on?
 LinkBack URL
 About LinkBacks
-
06-20-2018, 08:17 PM #13231Skeptical Member


- Join Date
- Nov 2016
- Location
- Colorado Springs
- Posts
- 10,551
Thanked: 2194
I seen those on-line and thought it looked pretty cool. Im in need of a new pen or two so get that stuff up and working Mike!
Still tempted to see if i can make a pen on the drill press. Watched a couple vids. Its do-able but would take alot more sanding to finish. Just too many projects going on at this time. Or is there, It's just Sharpening, right?
Jerry...
-
06-21-2018, 03:43 AM #13232Str8Faced Gent.


- Join Date
- Aug 2013
- Location
- Orangeville, Ontario
- Posts
- 8,463
- Blog Entries
- 1
Thanked: 4207
After a late work day I was unloading in the dark tonight. And there is still one more load to get, well, small load.
Those are the lever action kits I have I believe Tom, will look pretty cool in antler I think.
And happy to see you still have one of the first ten pens I ever made. Thats the cigar style, and still my personal favorite to use everyday. Amazingly I still have not lost the first one ever made, in walnut, of that style. Its my work pen.
Tonights load.
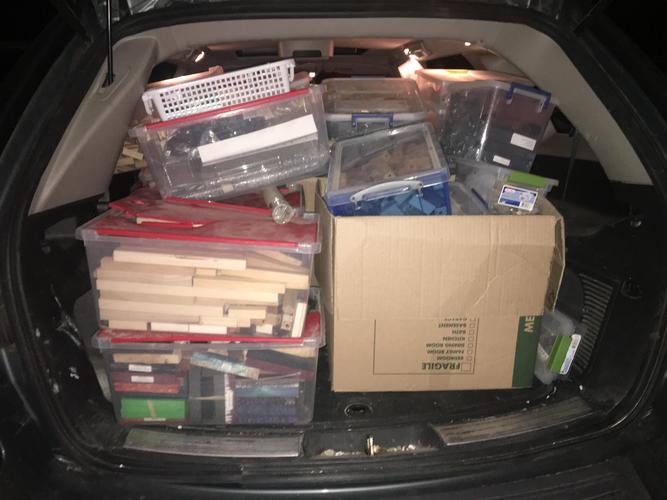
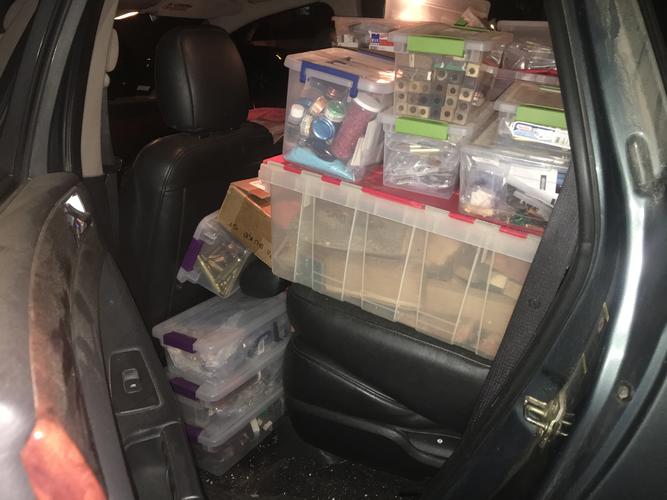
Note the box of 50 cal shells behind the drivers seat, those are pen kits I bought one of earlier and made for the bar of a military buddy of mine. But Im thinking one or two might make pretty cool shaving brush centers like the lather blasters I made last year..
Lots of ideas for this loot as I open boxes and try to plan some sort of order to it.
Cheers.."Depression is just anger,, without the enthusiasm."
Steven Wright
https://mobro.co/michaelbolton65?mc=5
-
-
06-21-2018, 03:53 AM #13233Razor Vulture

- Join Date
- Oct 2010
- Location
- Lone Star State
- Posts
- 26,166
Thanked: 8617
Man!

I want to see the little bandsaw?
-
06-21-2018, 06:46 PM #13234Razor Vulture
- Join Date
- Oct 2010
- Location
- Lone Star State
- Posts
- 26,166
Thanked: 8617
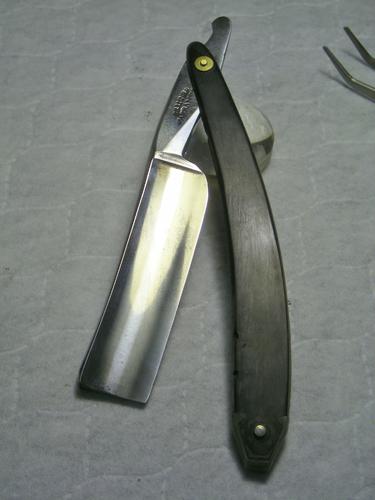
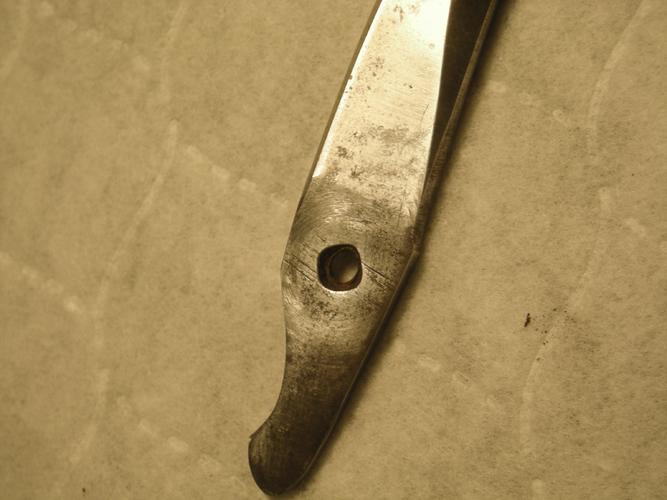
So I have drug this old reground razor up and down the boards to find it was made by Samuel Skinner in the late 1810's. Thanks to Zak and Dimab!
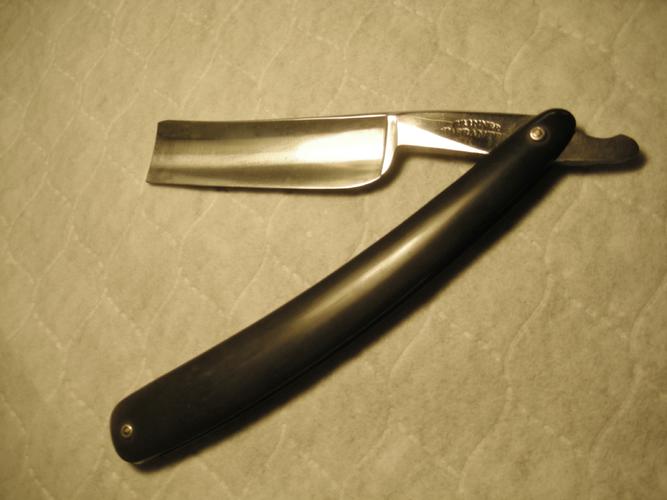
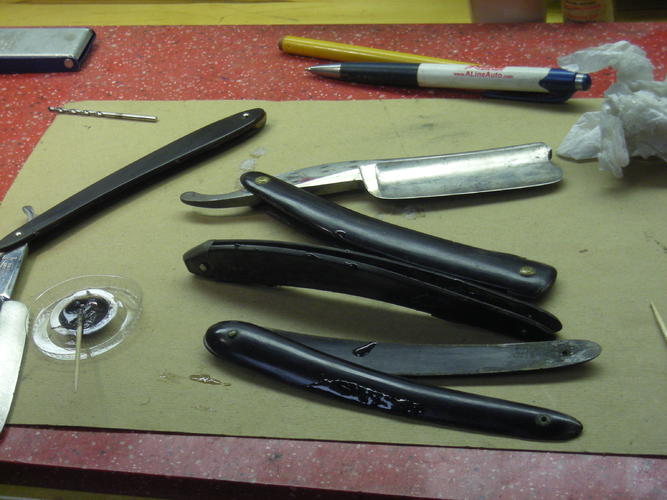
Time to begin, so I needed proper scales. Found these with a cool wedge end with an old damaged Wostenholm blade in them, which I doubt was original to them.
Whatever will I do with the blade?
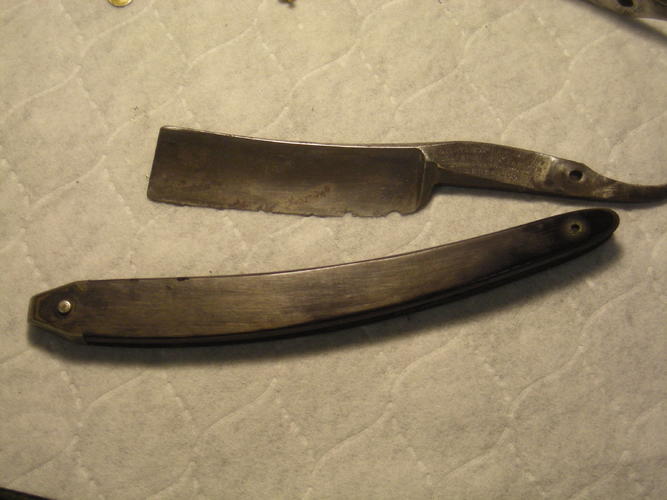
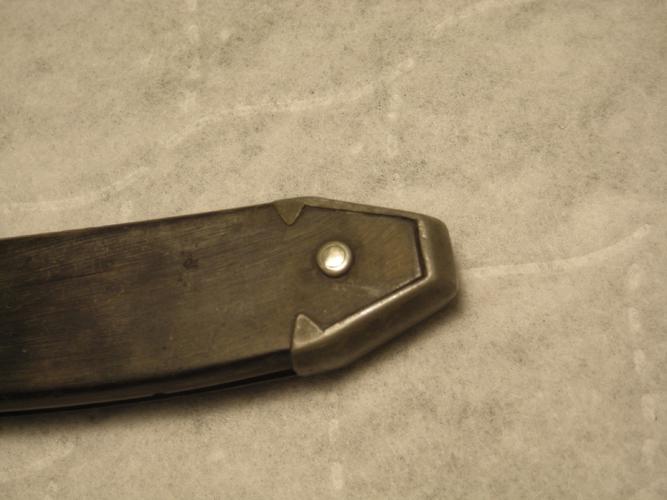
So after a test-fit, it looks like a go....
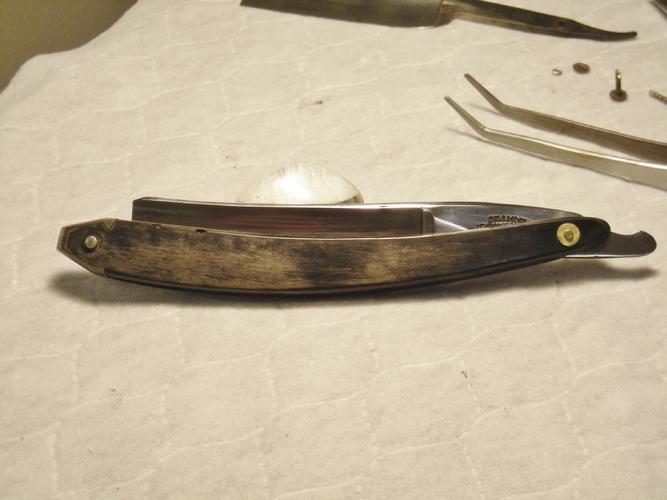
I really don't want to unpin the bottom, so the plan is to fix the minor bug bites with epoxy and bog oak dust, some CA inside to help with some minor delamination.
Sand and smooth, some black Sharpie and a neatsfoot soak.
Smooth out the tang a bit and pin the top with the collars which came on the scales.
I also think an aluminum pop-rivet pivot hole bushing is a good idea....Last edited by sharptonn; 06-21-2018 at 11:44 PM.
-
06-21-2018, 07:02 PM #13235'with that said'

- Join Date
- Aug 2010
- Location
- Walla Walla in WA State USA
- Posts
- 11,253
Thanked: 4238
Sounds like a plan--

However I 'thought' that awhile back you had decided against using the pop rivet trick in future razors Our house is as Neil left it- an Aladdins cave of 'stuff'.
Kim X
-
06-21-2018, 08:16 PM #13236Razor Vulture
- Join Date
- Oct 2010
- Location
- Lone Star State
- Posts
- 26,166
Thanked: 8617
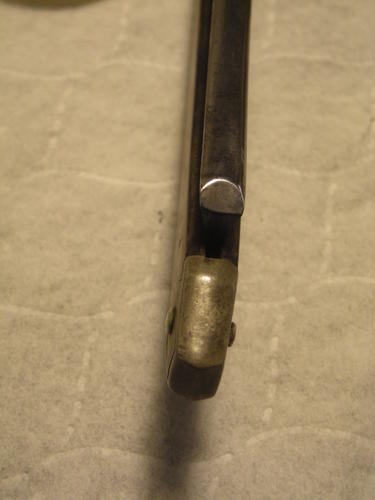
If things are all-original, yes. However this one goes at an angle through the tang and that has given me alignment issues in the past. Originally Posted by cudarunner

Also, it is handy to get the tang to sit higher or lower in the scales as well as positioning the blade forward or rearward a bit.
It's another chore, but it helps at times..
Last edited by sharptonn; 06-21-2018 at 08:20 PM.
-
The Following User Says Thank You to sharptonn For This Useful Post:
cudarunner (06-21-2018)
-
06-21-2018, 08:53 PM #13237Senior Member


- Join Date
- Mar 2015
- Location
- Akron, Ohio
- Posts
- 12,110
Thanked: 4314
Bog oak n epoxy... The JB weld for black scales.
Mike
-
06-21-2018, 09:04 PM #13238Razor Vulture
- Join Date
- Oct 2010
- Location
- Lone Star State
- Posts
- 26,166
Thanked: 8617
I always get a pile of horn scales out to get as many bug-bites filled as I can when I do this.
You have to mix a certain amount and it is always too much!
I had forgotten about this in the 'horn-to-fix' pile....
Anybody have an original rear FBU scale?
Somewhere I have one.......finding it, though.

-
06-22-2018, 12:16 AM #13239'with that said'
- Join Date
- Aug 2010
- Location
- Walla Walla in WA State USA
- Posts
- 11,253
Thanked: 4238
I'm held up a bit on my Clark&Hall as the collars that Austin sent must have been eaten by the automated machinery. No worries, it's being taken care of.
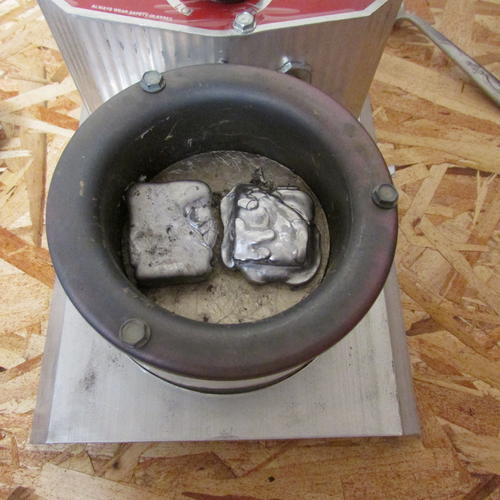
I decided that I wanted a lead wedge but didn't have anything that would work so 911-Son. He brought over the smelter that I'd bought for him and an ingot of lead that he'd pre-cleaned.
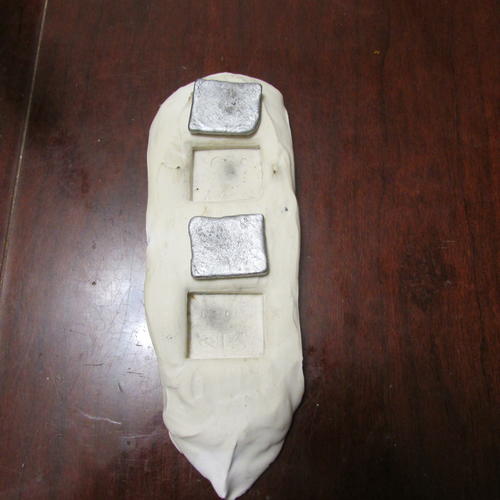
I asked Benz for guidance and ended up buying some plaster of Paris and some paraffin to make a 'sacrificial mold'. The idea is to pour the hot lead in the wax which would melt/burn away. Once the lead had hardened the plaster would be chipped away leaving the desired lead form.
I cut a couple of blocks of wax that were about 1" square and a bit deeper than 1/8".
I made a mold out of heavy duty aluminum foil and mixed up the plaster. I smoothed it as best I could then placed the wax in the plaster as level as I could and waited overnight for the plaster to harden overnight.
Well being anal got the best of me and I was looking at different sites that were using this process and repeatedly found statements that if there was moisture in the hardened plaster and the hot lead was added--things could take a turn for the worse. So I put the hardened plaster in my small oven at 150 degs for 30 minute intervals and the wax hadn't melted so when I went to bed I set the timer on the little oven for 2 hours.
The next morning I found that the wax had not only melted but the plaster had absorbed it. hmmm
I figured what the hell and plodded forward. I decided to pour molten wax in the molds/that went well and later I started the smelter out in the garage with two fans moving air ( I set up on my table saw just inside the outside door).
The first casting was a semi disaster as the lead didn't spread well/HOWEVER with a little prompting the lead could be removed from the plaster without damaging the mold. See here;
So I continued to pour and re-melt. I found that preheating the plaster to around 325-350 degs got the best results.
I ended up making 6 extra lead molds that will work for future projects.
However what I've got in mind is picking up a couple of piece of brass 1" square and 1/8th inch thick solder a bit of brass to them so they could be easily removed and making better plaster molds. I'll be pouring melted wax into them and allowing them to melt and be absorbed as I'm pretty certain that having the wax in the plaster is what allowed the molds to be removed without damaging the plaster so they could continue to be used.
Anyway I just thought I'd share what I've been working on. Thanks for looking :
Our house is as Neil left it- an Aladdins cave of 'stuff'.
:
Our house is as Neil left it- an Aladdins cave of 'stuff'.
Kim X
-
-
06-22-2018, 01:15 AM #13240Razor Vulture
- Join Date
- Oct 2010
- Location
- Lone Star State
- Posts
- 26,166
Thanked: 8617
Gee, Roy! You can do most anything!

Ever heard of beating on a .44 slug?
I made some in a press once. Worked good.
Smelting lead....Nevermind!Last edited by sharptonn; 06-22-2018 at 01:21 AM.


 Reply With Quote