
Results 1,801 to 1,810 of 20602
 91550Likes
Thread: What are you working on?
 LinkBack URL
 About LinkBacks
-
02-08-2016, 11:11 PM #1801Compulsive frankensteinisator


- Join Date
- Jul 2013
- Location
- Paris area, Fr
- Posts
- 967
Thanked: 476
I don't know this word, is this some kind of spoon ?

The tool I used is - well, was.. - used to close letters using wax. It's a vintage seal from a travel set (ungraved this one).
I often use it to hold my razors engine46 likes this.
-
The Following User Says Thank You to Thaeris For This Useful Post:
engine46 (02-08-2016)
-
02-08-2016, 11:24 PM #1802
I had some weird feeling it had something to do with printing............don't ask me why. I thought well, it's another type of Snurdler or some kind of printing tool. Thanks!
 Originally Posted by Thaeris
 Thaeris likes this.
-
02-08-2016, 11:26 PM #1803Senior Member


- Join Date
- Mar 2015
- Location
- Akron, Ohio
- Posts
- 12,119
Thanked: 4316
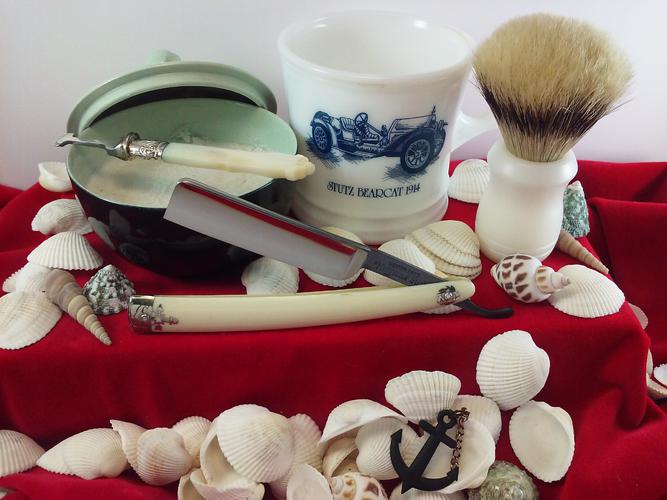
Yes.. Its a tool used by the more discreet gentleman, to add a touch more soap to his bowl, mug, scuttle. A bunch of us posted them in yesterdays SOTD. Originally Posted by Thaeris
Here's mine , its on top of the soap bowl.
 Mike
Mike
-
The Following User Says Thank You to outback For This Useful Post:
Thaeris (02-09-2016)
-
02-09-2016, 06:13 AM #1804Senior Member
- Join Date
- Mar 2015
- Location
- Akron, Ohio
- Posts
- 12,119
Thanked: 4316
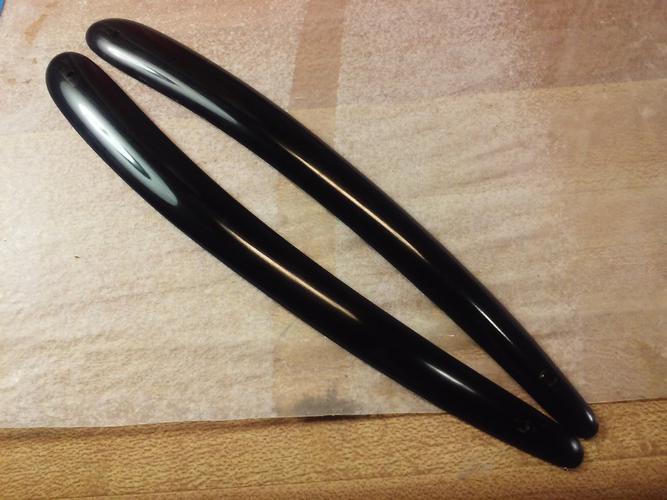
Took a bit longer than I thought, but had to stop for a bite, of a animal on the move.. But scales are done and await... For the blade.
I glued paper between the scales (elmers). Micro screwed together, cut excess paper away from the scales, as close as you can.
Sand the scale, to match the contour of the origanal scale.
Remove screws, sand the shape, to match the origanal.
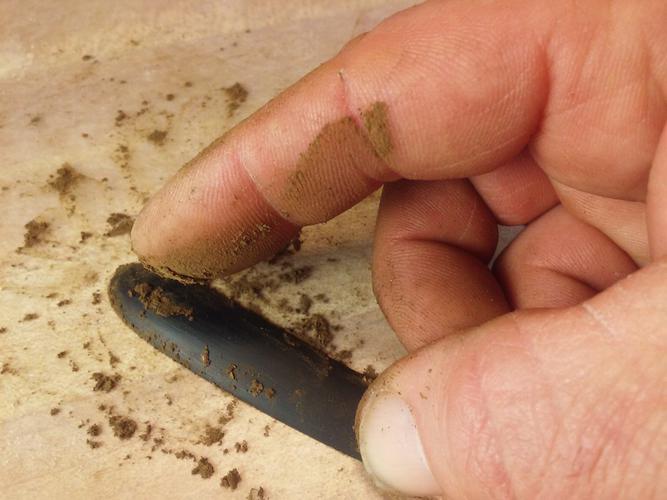
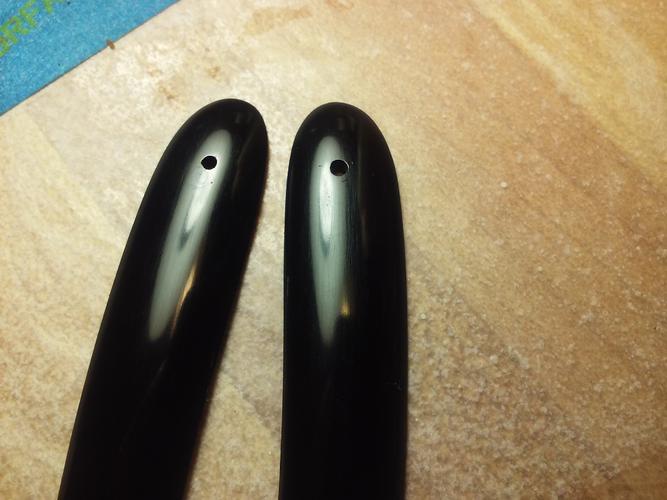
Separate the scales, fill unwanted wedge pin hole with sanding dust, and packing it in with my finger.
Put a drop of, thin ,slow cure CA, on the packed powder, let it soak for a minute, and sprayed it with accelerator, turned and did the opposite side. Sanded with 600, then 1000 grit WD. Then buffed with dremmel using the leather and rag wheels, and starbrite plastic polish/scratch remover.
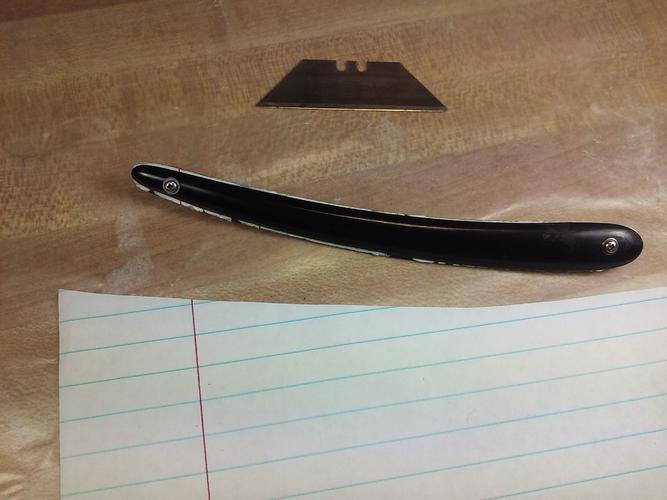
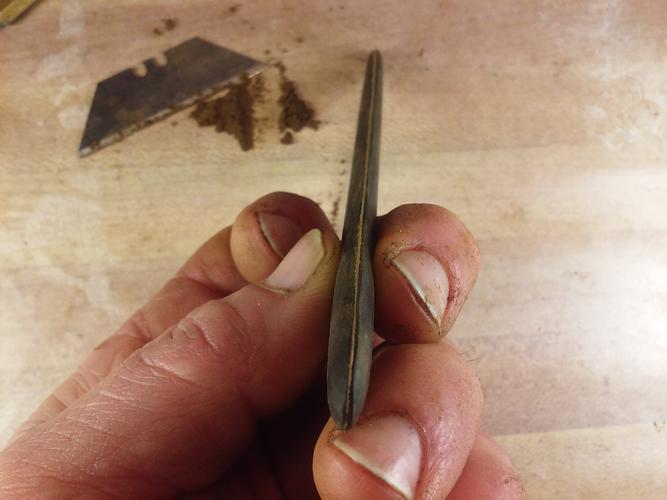
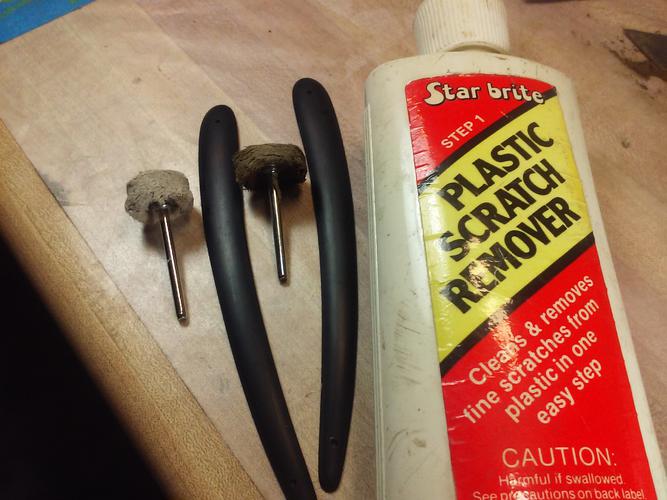
The scale on the left is the scale, that was fitted to the origanal scale on right, and had the extra wedge pin hole.
Last edited by outback; 02-09-2016 at 06:17 AM.
Mike
-
The Following User Says Thank You to outback For This Useful Post:
engine46 (02-09-2016)
-
02-09-2016, 06:35 AM #1805
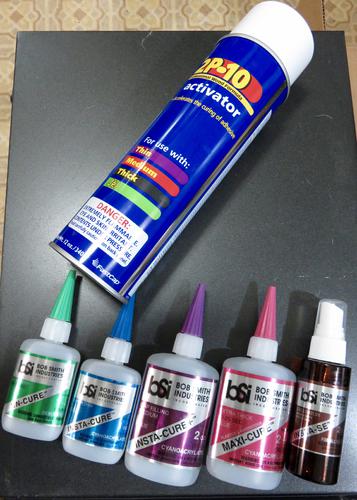
Machine gun Mike, those came out really good. I have all the different CA's & accelerator also. One large can spray accelerator on top & from left to right is CA Remover 30-120 seconds, Super Thin 1-3 seconds, Gap Filling Medium 5-15 seconds, Extra Thick 10-25 seconds & a small bottle of Spray Accelerator.
-
02-09-2016, 07:04 AM #1806Senior Member


- Join Date
- Jan 2013
- Location
- Communist State of California
- Posts
- 1,461
Thanked: 463
Hey Mike. Did the CA fully cure with the Bakelite dust? When i had experimented with that combination it never fully hardened. It got kind of rubbery and that was it.
-
02-09-2016, 07:30 AM #1807'with that said'

- Join Date
- Aug 2010
- Location
- Walla Walla in WA State USA
- Posts
- 11,260
Thanked: 4238
I too would like to know how this worked out. Mike had said that the was going to use a slow drying super glue. Originally Posted by BeJay
I'd posted this and had asked if anyone had tried it using horn but I hadn't thought about Bakelite. The guy showing the repair had said that it would work with 'some' plastics.
http://straightrazorpalace.com/works...ht-razors.html
It had appeared that he'd used a very thin super glue to perform the repair.
Please let us know more about the repair. Our house is as Neil left it- an Aladdins cave of 'stuff'.
Kim X
-
02-09-2016, 07:31 AM #1808
BeJay, it should have. I have done it before with great success. Originally Posted by BeJay
-
The Following User Says Thank You to engine46 For This Useful Post:
BeJay (02-09-2016)
-
02-09-2016, 07:38 AM #1809Senior Member
- Join Date
- Jan 2013
- Location
- Communist State of California
- Posts
- 1,461
Thanked: 463
Thanks engine46. I'll have to experiment some more. It may have been some kind of reaction with the specific material I had tried it with. I have seen a black CA glue that I'm thinking about ordering. I really like working CA a lot more then epoxies. Originally Posted by engine46
-
02-09-2016, 08:06 AM #1810
That large can of Accelerator is called 2P-10 & they have their own kit with the same glue I have with a different name but after doing some research I found out my suspicions were right & it is nothing but CA. When doing this to fill holes, you spray the hole with the accelerator, mix some dust whatever you're working with, fill in the hole & then spray it with the accelerator. This first link is a 2P-10 kit but they say it is CA: Originally Posted by BeJay
FastCap 2P 10 Cyanoacrylate Super Glue Kit | eBay
Here is a video of a guy demonstrating the 2P-10:
Now here are some more I found a few weeks ago:
These are guys actually working on guitars but you will find it very informative.outback likes this.


 Reply With Quote

