
Results 1,271 to 1,280 of 4688
 13682Likes
Thread: The Butchered Blade
 LinkBack URL
 About LinkBacks
-
09-28-2015, 04:57 PM #1271Razor Vulture


- Join Date
- Oct 2010
- Location
- Lone Star State
- Posts
- 26,150
Thanked: 8616
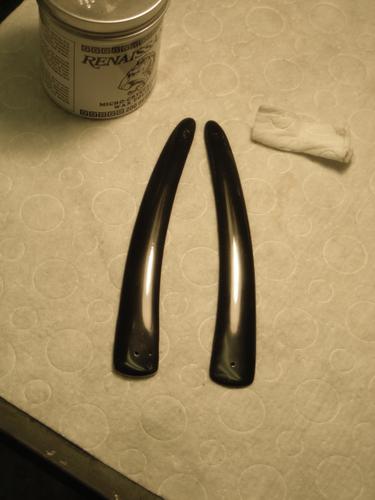
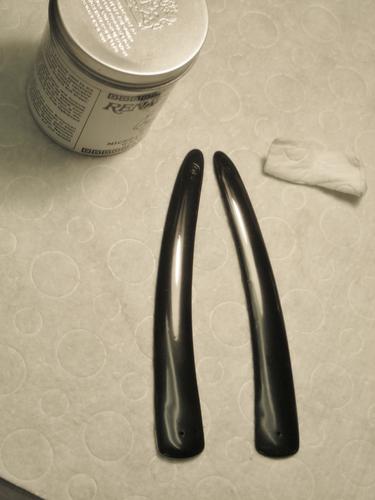
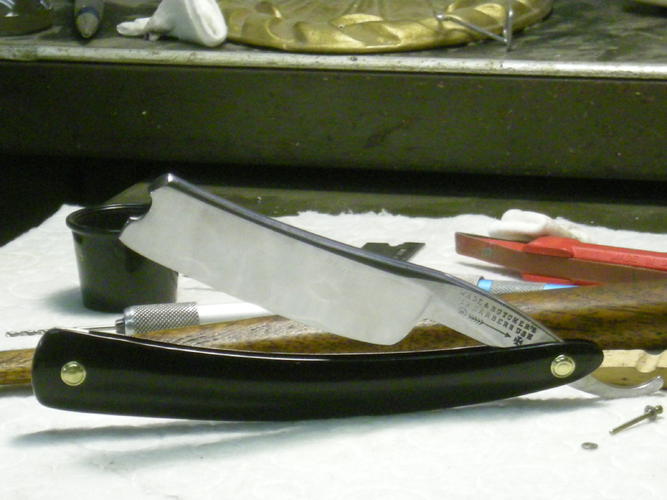
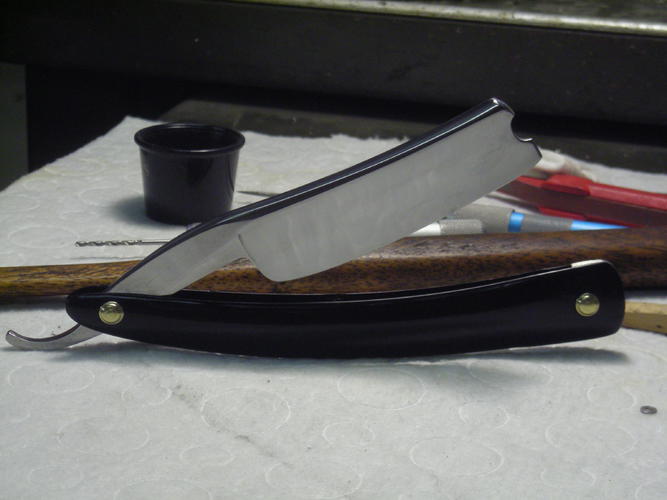
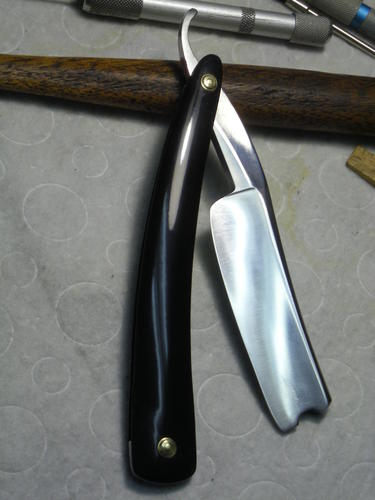
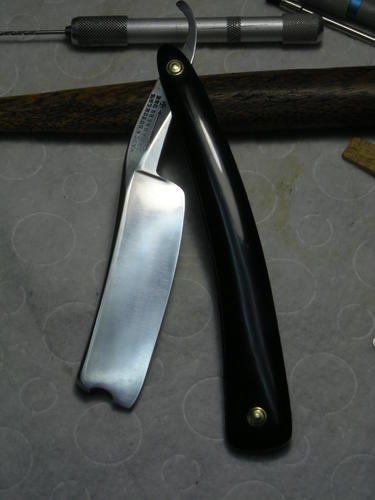
So after going down through the grits, the bottom one smoothed out as much as I dare. I did spend much longer on the 8000/12000 than the lower stuff.
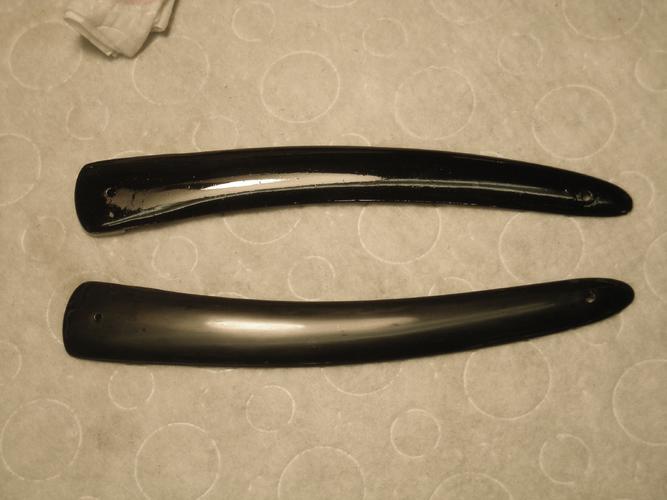
Micromeshed both, 3 rounds of polish with Maas, 3 coats of RenWax. Stuff seems sticky with the Maas on it, so gotta polish and get it off fast!
Turned out nice, I think. The defects are where I thought they may remain, but not so bad for a 'butchered' set of scales. Once pinned-up with other things going on, I think they will look pretty good.
 "Don't be stubborn. You are missing out."
I rest my case.
-
-
09-28-2015, 05:12 PM #1272
 Originally Posted by outback

Mike, I had no doubts about it. I knew she would be a great kisser. Good job brother.
I posted this earlier & came back & it wasn't here???????????
-
The Following User Says Thank You to engine46 For This Useful Post:
outback (09-28-2015)
-
09-28-2015, 07:01 PM #1273Razor Vulture
- Join Date
- Oct 2010
- Location
- Lone Star State
- Posts
- 26,150
Thanked: 8616
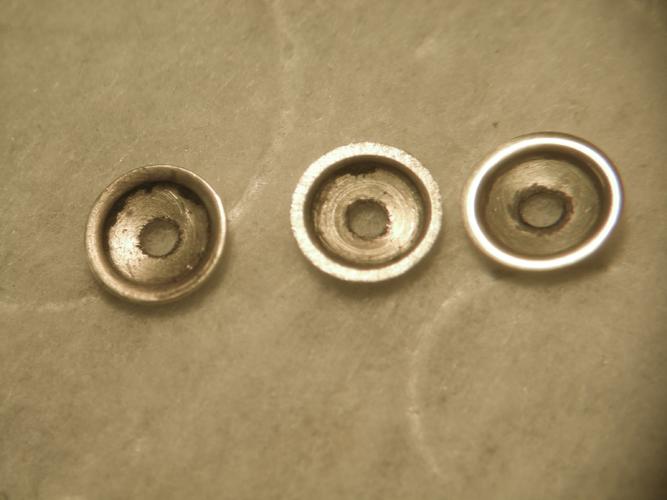
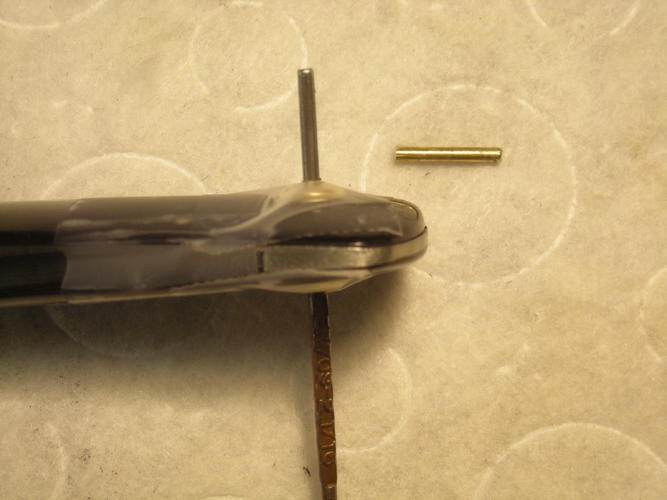
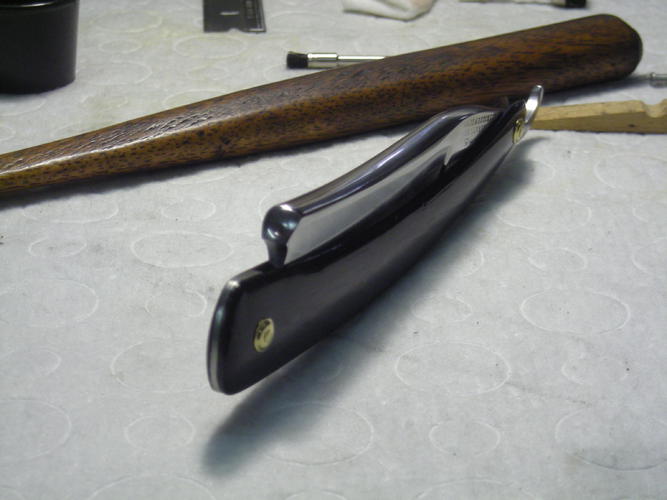
A trick I learned the hard way about domed collars is that those from Babur and AJKeene are quite stiff and have tapers to the outsides. This can cause them to 'dig-in' and crack bone, pearl, and in this case, possibly my scale coating.
I chuck them up backwards in my pin-vise as I did to polish the tops, but this time, sand them nice and flat on sandpaper. They can even be 'sized' in this manner to lay lightly upon the scale with the peening load mostly on the under-collar if desired. Then, I take them out to the buffer, still in the pin-vise, and buff them smooth, inside and outside edges rounded a bit. 2nd pic shows, left to right, new, sanded, and polished.
A bit of insurance!

 "Don't be stubborn. You are missing out."
I rest my case.
-
-
09-28-2015, 07:48 PM #1274
Thanks Tom Originally Posted by sharptonn
sharptonn likes this.
-
09-28-2015, 09:09 PM #1275www.edge-dynamics.com

- Join Date
- Feb 2013
- Location
- London
- Posts
- 3,066
Thanked: 512
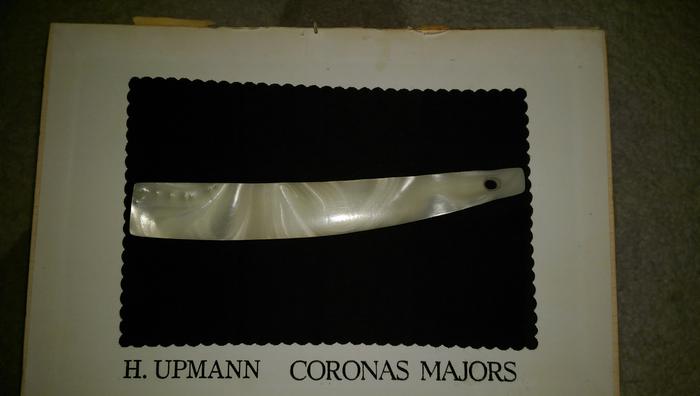
I wish I would have asked for advise before I ruined my favourite scales. Originally Posted by outback
Pearlex from Hart Steel for my 7/8th's . Hart don't produce them any more.
I tried to straighten them with a piece of wood and elastic bands, then placed on top of my AV receiver. Knowing it gets hot down there , I thought they would become supple.
They became way too supple and the elastic bands cut into them, all along the edges. You can see the pin holes are now oval shaped .
Maybe I can re shape them one day. Add a wedge also.
One thing I have learnt from this thread: Everything is salvageable ...... I will form a plan.
Last edited by JOB15; 09-28-2015 at 09:13 PM.
-
09-28-2015, 09:43 PM #1276Razor Vulture
- Join Date
- Oct 2010
- Location
- Lone Star State
- Posts
- 26,150
Thanked: 8616
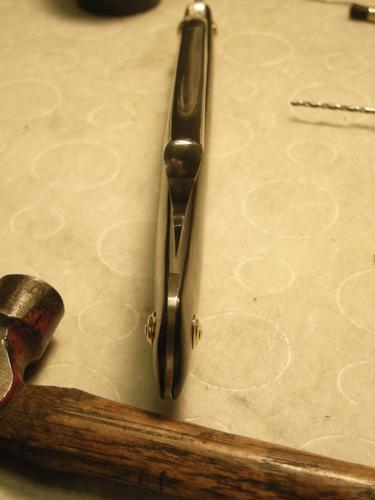
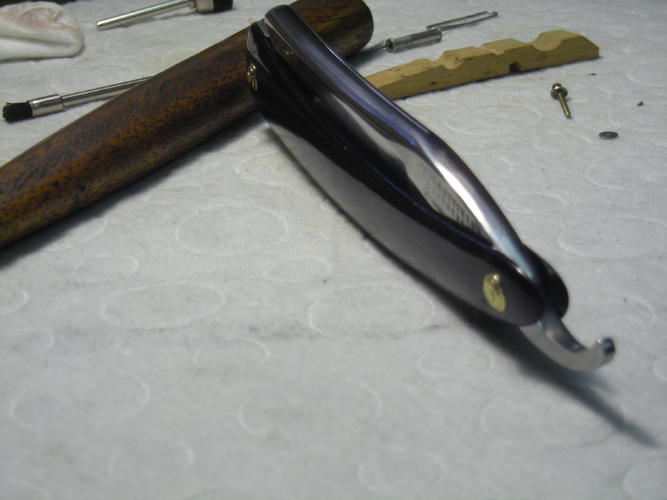
Ohhhtay. Mocked it all up with nutsy-boltsies and spacers, collars, just as I did above to size the wedge.
Scotch-taped it up, two pieces of scotch tape to hold the collars on. Removed the bottom nut/bolt,insert brass rod, cut and size pin, remove temporarily with a mandrel to wire-brush the edges of the pin from grinding to size.
Pin back in, peened some till collars will stay put.
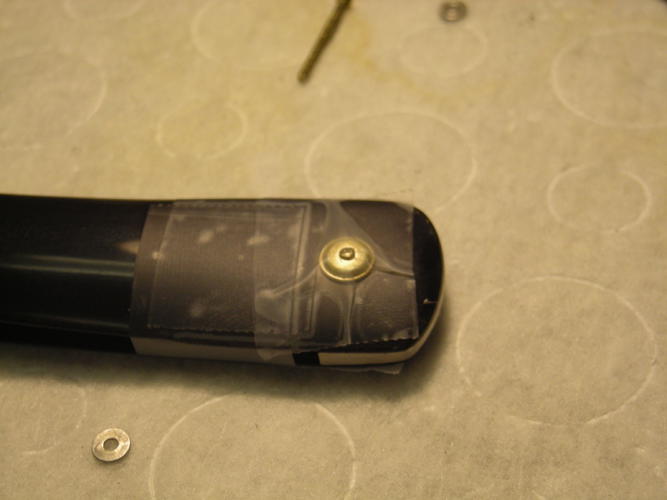
Then, removed tape over the collars, peened some more. Took tape off the scales, a bit more.
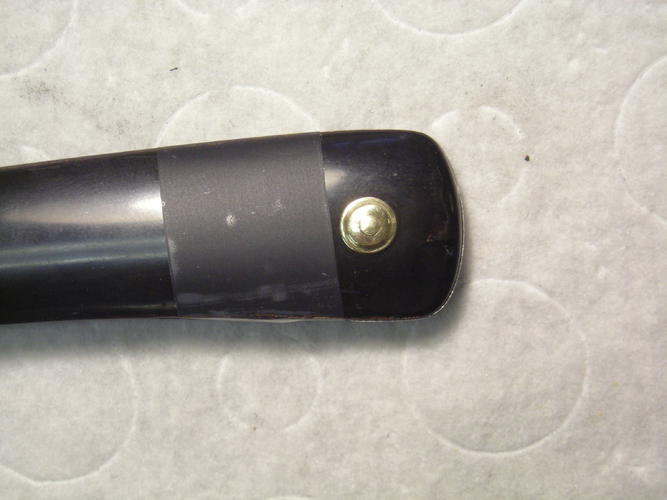
Unbolt top, checked and peened til a tiny bit of movement down there. Don't want it too tight at the wedge end so I can make 'adjustments' if need be. Never move it much. Much disappointment shall await. Don't be swinging the things to do the top. Spread them and feed them is best after pinning on the wedge end, IMO
Pinned the top the same way, got it snug, checked closure. Beeyatch wants to close to the front scale now!
I'll show it! Put blade in a bit of a bind with a half clothespin. Tightened up top AND bottom with clothespin pushing.
 Really just pushing the pins over in the holes while getting it tight.
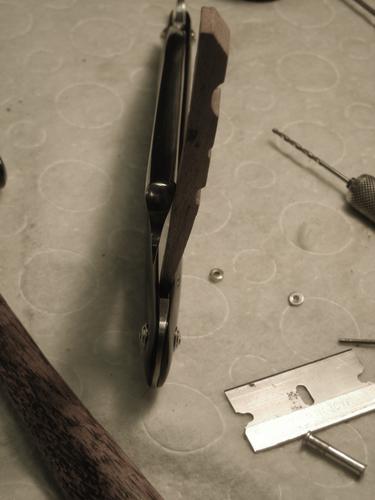
Don't laugh! (ok laugh!) But it works if you are close!
Last edited by sharptonn; 09-29-2015 at 02:49 AM.
"Don't be stubborn. You are missing out."
I rest my case.
-
-
09-28-2015, 09:52 PM #1277Razor Vulture
- Join Date
- Oct 2010
- Location
- Lone Star State
- Posts
- 26,150
Thanked: 8616
.................................~Fin~............ ......................
 "Don't be stubborn. You are missing out."
I rest my case.
-
The Following User Says Thank You to sharptonn For This Useful Post:
ajkenne (10-01-2015)
-
09-28-2015, 09:54 PM #1278
I won't laugh at ya Tom. It could work & I laugh when I'm funnin' with ya. Originally Posted by sharptonn
Bad day.............I'm calling it Mad Monday!
-
The Following User Says Thank You to engine46 For This Useful Post:
sharptonn (09-30-2015)
-
09-28-2015, 10:01 PM #1279Razor Vulture
- Join Date
- Oct 2010
- Location
- Lone Star State
- Posts
- 26,150
Thanked: 8616
Yeah, Steve. I am hip. In case you cannot tell, it's been real slow around here to-day.
"Don't be stubborn. You are missing out."
I rest my case.
-
09-28-2015, 10:03 PM #1280
I was too slow with the previous post, typing with one hand & pizza in the other. Looks like it worked out.............congrats Tom.
EDIT: Yeah, I understand. Other bs here.Last edited by engine46; 09-28-2015 at 10:06 PM.
sharptonn likes this.


 Reply With Quote


