Results 16,991 to 17,000 of 20573
Thread: What are you working on?
-
08-25-2019, 11:48 PM #16991Senior Member


- Join Date
- Feb 2013
- Location
- Haida Gwaii, British Columbia, Canada
- Posts
- 14,443
Thanked: 4828
Paul, I too would more or less leave it as is. I’m not a fan of spike point square tips anyway, and a lot of vintage square points are slightly rounded as to kill the spike point. Any serious spikes I have get the spike removed anyway, but nor dramatically either.
A-A-Ron those blades are looking like they are ready for scales. I liked you material choice and I really look forward to seeing them finished.It's not what you know, it's who you take fishing!
-
08-26-2019, 12:05 AM #16992

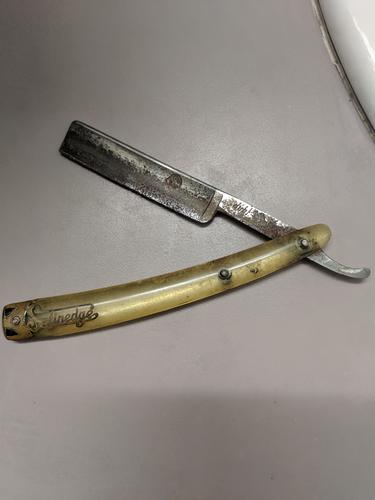
A couple of sets of NOS Satinedge replacement scales are here, Aaron
.........Not as fancy as the originals.
Stamped Satinedge on one side. Dubl-Duck on the other. Some shelf-wear. Can be polished.
-
08-26-2019, 12:16 AM #16993

I too would clean off the pointy parts of the tip and hone it. No need to cut it or grind it round.
It's just Sharpening, right?
Jerry...
-
08-26-2019, 12:52 AM #16994
-
08-26-2019, 01:06 AM #16995

Let me find them..I think I know
-
08-26-2019, 01:37 AM #16996
 Iron by iron is sharpened, And a man sharpens the face of his friend. PR 27:17
-
08-26-2019, 01:44 AM #16997

That's exactly what I figured everyone would say an exactly what I plan to do: pretty much nothing. I thought about taking the point down square a third to half the way through the chip but I don't think I'm even going to do that. I've already cleaned it up and honed it and it shaves like a dream.I too don't really care for that spike point. I cut the bejesus out of myself with a twin works 401 and it left a scar. I thought I was going to have to have stitches with that one. It took me over an hour to get the bleeding to stop or at least to stop bleeding like crazy.
Last edited by PaulFLUS; 08-26-2019 at 02:28 AM. Reason: Change "crack" to "chip"
Iron by iron is sharpened, And a man sharpens the face of his friend. PR 27:17
-
08-26-2019, 03:10 AM #16998

Okay make that 2 big cracks.
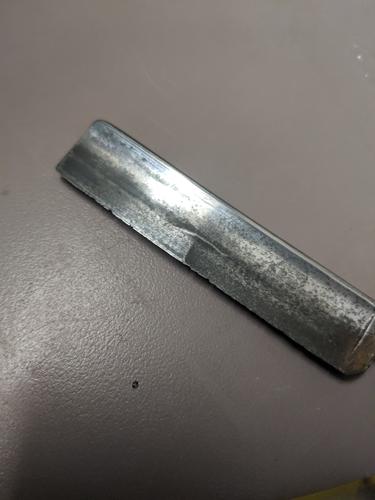
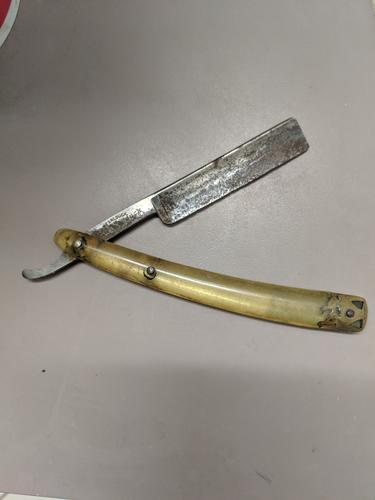
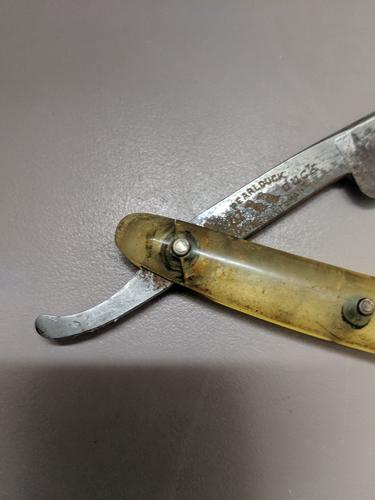
It doesn't matter because I was really offering it for the scales but looking at them now I feel like I offered you an old jalopy. I was trying to figure out whether that bolster and the Satinedge inlay was plated or not.
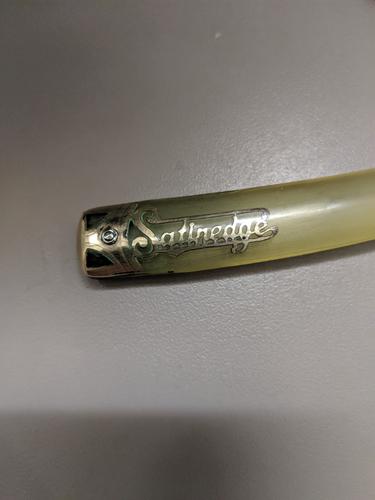
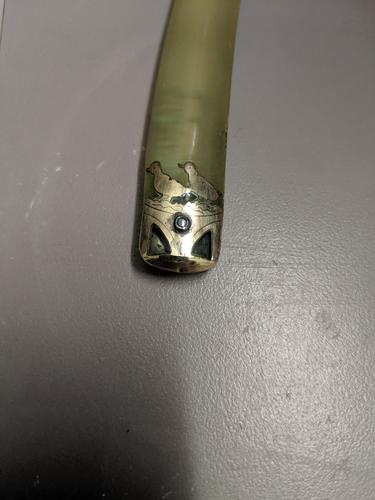
If it was my assumption is it would have been nickel but the brass shined up fairly well after a couple of minutes worth of buffing. If you're interested in it you can have it. If you're not I'm not insulted and didn't intend to insult you.Last edited by PaulFLUS; 08-26-2019 at 03:13 AM.
Iron by iron is sharpened, And a man sharpens the face of his friend. PR 27:17
-
08-26-2019, 03:50 AM #16999

Those would be good to transfer the brass inlays. I had 6 unused sets of these I have at one time. 2 left.
Plain-Jane hot-stamped translucent scales.
Seems apparent Satinedge scales went bad even back then?
Why else would so many replacement scales be necessary?
I will find them and post them up to-morrow.
-
08-26-2019, 04:59 AM #17000Senior Member


- Join Date
- Apr 2012
- Location
- Diamond Bar, CA
- Posts
- 6,553
Thanked: 3215
I meant to use the Crocus paper dry to sand a satin finish after you polish with the 3M. But your method seems to work pretty well for a bright finish.
Now, if you wanted a satin finish you can sand with the Crocus dry.
You may be on to something, years ago when I was researching the old “Black Polish”, of Hinchcliffe, in the 1700’s, a high bright polish used on Sheffield cutlery.
They were using seal skin leather coated wheels, with squares of leather glued on edge and packed tightly onto large wooden wheels. The wheel was coated with a glue, probably hide glue and rolled in Ferrous Oxide powder, repeated application made a thick coating. The leather heated up and had a bit of give, a judicious application of drops of water, FO powder and pressure produced the lustrous finish, that was so deep, it looked black.
Which you may be reproducing with your seal skinned fingers…
10pups had a great tutorial on making new clear scales for the ducks and fitting the bolsters, step by step, might even be in the wiki. I hav done it once, there is a trick to it and lots of fiddling, the bolsters are super thin. The work is in fitting the bolsters.


 91474Likes
 LinkBack URL
 About LinkBacks


 Reply With Quote


