
Results 2,041 to 2,050 of 4688
 13682Likes
Thread: The Butchered Blade
 LinkBack URL
 About LinkBacks
-
10-21-2015, 04:04 PM #2041Senior Member


- Join Date
- Mar 2015
- Location
- Akron, Ohio
- Posts
- 12,069
Thanked: 4312 And it's gorgeous, I might add.
 Originally Posted by MikeT
 Mike
Mike
-
The Following User Says Thank You to outback For This Useful Post:
MikeT (10-21-2015)
-
10-21-2015, 04:26 PM #2042Senior Member
- Join Date
- Mar 2015
- Location
- Akron, Ohio
- Posts
- 12,069
Thanked: 4312
Just went for a look, being I'm home sick.
It's got its own grind, thats for sure. How bout 1/3 hollow. It cuts in under the spine quite a bit, then tapers quickly to the edge, kind of semi wedge like..
The Fon is on the left, moving right is a W Taylor, wedge and a fredricks near wedge maybe 1/4 hollow.Mike
-
10-21-2015, 06:26 PM #2043Razor Vulture

- Join Date
- Oct 2010
- Location
- Lone Star State
- Posts
- 26,119
Thanked: 8612
Well. Got My Red Devil unpinned as well as the bottom of the ivory scales.
After scrubbing and sanding on the ivory a while, the tang on the previous blade had been allowed to rust. The rust had permeated the scales at the pivot. Not so bad, but this razor is going to a good friend.
Started thinking about Red devil.....Red scales, red tang stamps.....devil inlay!
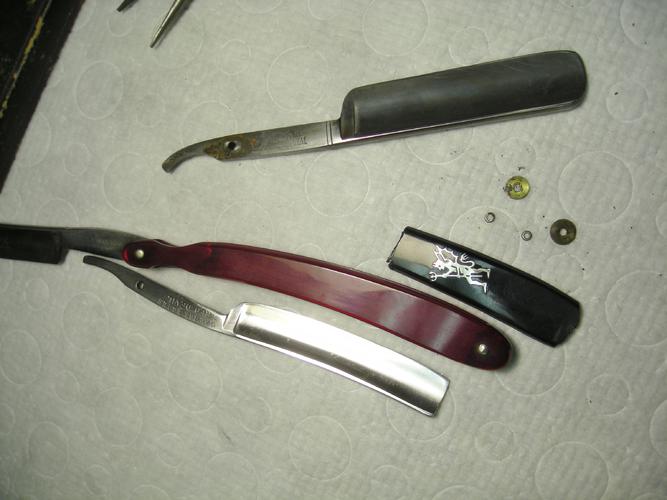
My devilish side began to peruse the pile. I had bought a nice Winchester blade crudely smacked into some rough Noonan Black Devil scales a long while back. There's an inlay! Finally looked in my 'razor table' and this Marshall Wells with a toasty blade came out!
So I know how to remove the inlay, no sweat. However, getting CA on the back and setting it on the scale straight without making a bloody mess is another thing. Got some reading on that to do.
Any advise?"Don't be stubborn. You are missing out."
I rest my case.
-
10-21-2015, 07:24 PM #2044Razor Vulture
- Join Date
- Oct 2010
- Location
- Lone Star State
- Posts
- 26,119
Thanked: 8612
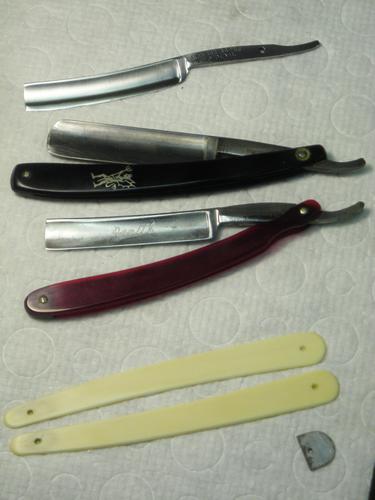
So I got the inlay victim apart. Salvaged the Winchester blade, the bottom collars and both spacers. (Parts!)
Went out and polished the inlay before removal. Blade looks a good fit for the scales and the Wells blade has a crack anyway. I dulled the blade good and will leave it pinned for stability as I attempt the inlay. I think I can replicate the collarless peens on the bottom OK, so I will just leave the bottom pinned. A little work so far on the blade. Need to get it a bit better and paint the tang stamps. Onward and forward.
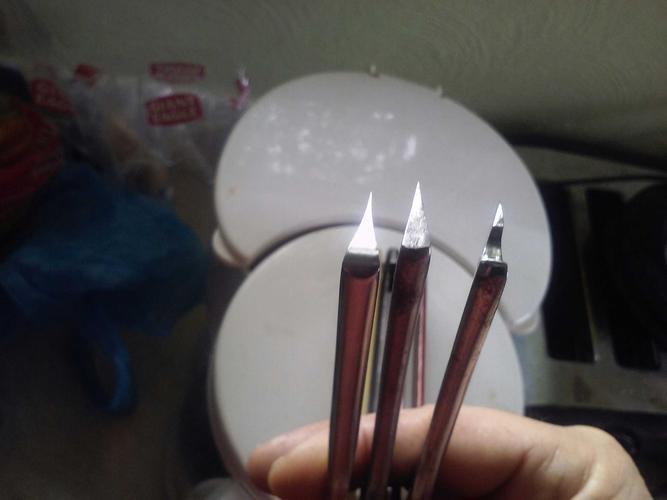
Set up with a glass container to work in, a tin container with a lid for an acetone 'Bath' to put the inlay into to dissolve any further celluloid off of it. Various picks, tweezers, hemostats.
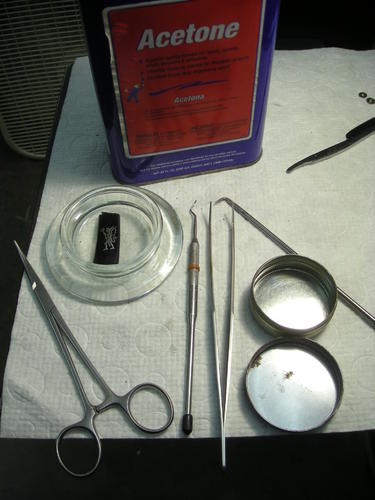
Here goes!Last edited by sharptonn; 10-21-2015 at 07:27 PM.
"Don't be stubborn. You are missing out."
I rest my case.
-
The Following User Says Thank You to sharptonn For This Useful Post:
MikeB52 (10-21-2015)
-
10-21-2015, 07:34 PM #2045
Originally Posted by sharptonn
Right on Tom, that makes perfect sense so far!
-
10-21-2015, 07:44 PM #2046Senior Member


- Join Date
- Dec 2013
- Location
- Virginia
- Posts
- 1,516
Thanked: 237
I ran into the same issue when making scales for my henckels #14. I saved the inlay, but did not have any clue how to attach it to the new ebony scales. I just left it off for now, the blade is with glen now. He should be making a sort of tutorial, so I'm excited to see what he had to do to get it centered.
-
10-21-2015, 08:22 PM #2047Razor Vulture
- Join Date
- Oct 2010
- Location
- Lone Star State
- Posts
- 26,119
Thanked: 8612
I know good and well Glen has made tutes on this . Gonna hit the workshop sticky's to see. Originally Posted by prodigy
I wondered how that razor was coming?Last edited by sharptonn; 10-21-2015 at 08:39 PM.
"Don't be stubborn. You are missing out."
I rest my case.
-
10-21-2015, 08:36 PM #2048Razor Vulture
- Join Date
- Oct 2010
- Location
- Lone Star State
- Posts
- 26,119
Thanked: 8612
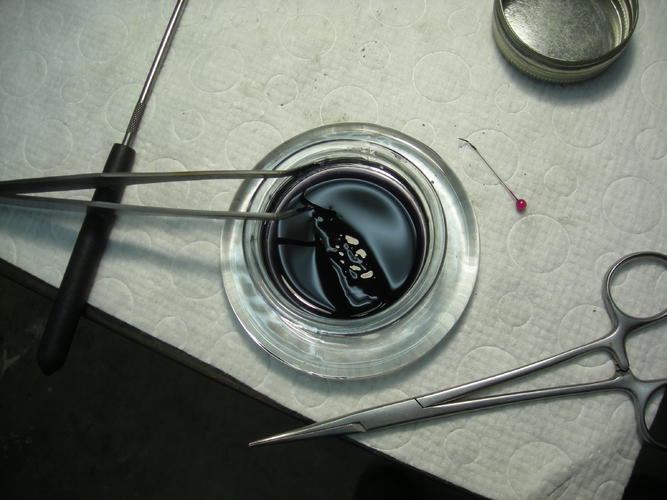
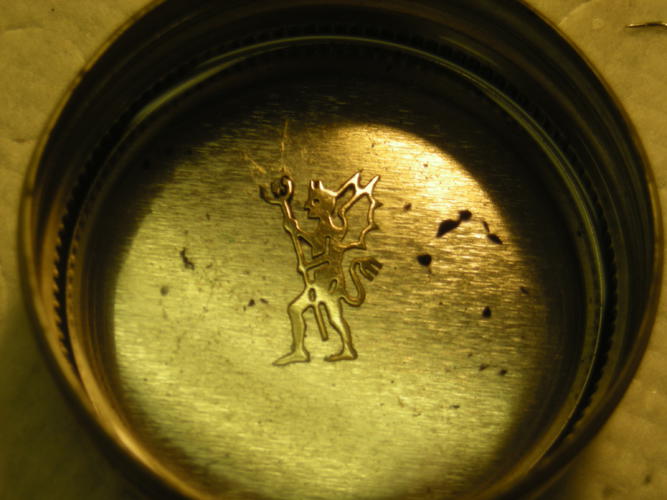
Ohhhtay! This inlay has some delicate points, so no rush here. Took me 30 minutes to get the thing off!
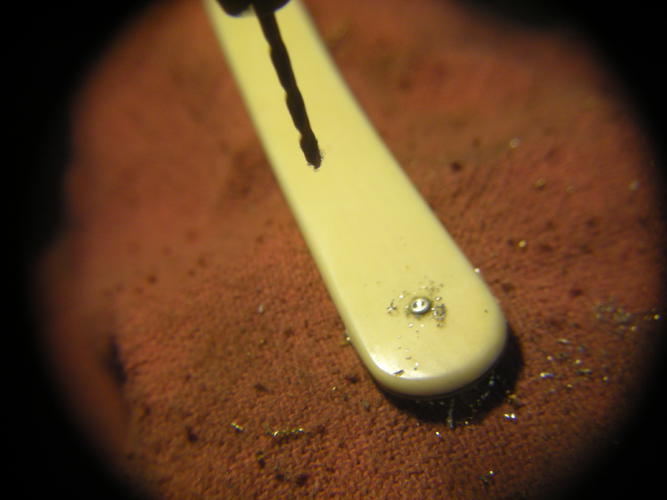
Poured the acetone over it and waited. flipped it over and over. Got pretty murky and mushy. My tools were getting black goo stuck on. Finally arrived at the weapon of choice, a straight pin bent over worked best. Using the flat of the pin, kept pushing the black mud gently off the inlay. Finally the scale stuck to the glass and quit moving around.
It got pretty bad!
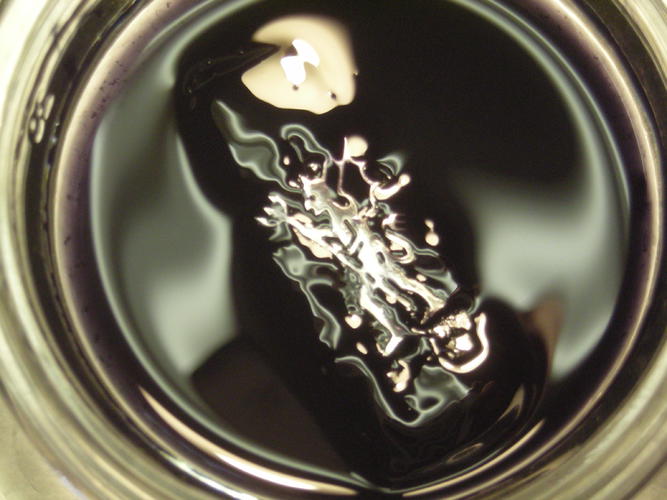
In desperation, I took the mess outside and poured the black stuff off, brought it back in and poured some fresh acetone on it. Much better!
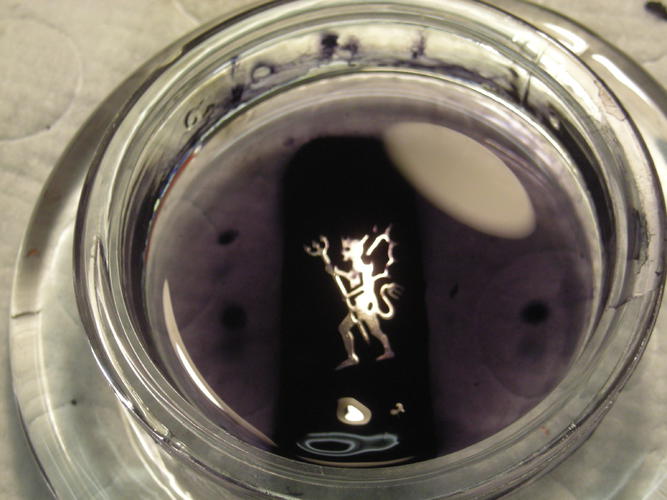
After much ado I finally got it off by sticking the point of my bent pin under at more solid points and using it as a tiny prybar, swishing the acetone around, waiting and being patient for the points to let go.
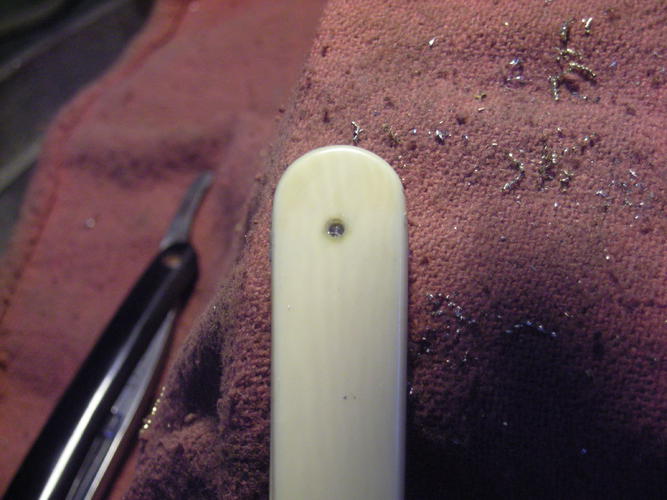
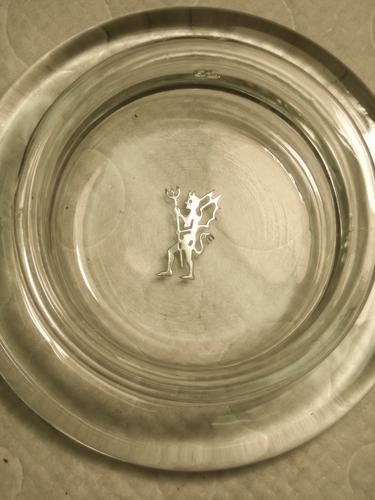
Stuck it into my tin and added acetone and swished it around. I saw the acetone was reacting a bit with the galvanized container, so I went out and cleaned my glass dish and transferred it over.
swished it around more, looks clean, so I am just letting the acetone evaporate.
I so have a buzz! "Don't be stubborn. You are missing out."
I rest my case.
-
-
10-21-2015, 08:37 PM #2049Senior Member
- Join Date
- Mar 2015
- Location
- Akron, Ohio
- Posts
- 12,069
Thanked: 4312
Maybe the slow cure CA. Originally Posted by sharptonn
Gives u 30-40 seconds before it sets. Same stuff I use on scales.Mike
-
10-21-2015, 08:38 PM #2050Senior Member
- Join Date
- Dec 2013
- Location
- Virginia
- Posts
- 1,516
Thanked: 237
There are several, but I find them to be more confusing than helpful. Not to say they aren't useful, it's just frustrating when you try something and it makes things worse rather than better. I learn better by doing, or watching, and not so well by reading. I feel the only true way to make the issue right would be to straighten the tang, rather than accommodate the scales to fit in said warped razor. The last razor I tried that on snapped, and I got that info straight from one of the tutorials (no warning of breaking razors mentioned). I also don't trust myself to heat a tang to Temps high enough to bend it back without ruining it, so with every option I always end up back at square one. Hopefully I can find some less expensive warped blades that I can fool around with, that would be perfect Originally Posted by sharptonn


 Reply With Quote

