
Results 3,381 to 3,390 of 4688
 13682Likes
Thread: The Butchered Blade
 LinkBack URL
 About LinkBacks
-
01-02-2016, 07:41 PM #3381Razor Vulture


- Join Date
- Oct 2010
- Location
- Lone Star State
- Posts
- 26,185
Thanked: 8621
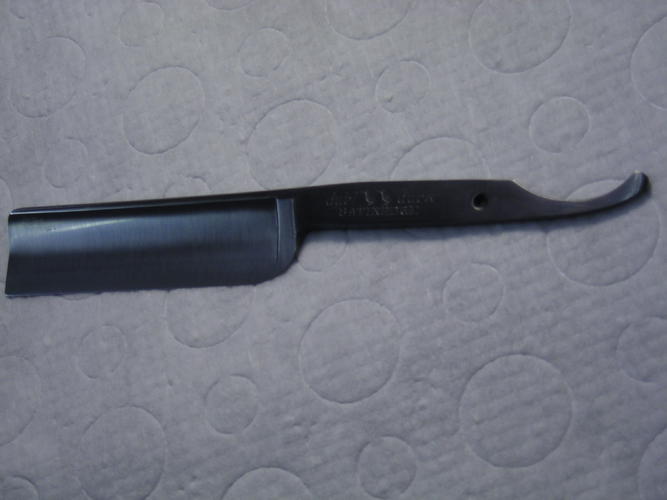
Here it is after sitting oiled a few days. Turned out pretty nice. I neglected to say I took about a 64th off the end of the blade as I had sanded so much (due to the pitting from the original wedge breaking down with cell rot) it was a bit wavy at the front of the blade. Hitting the hone wear with a hard buffing wheel longways trims it up nicely down the spine. Good pics of a blue-job are hard to take, for some reason.
(NO Smurf jokes, PLEASE!)
Blued the spine and around the nose as well. All I have done this with have held-up quite well.
Now, to clean the tang stamps good with alcohol and let that dry good and attempt the RubNBuff silver.....
Last edited by sharptonn; 01-02-2016 at 08:42 PM.
"Don't be stubborn. You are missing out."
I rest my case.
-
01-02-2016, 08:56 PM #3382Razor Vulture
- Join Date
- Oct 2010
- Location
- Lone Star State
- Posts
- 26,185
Thanked: 8621
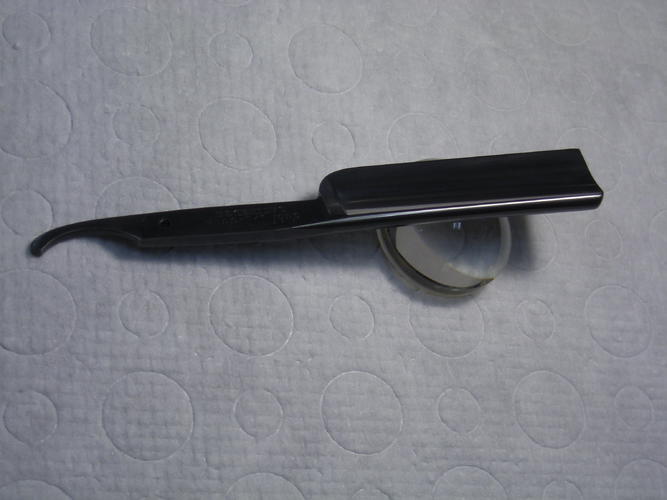
So, picking down in the stamps with a pin as best I could, cleaned both sides with alcohol and dried well, I stuck it back on the magnetic jig to hold it still.
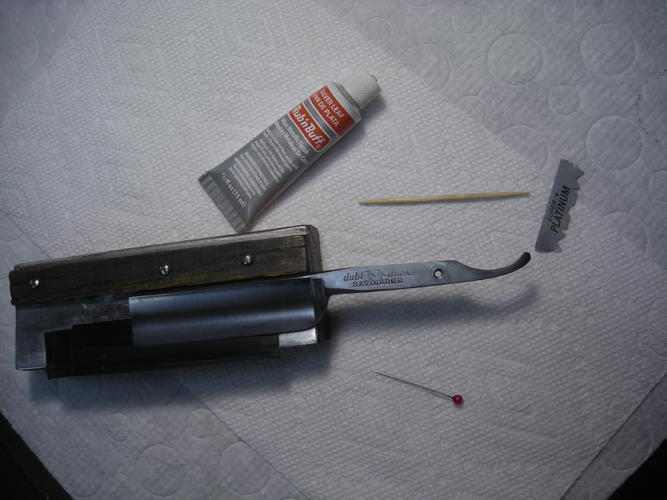
I shake the little tube of RubNBuff good and apply a tiny bit to the tip of a toothpick and dab it on the letters and ducks.
Just this tiny bit is all needed! Then, I spread it with the toothpick flat, back and forth, up and down, forcing it into the recesses. Then, wipe off the top with a fresh business card, keeping it as confined to the stamp area as possible.
This takes most of it off the top.
Allow to dry a while and rubbing it with the thumb takes the rest off nicely, leaving it in the stamps. This takes a little while!
Not too bad! It gets in every pit and scratch/defect. Not much to be done there...
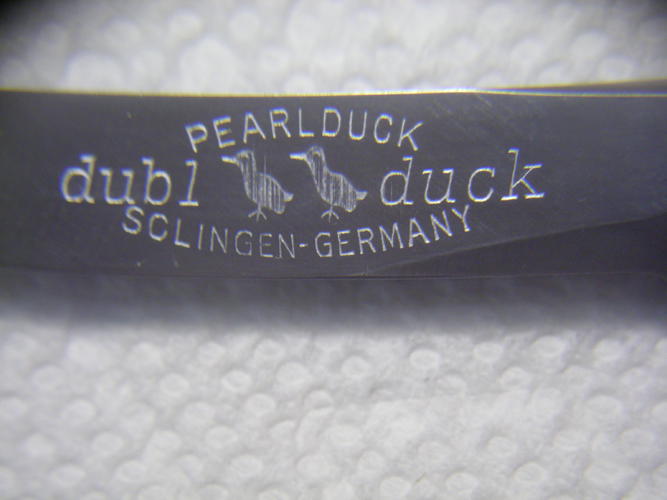
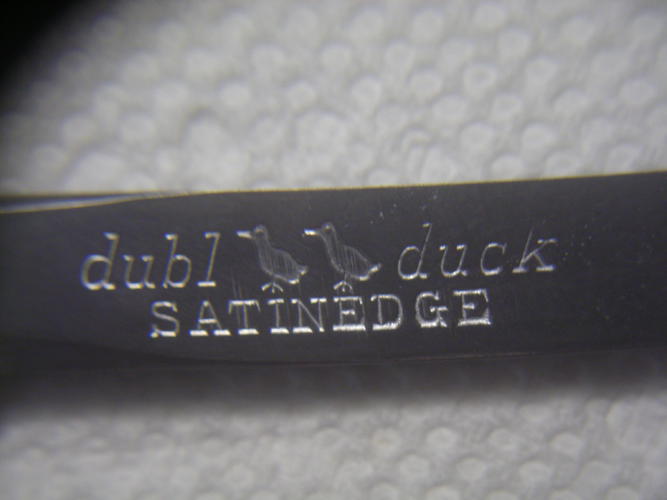
Interestingly, the shallow rear stamp turned out better than the front one, I think. Oh well, they will stand out, so that is the idea.
Will dry for a day or two, TuffGlide it all (being gentle with the stamps), and get with the scales.
 "Don't be stubborn. You are missing out."
I rest my case.
-
-
01-02-2016, 09:01 PM #3383Senior Member


- Join Date
- Apr 2013
- Location
- Rural Missouri
- Posts
- 4,981
Thanked: 972
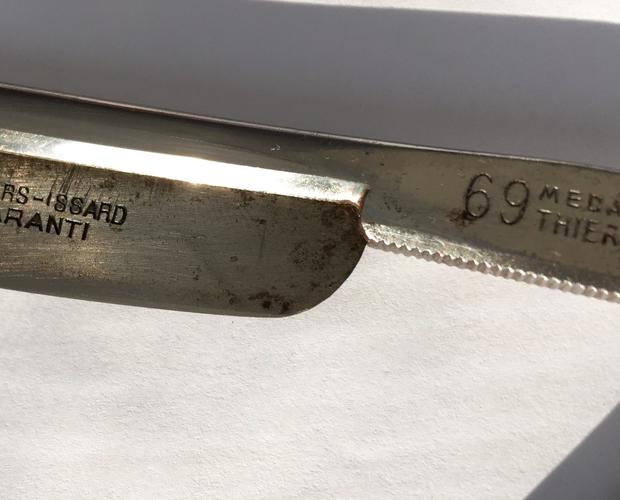
Anybody have any experience with TI frame backs?
I'm trying to clean some rust spots on the blade and was planning to use MAAS on the blade. If I got MAAS on the frame, woyld it mess up the plating?
-
01-02-2016, 09:09 PM #3384Razor Vulture
- Join Date
- Oct 2010
- Location
- Lone Star State
- Posts
- 26,185
Thanked: 8621
Won't hurt the spine, I would think. Are you certain it is plated? Smear the polish on and work it with a toothpick, toothbrush, q-tip. Originally Posted by Leatherstockiings
 Leatherstockiings likes this."Don't be stubborn. You are missing out."
I rest my case.
-
The Following User Says Thank You to sharptonn For This Useful Post:
Leatherstockiings (01-02-2016)
-
01-02-2016, 09:21 PM #3385Senior Member


- Join Date
- Oct 2011
- Location
- Standish, Maine
- Posts
- 816
Thanked: 954
MAAS will not hurt plating. I've used it on Geneva/Genco and Clauss blades that were plated. Works just fine. Originally Posted by Leatherstockiings
sharptonn and Leatherstockiings like this.
-
The Following User Says Thank You to karlej For This Useful Post:
Leatherstockiings (01-02-2016)
-
01-02-2016, 10:04 PM #3386Senior Member

- Join Date
- Feb 2013
- Location
- Haida Gwaii, British Columbia, Canada
- Posts
- 14,457
Thanked: 4830
Is the TI blade not removable? I thought TI was one of the brands that the blade could be changed or removed.
It's not what you know, it's who you take fishing!
-
01-02-2016, 10:20 PM #3387Senior Member
- Join Date
- Apr 2013
- Location
- Rural Missouri
- Posts
- 4,981
Thanked: 972
I think the ones with changeable blades have a screw. This blade appears to have been clamped in the frame. Originally Posted by RezDog
Last edited by Leatherstockiings; 01-02-2016 at 11:09 PM.
RezDog likes this.
-
01-02-2016, 10:49 PM #3388
Okay, I have some catching up to do. Originally Posted by MikeB52
B52, I have found that in certain cases, heat works very good when applying something like that to metal. Years ago when I was building my first Harley, I was painting some things in wrinkle black spray paint & I found the best way to get it to wrinkle up really good & for it to do it's job to the max was to heat up the piece being painted. At the time I used the oven on a transmission case.
Tom, the bluing & the RubNBuff job all worked out very good. You da man!!!! Originally Posted by sharptonn

On the ones w/o screws, the blades do not come out. They are very similar to a Jaques Lecoultre & I think I do have a Jaques Lecoultre with a fixed blade. Originally Posted by Leatherstockiings
-
The Following User Says Thank You to engine46 For This Useful Post:
sharptonn (01-03-2016)
-
01-03-2016, 12:10 AM #3389Str8Faced Gent.


- Join Date
- Aug 2013
- Location
- Orangeville, Ontario
- Posts
- 8,465
- Blog Entries
- 1
Thanked: 4207
Great tips Tom, and really nice mark definitions. Originally Posted by sharptonn
 sharptonn likes this."Depression is just anger,, without the enthusiasm."
Steven Wright
https://mobro.co/michaelbolton65?mc=5
-
The Following User Says Thank You to MikeB52 For This Useful Post:
sharptonn (01-03-2016)
-
01-03-2016, 02:36 AM #3390Razor Vulture
- Join Date
- Oct 2010
- Location
- Lone Star State
- Posts
- 26,185
Thanked: 8621
Been thinking about this..Instead of oiling and steel-wooling, you just let the last application sit until you see some light rust and then oil the blade and let that sit to kill the reaction? How long? Need to try that. Originally Posted by outback
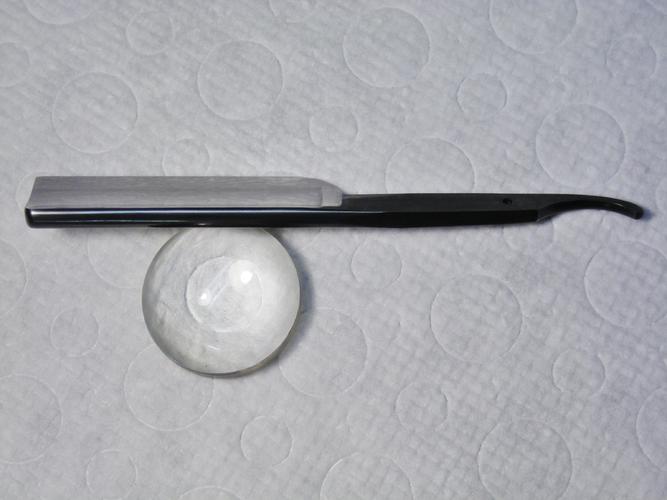
Mine are always nice and blue, yet very reflective after the oil/steel wool. Hard to photograph!"Don't be stubborn. You are missing out."
I rest my case.


 Reply With Quote
