
Results 801 to 810 of 4688
 13682Likes
Thread: The Butchered Blade
 LinkBack URL
 About LinkBacks
-
09-18-2015, 12:30 PM #801Senior Member


- Join Date
- Jun 2015
- Location
- South Carolina
- Posts
- 1,838
Thanked: 516 Hey you want to try amber? I'll throw some other goodies in there too
 Originally Posted by MikeB52

 pm me your info.
You must unlearn what you have learned.
pm me your info.
You must unlearn what you have learned.
Yoda
-
09-18-2015, 03:38 PM #802Razor Vulture


- Join Date
- Oct 2010
- Location
- Lone Star State
- Posts
- 26,152
Thanked: 8616
Looking good, MikeT! I dig that lined look on the wedge.
"Don't be stubborn. You are missing out."
I rest my case.
-
The Following User Says Thank You to sharptonn For This Useful Post:
MikeT (09-18-2015)
-
09-18-2015, 04:09 PM #803www.edge-dynamics.com

- Join Date
- Feb 2013
- Location
- London
- Posts
- 3,066
Thanked: 512 2nd Restoration.
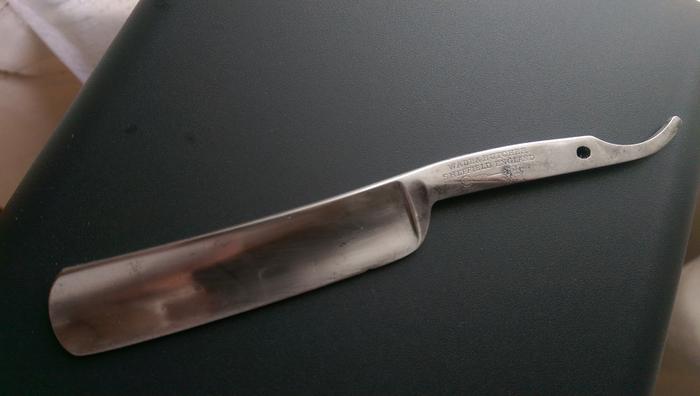
Hi, I'm working on my second restoration, another W&B.
It's a 5/8th . Scales are dead but I've kept one half as a stencil .
At the moment I'm sanding it with 400 grit paper.
On the tang there is deep pitting with black inside, around the W&B logo.
Whilst sanding I noticed a few of the arrow feathers disappearing, so I stopped and decided to live with the pits. I cant seem to remove the black within the pits though.
I did try the Dremel with compound to see what would happen , but no joy.
Any advise?
Many thanks.
Edit: No problem. I Googled it. Either sand it away or live with it.Last edited by JOB15; 09-18-2015 at 05:16 PM.
-
The Following User Says Thank You to JOB15 For This Useful Post:
sharptonn (09-18-2015)
-
09-18-2015, 05:35 PM #804Senior Member


- Join Date
- Mar 2015
- Location
- Akron, Ohio
- Posts
- 12,107
Thanked: 4313
Hey glad to have you aboard.
Do you have a wire wheel for your dremmel.
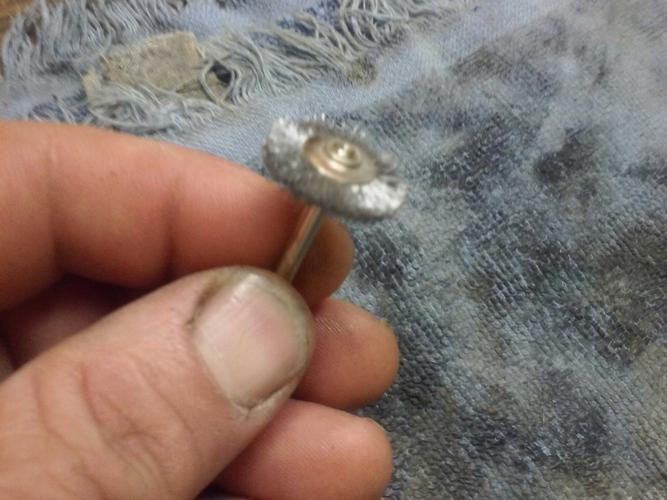
If you do , try that.
Rotation of wheel should be away from pitt. Then turn blade either clockwise or counter clockwise while doing little circles with the dremmel.
Hopfully you understand what im saying.
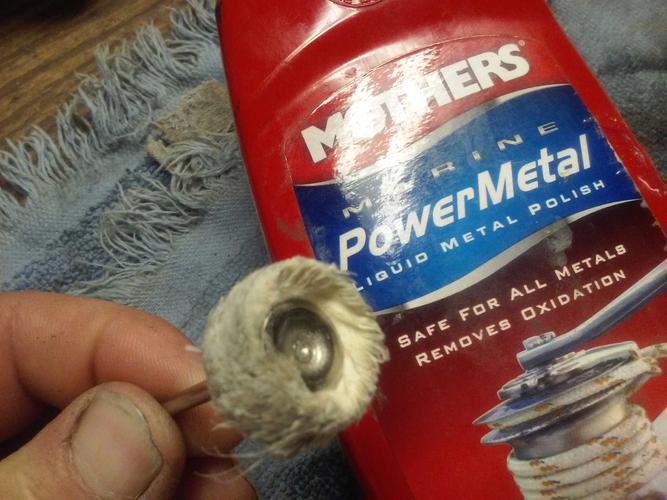
Then you can use a rag wheel and metal polish to brighten it back up.
If you have any CR/OX. CRAYON, that will help even more, before the polishLast edited by outback; 09-18-2015 at 05:39 PM.
Mike
-
The Following User Says Thank You to outback For This Useful Post:
Geezer (09-18-2015)
-
09-18-2015, 05:58 PM #805Razor Vulture
- Join Date
- Oct 2010
- Location
- Lone Star State
- Posts
- 26,152
Thanked: 8616
Hey, Job15! It is surprising how well an old toothbrush and some scouring powder works getting down in places.
"Don't be stubborn. You are missing out."
I rest my case.
-
The Following User Says Thank You to sharptonn For This Useful Post:
JOB15 (09-18-2015)
-
09-18-2015, 06:00 PM #806www.edge-dynamics.com
- Join Date
- Feb 2013
- Location
- London
- Posts
- 3,066
Thanked: 512
Many thanks. Originally Posted by outback
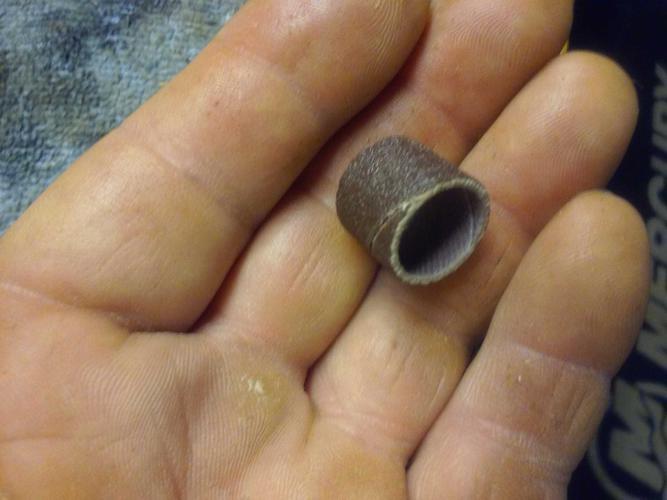
I was thinking of trying the Dremel solid sleeve type sander. I used it on my Motorcycle exhaust system and it ate the metal away quite violently .
I did wonder what that wheel you show was for, now I know.
The only issue is that I will lose the arrow head and cross completely of the W&B symbol but I think I'd rather that than have black parts.
I have some compound for cars , I will use that pre polish. In fact I will use the Dremel then get back to the hand sanding progression .
Thanks again. I will post finished pictures. I have 4 W&B to mess about with at the moment.sharptonn likes this.
-
09-18-2015, 06:23 PM #807Senior Member
- Join Date
- Mar 2015
- Location
- Akron, Ohio
- Posts
- 12,107
Thanked: 4313
Dont sand the stamp on the tang , wire wheel and polish. Not wide open throttle either. [emoji6]
The wire brush isnt going to hurt good steel, on the tang.
What sanding progression are you at ( grt. Paper)
PS. These i only use for shaping scales, and major surgery , after amputation of a broken toe, to round off the end of the spine.
They are evil for anything else.
JMO
 Mike
Mike
-
-
09-18-2015, 06:23 PM #808Razor Vulture
- Join Date
- Oct 2010
- Location
- Lone Star State
- Posts
- 26,152
Thanked: 8616
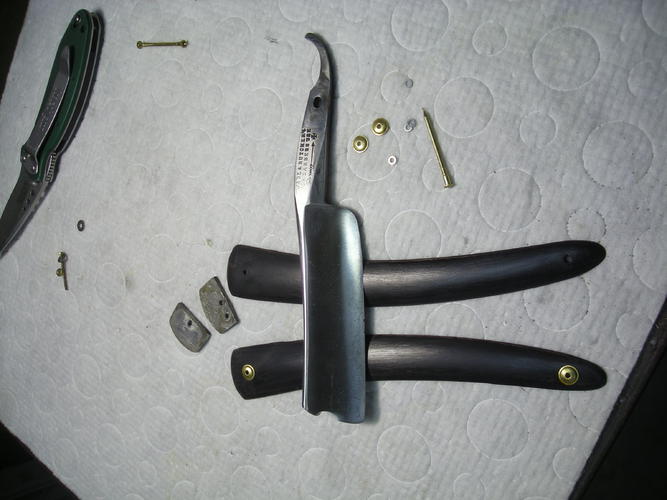
I am going to take the weekend off as far as razors go, but have pieced together my next project.
A decent Barber's use wedge, 15/16 plus which has been lightly re-ground and straight-honed. It has chips in the edge. A bit of reprofile to get some smile back and honing the chips out. May be a 15/16 at the belly as I finish.
I did extensive epoxy work on these scales a few years ago. Need to add a bit of Sharpie, sand and texture, soak with neetsfoot.
Going to use Ajkenne's collars and Babur's underneath at the top as the pivot-holes are quite large.
Other than that, no bushings, spacers, nor any other tricks. I also have 2 thicknesses of wedges to try.
Will get on it early next week, I hope!
Last edited by sharptonn; 09-19-2015 at 12:02 AM.
"Don't be stubborn. You are missing out."
I rest my case.
-
The Following User Says Thank You to sharptonn For This Useful Post:
MikeB52 (09-18-2015)
-
09-18-2015, 06:28 PM #809Senior Member


- Join Date
- Apr 2015
- Location
- Johannesburg
- Posts
- 2,498
Thanked: 410
I suppose the only way to find old W&B and Geo. Wostenholm's is to keep an eye out on Ebay.
-
09-18-2015, 06:33 PM #810Senior Member
- Join Date
- Mar 2015
- Location
- Akron, Ohio
- Posts
- 12,107
Thanked: 4313
I like that! A little more aggressive than what I use. Originally Posted by sharptonn
Tooth brush&paste, mix baking soda in with the paste.
Very mild in comparison, I would think.
Hmmm.... Another progression, in restoration!!!sharptonn likes this.Mike


 Reply With Quote