
Results 12,711 to 12,720 of 20573
 91473Likes
Thread: What are you working on?
 LinkBack URL
 About LinkBacks
-
04-04-2018, 01:37 PM #12711Senior Member


- Join Date
- Mar 2015
- Location
- Akron, Ohio
- Posts
- 12,109
Thanked: 4313
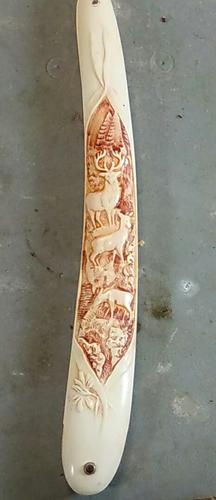
Nope, no dye. Just bog oak n T-88, then a thin top coat of CA over the repair so it will polish up. The T-88 won't polish, but CA will. Its a matter of blending it in, so you don't see a line from where the CA n actual horn come together. Like the clear coat on a cars paint.
Mike
-
-
04-04-2018, 01:53 PM #12712Senior Member

- Join Date
- Feb 2015
- Location
- Duluth, GA - Atlanta OTP North
- Posts
- 2,546
- Blog Entries
- 1
Thanked: 315
Didn't realize you used CA on top. I think I know how you would blend it over. Looks great.
I've got some scales may eventually repair like that. I don't know if horn or bog oak would be better to use in the epoxy. Well, horn is what I have so that is probably what I'll go with lol.
-
04-04-2018, 03:24 PM #12713Senior Member


- Join Date
- Jan 2011
- Location
- Lorton, VA
- Posts
- 349
Thanked: 153
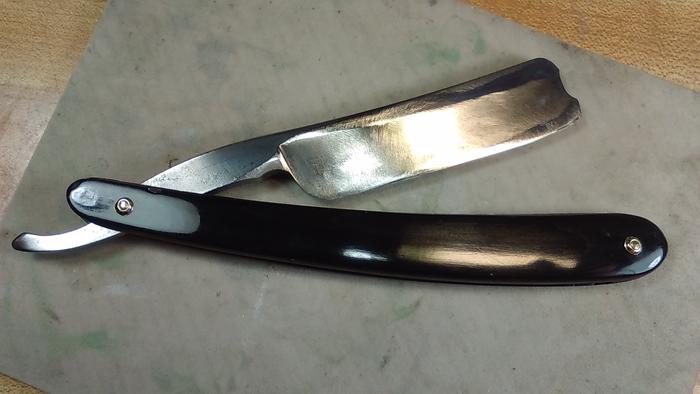
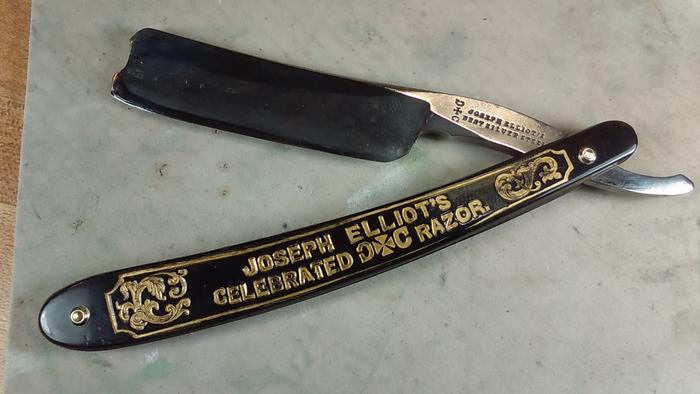
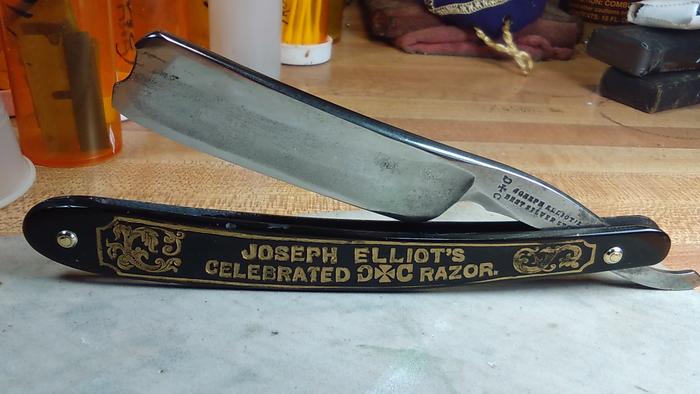
Great work on that restoration. Can you go into details on the gold leaf application. What and how you did that part would be of interest to me and perhaps others. Those scales not often seen now look amazing. Originally Posted by outback
 MrZ likes this.
-
The Following User Says Thank You to ajkenne For This Useful Post:
MrZ (04-09-2018)
-
04-04-2018, 04:03 PM #12714Senior Member
- Join Date
- Mar 2015
- Location
- Akron, Ohio
- Posts
- 12,109
Thanked: 4313
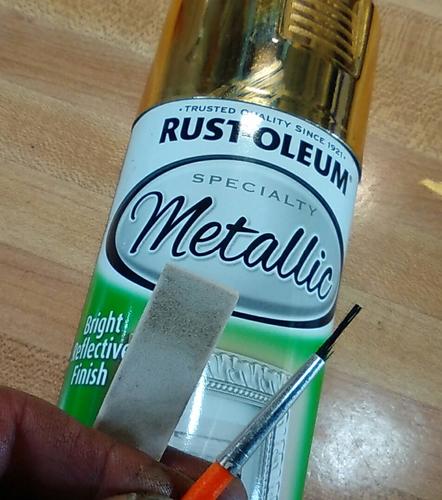
I applied it with a paint brush for doing model planes n such. Most of the bristles have been removed, so its quite narrow. Any excess was removed with a piece of hard construction foam,( more like neoprene ) lightly dampened with lacquer thinner, the light smudges afterwards can be removed by rubbing lightly with the pad of a finger. Doing this highlights the high spots in the stamp, and brings out the intricate details within.
Hope that helps...
I call it gold leaf paint, but the can says metallic gold paint.
Did this one with a Sharpie, and denatured alcohol.
Last edited by outback; 04-04-2018 at 09:25 PM.
Mike
-
-
04-04-2018, 07:05 PM #12715Senior Member
- Join Date
- Jan 2011
- Location
- Lorton, VA
- Posts
- 349
Thanked: 153
I will have to get me some metallic gold paint and give this a try. Have an old Wade & Butcher that needs some gold leaf work like this. Thanks for sharing!
-
04-04-2018, 09:42 PM #12716Senior Member
- Join Date
- Mar 2015
- Location
- Akron, Ohio
- Posts
- 12,109
Thanked: 4313
Originally Posted by ajkenne
 ......
Mike
......
Mike
-
The Following 3 Users Say Thank You to outback For This Useful Post:
cudarunner (04-04-2018), Dieseld (04-05-2018), MrZ (04-09-2018)
-
04-05-2018, 02:40 AM #12717Skeptical Member

- Join Date
- Nov 2016
- Location
- Colorado Springs
- Posts
- 10,549
Thanked: 2194
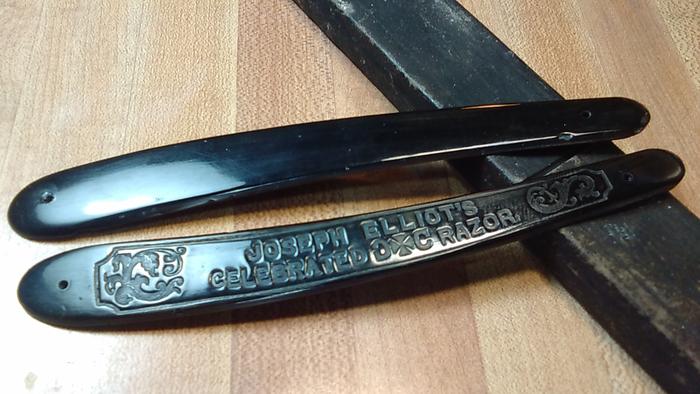
Got this set of scales finished. Still waiting for the other set to match. Getting closer.
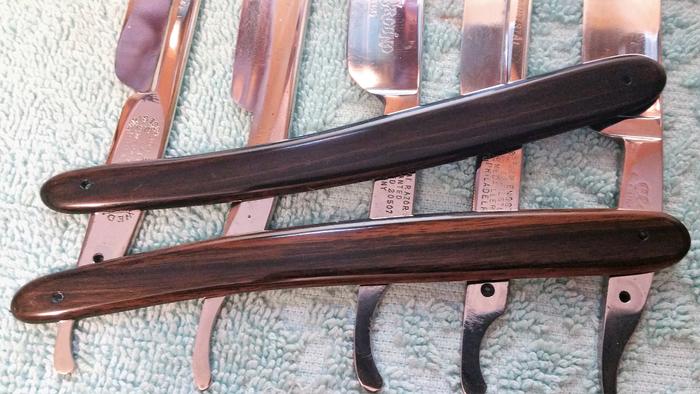
I like the look of depth in them.It's just Sharpening, right?
Jerry...
-
-
04-05-2018, 10:46 AM #12718Skeptical Member
- Join Date
- Nov 2016
- Location
- Colorado Springs
- Posts
- 10,549
Thanked: 2194
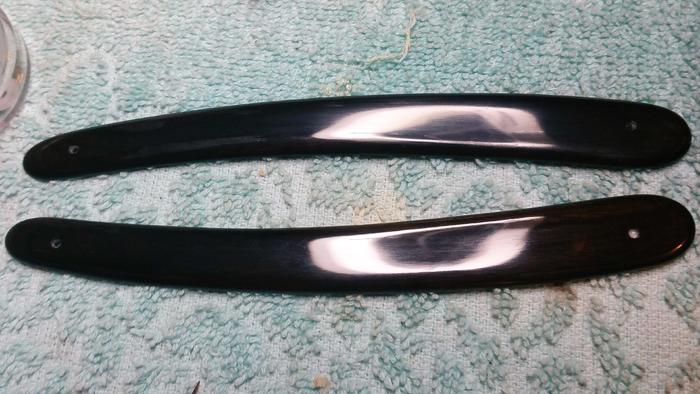
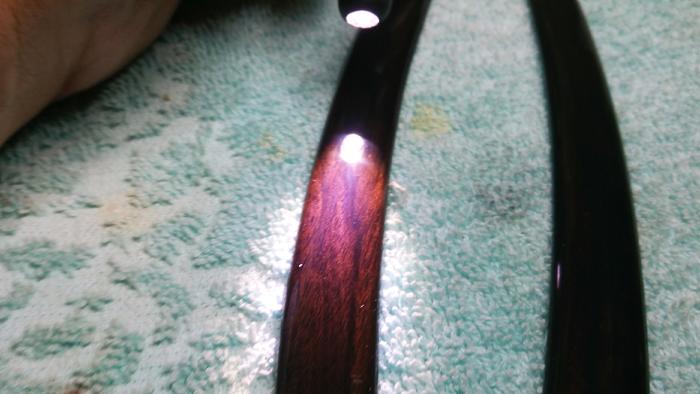
Here is the other set to go with the matched pair of blades. They look black, but when I put a flashlight on it you can see the wood grain. Guess its just my lighting. I'm a little concerned about the wedge end as I didn't get the hole drilled as center as it should have been. Damn eyes cant see as well as I think they can.
 It's just Sharpening, right?
Jerry...
-
04-05-2018, 11:15 AM #12719Senior Member
- Join Date
- Mar 2015
- Location
- Akron, Ohio
- Posts
- 12,109
Thanked: 4313
You seem to have the Tru oil figured out, Jerry.
Nice and glassy.!! Mike
Mike
-
The Following User Says Thank You to outback For This Useful Post:
Gasman (04-05-2018)
-
04-05-2018, 02:16 PM #12720Senior Member
- Join Date
- Aug 2014
- Location
- East Central Illinois
- Posts
- 782
Thanked: 101
And there's the "BAT ROOM" on the right! Originally Posted by Geezer


 Reply With Quote
