Results 15,541 to 15,550 of 20573
Thread: What are you working on?
-
02-28-2019, 12:59 AM #15541

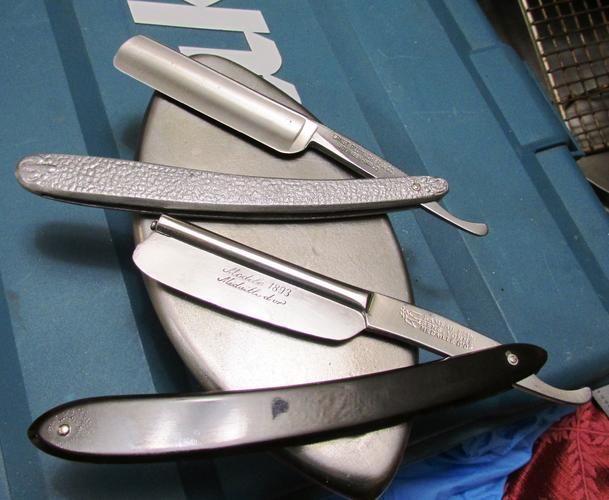
Leadmeknot was recently in Germany to witness her exchange student graduate from High School and while there she did some touristy things and while out and about she found a couple of razors and once home sent them to me along with other 'goodies' (like Tobac purchased in Belgium) and other things.
My sincere apologies for no before pics as I got all 'Glen'ed Out' and just started cleaning them up.
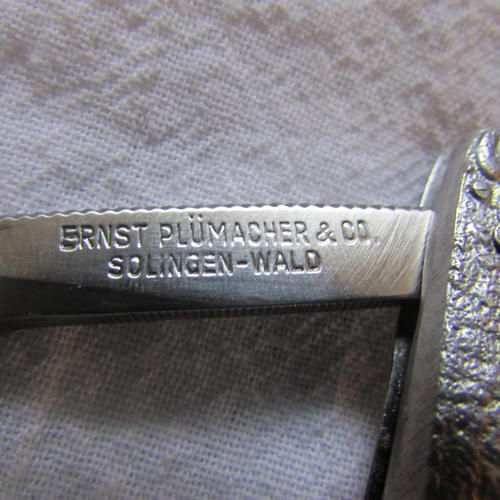
The top one is a German blade with cast aluminum scales.
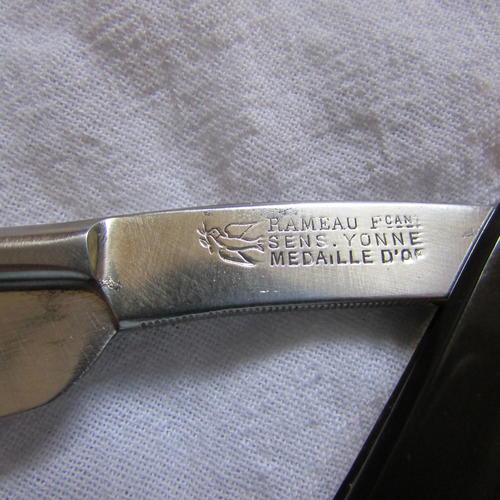
I 'think' the bottom one is a French Razor and it has horn scales.
Honing will be tomorrow or so but I'm looking forward to the shaves with her gifted razors which will always be Special Razors.
By the way--I have no idea what those pieces of 'something' are at the toe of the bottom razor are as they aren't there in real life.
 Our house is as Neil left it- an Aladdins cave of 'stuff'.
Kim X
-
02-28-2019, 01:16 AM #15542Junior Member

- Join Date
- Nov 2018
- Location
- New Jersey
- Posts
- 22
Thanked: 15
It was fun to shop in Germany and Belgium for you Roy !! You did a beautiful job with these oldies �� I’ll see if I have before pics and I will email them to you.
-
03-03-2019, 03:19 PM #15543Senior Member

- Join Date
- Nov 2014
- Location
- Sacramento
- Posts
- 309
Thanked: 135 First scales
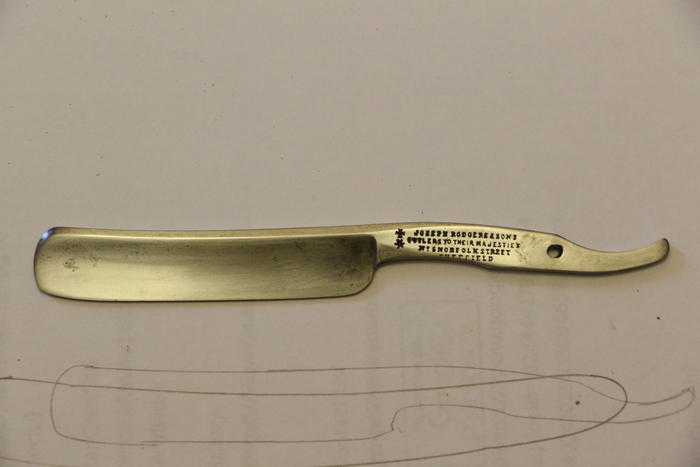
So I'm excited to make my first set of scales. This sporty little razor came from one of my brothers picks and had unoriginal, broken scales on it. Its been languishing in a drawer waiting for me to give it some love. The razor looks to be in really good shape. I have an old cherry in the back yard that had a nice burl on it that is my source for the scales. This will be a slow work in progress but I'll update as I go. Hopefully I'll finish before hitting the road on my long bike ride.
I always like to say that everything I've learned about straight razors I learned on here. One heck of a resource. Thanks everyone!
-
03-03-2019, 07:52 PM #15544

The weekend for me is pure razors. Early morning until the evening.
Did quite a bit today and yesterday, here are some visuals from today.
Finished this Greaves 7/8ths today.(The pictures are a bit naff sorry)
Yesterday I did the blade face with greaseless , the Tang/Spine on the grinder, sat the scales in Neastfoot oil.
Today I sanded the black scales to reveal they are dark brown ,translucent in the middle (hard to see in the pics).
The scales have a shaped wedge. Original collars.

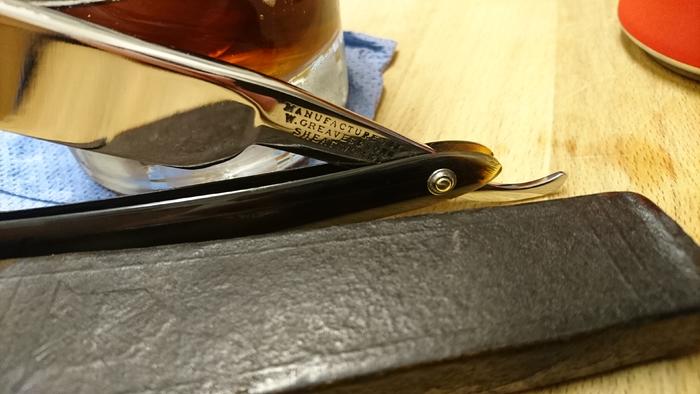
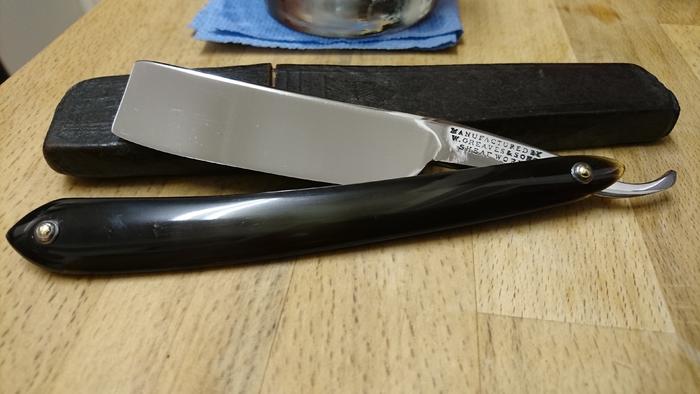
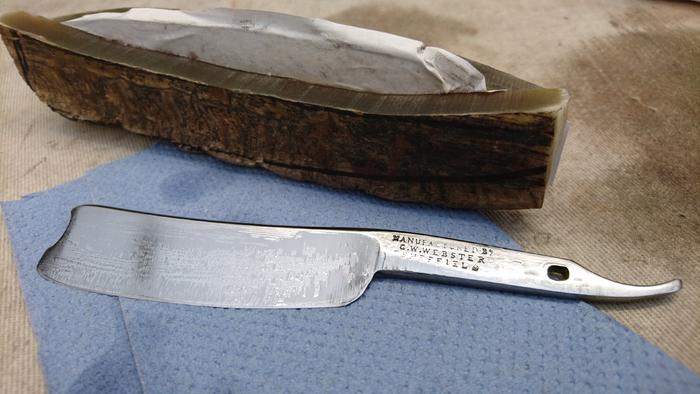
Onto this G.W Webster. This one took was done completely on the grinder and it has a good looking bevel. I decided to go for Rams horn scales with a fancy wedge because the blade is a good one. Today I made the scales (I will show pics when its all done)
The smell of Rams Horn is truly disgusting and filthy The problem is getting blanks long enough. I might just get away with this one.
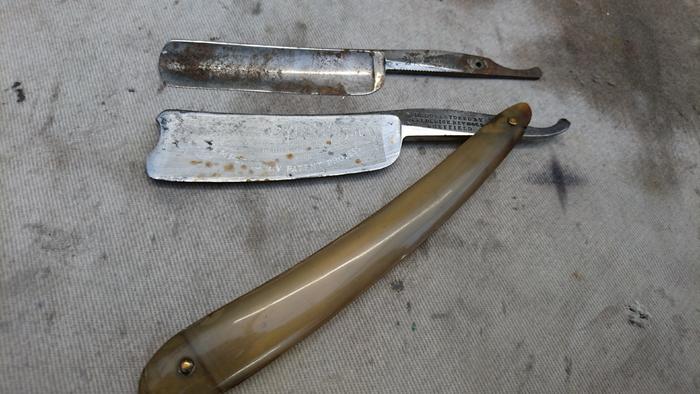
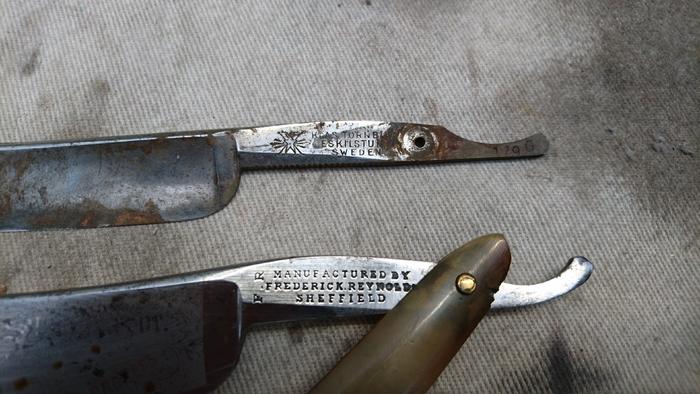
A few more I started today. A Fredrick Reynolds, just off 1 inch . The etching is a headache because if I keep it there is no point in having the rest of the blade new n shiny. I need to think more before continuing.
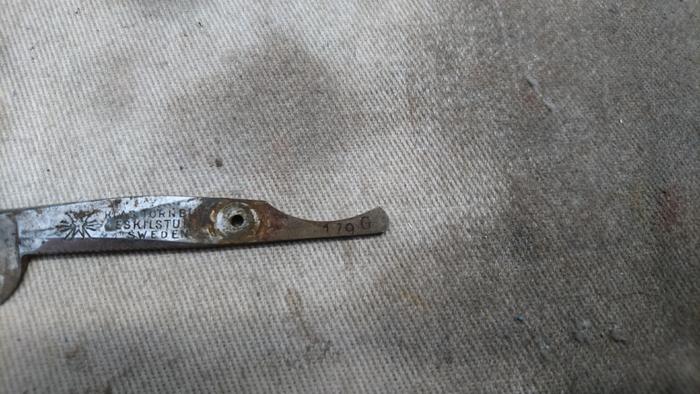
The second is just a junk blade really but I would like to get a shave from it because I have never tried a klas Tornblom. It will take some time that I don't have and the tang is a bit twisted. Hopefully it turns out well.
Thanks..
Joseph
-
03-04-2019, 12:31 AM #15545

Paulbuck, keep in mind that when making scales to have the top edge of the scales to follow the spine of the razor. Its not a have too, but it makes the blade look more matched to the scales. Your drawing is very close to it. Just wanted to say it encase it was just luck.
Joseph you got a nice group going on. Keep at it. Soon it wont be as much of a chore to restore. After a while it all just comes together and you know what to do and in what steps.
I had planned to spend the day working on the barber razors i scored last week, but the sife and weather had other plans for me. I will get some time tonight and post some pics. 6 degrees outside so no scales making for me.It's just Sharpening, right?
Jerry...
-
03-04-2019, 12:44 AM #15546Senior Member

- Join Date
- Nov 2014
- Location
- Sacramento
- Posts
- 309
Thanked: 135
Thanks Jerry,
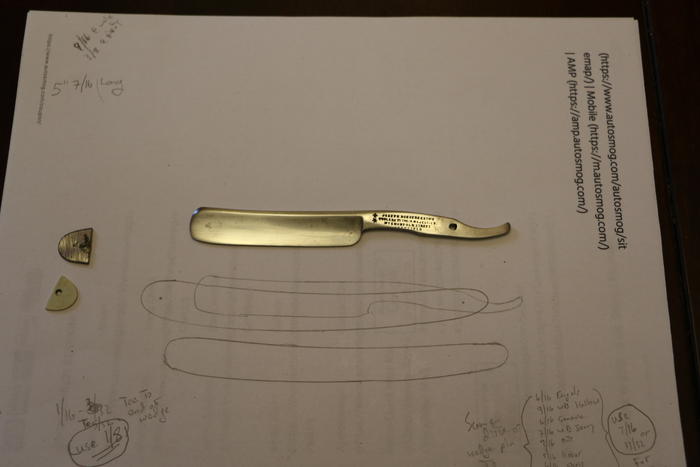
That outline was from a horn scale that I had dissembled from another razor and was using for a rough look-see.
The outline below it in the picture here is the size and general shape I'll be shooting for. I'll look to keep that shape to compliment the razor. I was doing a bunch of measurements from my collection to get an idea of spacing from the toe to wedge and other measurements. Now I just have to get the right tools to do the job properly. Slippery slope....
-
03-04-2019, 02:36 AM #15547

That G.W. Webster has a nice smile!
I'm looking forward to seeing what you do with the ram horn.
I've never worked with that, but have read of course of the terrible smell.
Good work on those other two, I like those Greaves wedges, the one I have was not done as well as yours.“You must unlearn what you have learned.”
– Yoda
-
03-04-2019, 02:36 AM #15548Senior Member


- Join Date
- Feb 2015
- Location
- Duluth, GA - Atlanta OTP North
- Posts
- 2,546
- Blog Entries
- 1
Thanked: 315
Soaking two sections of fire hose for strops. Changed water a couple times. Gonna be a lot of work!
- Joshua
-
03-04-2019, 02:56 AM #15549

That's a good shape you have there. I end up changing a design a couple times, with many adjustments, not necessary, but the design is a big part of the fun for me.
In the pics below are a couple designs that need slight work on the necks but are mostly there.
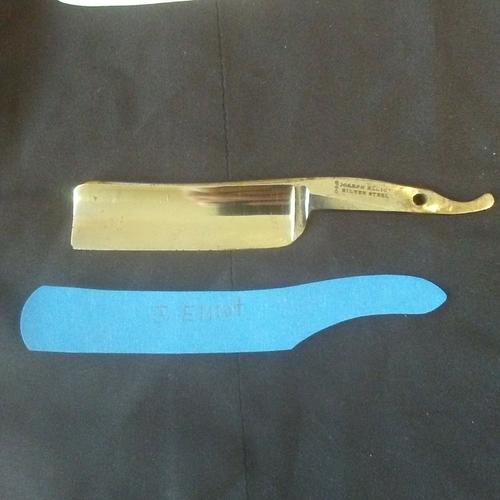
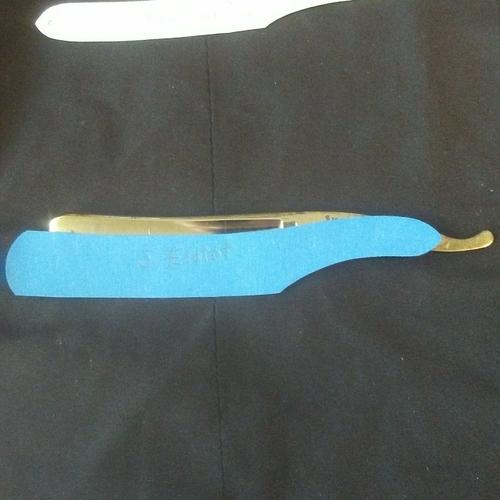
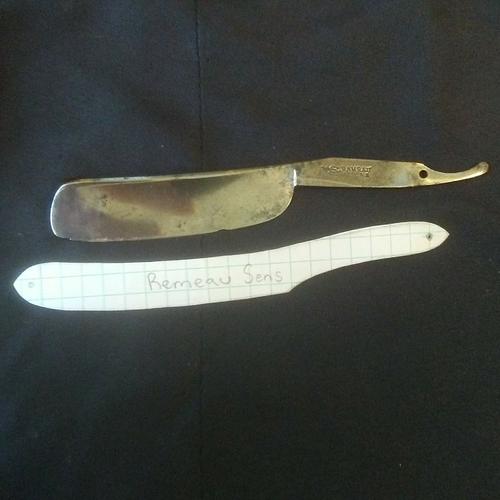
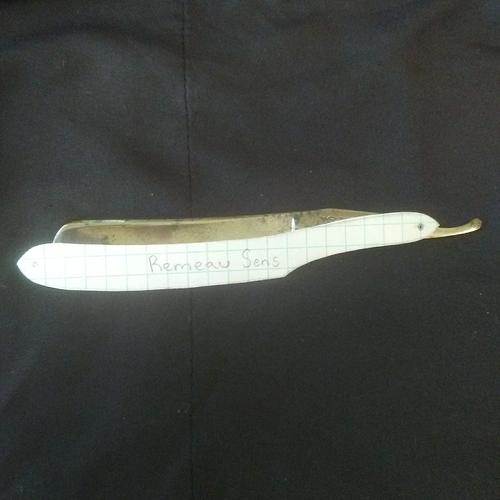
Backing the paper with a few layers of masking tape and then cutting it out, gives a good look on how it will go with the blade, and allows minute changes.
Here is a Joseph Elliott and Remeau Sens. I tried going with a small scale design on the French blade because even though it's not that big, it has a big blade feel, and the small scales accentuate that look.
Either way, I think a blade should take up all of the scale coverage.. "Fill up" those scales.
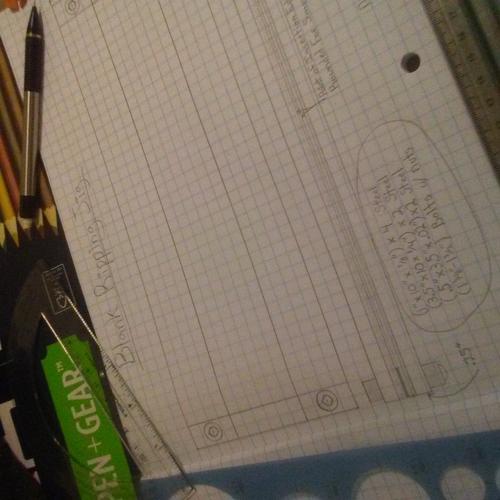
Tomorrow I will be making the jig to slice the scale blanks.
 “You must unlearn what you have learned.”
– Yoda
-
03-04-2019, 03:23 AM #15550

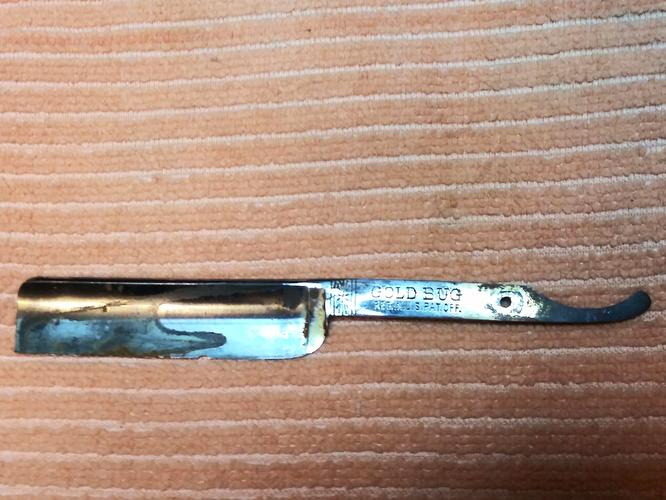
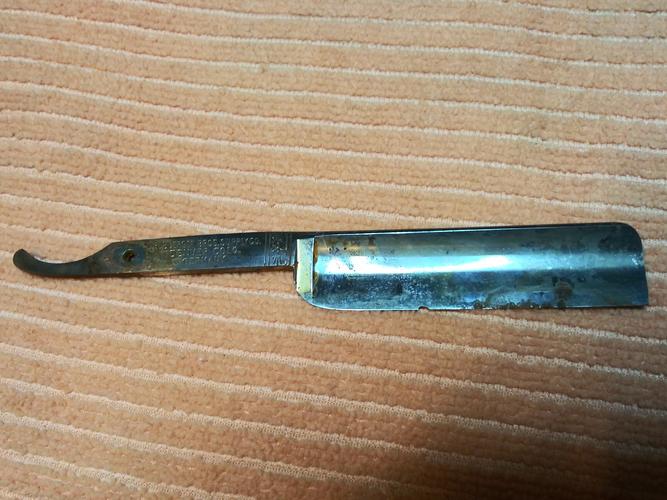
Sat down with some sandpaper and the DMT. Got this Goldbug cleaned up. As with all gold wash, it goes away when you look at it funny so no gold left. But I think with a little more work it should be ready to go back in the drawer for scales at a later date...
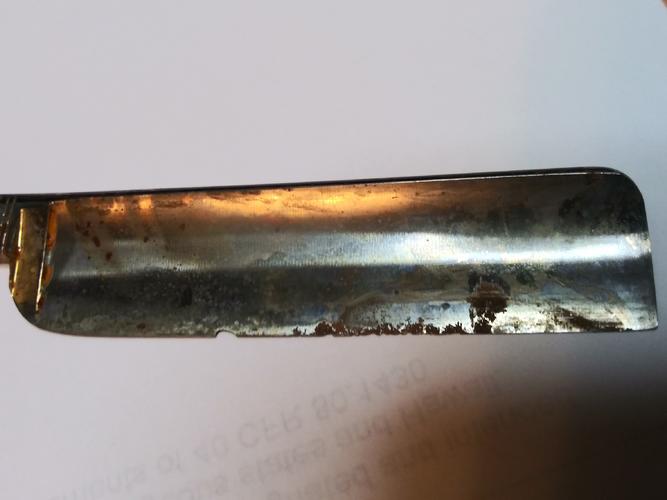
After...
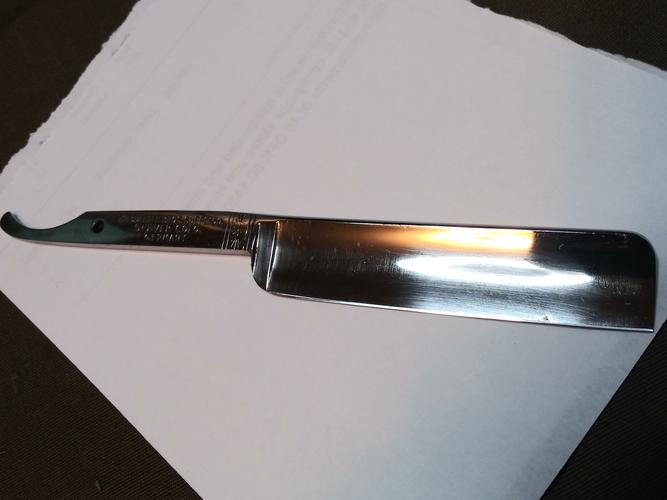
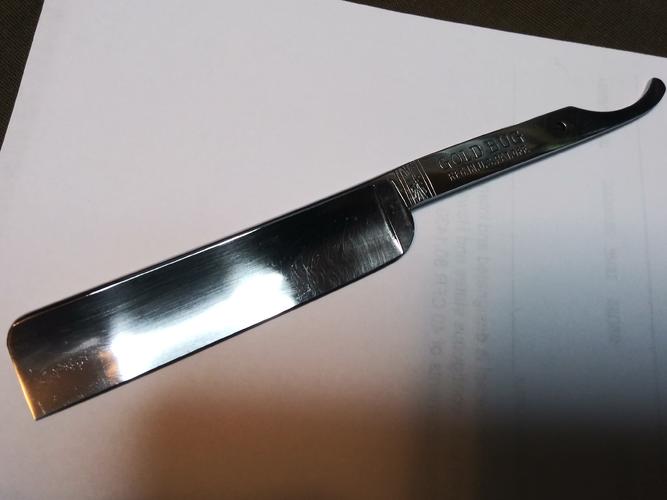
There still a spot on the back side near the edge but these last pics were after setting bevel with a 1K and the spot is above the edge. As long as I don't take too much more and don't find any bad steel underneath I should be able to stay out of it.
Think I'm going to break out the stones for a little honing on a few others for the rest of the night.It's just Sharpening, right?
Jerry...


 91473Likes
 LinkBack URL
 About LinkBacks


 Reply With Quote
