Results 1,611 to 1,620 of 4688
Thread: The Butchered Blade
-
10-08-2015, 02:58 PM #1611Senior Member


- Join Date
- Feb 2013
- Location
- Haida Gwaii, British Columbia, Canada
- Posts
- 14,450
Thanked: 4829
@sharptonn
That would be pretty cool. If you shape it and the decide on the elimination of the hole later it would give you options. You could also fill the hole with brass and do two more holes and make them progressively smaller, presuming the pin hole is of the large variety.It's not what you know, it's who you take fishing!
-
10-08-2015, 03:53 PM #1612Senior Member


- Join Date
- Apr 2012
- Location
- Diamond Bar, CA
- Posts
- 6,553
Thanked: 3215
“I did line a very old set of bone scales with G-10 once”
Joseph Wostenholm
Shawn, which G10 did you use and what thickness is it. Laminated with epoxy or CA?
Nice work.
-
The Following User Says Thank You to Euclid440 For This Useful Post:
RezDog (10-08-2015)
-
10-08-2015, 04:19 PM #1613

Thanks MikeT. I've had those for awhile now. I love my old straights!
It wouldn't be that much work Tom if you think about it. You could fill in the pinhole & even straighten the tail some! You just gave me an idea............
I saw your pic before I read it & it made me think about the W&B blade that has the crack in the heel. I will probably need some of that heat paste like Charlie Lewis shows on his video I blogged. I sold my welder so I could get my welding/straight razor buddy fill in the hole. I have some junk blades laying around so I could find a bad W&B blade & cut the tang off & use it to extend the other & make a kami-butcher out of it! I also won a John Barber the other day but the blade might be too far gone but then again, it may not be. I got it for $9.99 but I also have an old W Greaves coffin with it which is different from the ones I have plus good vintage scales. Both the toe & heel are broken on the blade but there might be enough of it left to make a kami-Barber from.
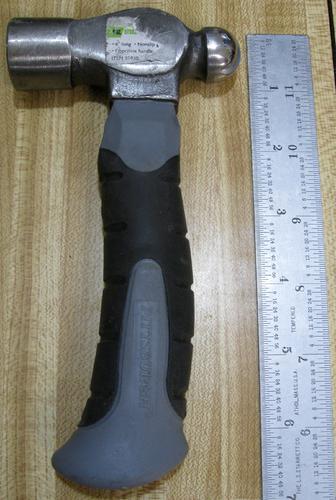
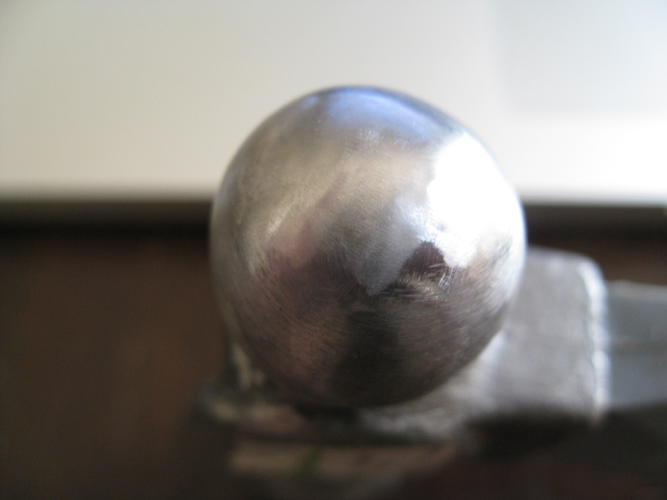
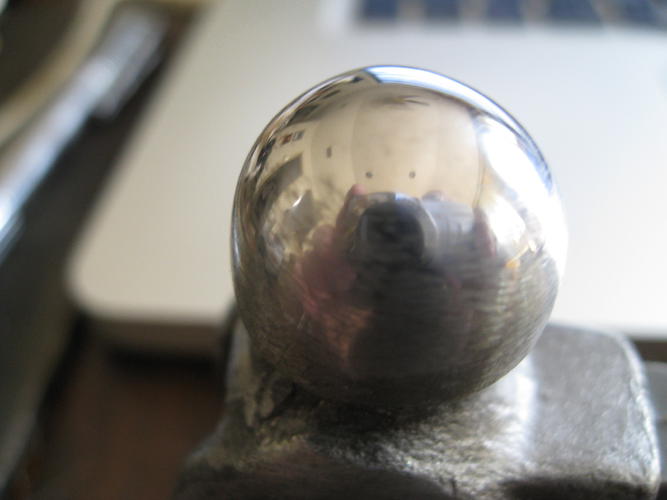
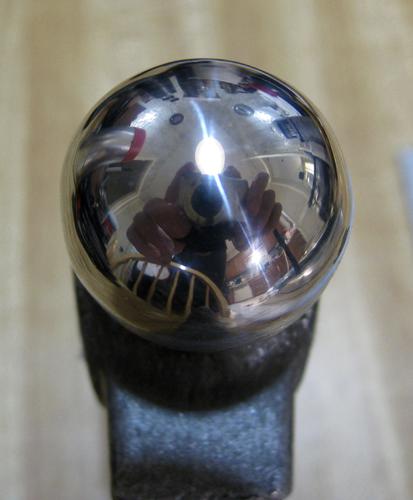
With me it depends on how bad of shape a blade is in but I have a box of wet or dry sandpaper, 240, 280, 320, 360, 500, 600, 800, 1000, 1200, 1500, 2000, 2500 & 3000 grit. It's like one of my peening hammers I have which came from Harbor freight. I sanded the ball part with 320 on a disc using my Dremel, then the rest by hand going up to 3000. The 320 took out small scratches & then I polished it on my buffer after that. It looks like a shiny ball bearing now. I want to cut part of the other side off so it is a tad lighter. I have a German made peening hammer too which just needs touching up but other than that, it is a good little tapper.
Harbor Freight small hand size ball peen hammer

After 320 grit

After 1000 grit I believe........

Polished with black, then to white rouge

Last edited by engine46; 10-08-2015 at 07:20 PM.
-
The Following 2 Users Say Thank You to engine46 For This Useful Post:
Leatherstockiings (10-08-2015), MikeT (10-08-2015)
-
10-08-2015, 06:22 PM #1614
-
10-08-2015, 07:00 PM #1615

Holy East Meets West Batman!!! To the bat cave!
Wow now that's a serious proposition..
If you are up to the task, I'm sure i could figure out a good trade..
The idea about filling the holes is a good one. I like copper better than brass for such things. But I'm not sure if that would be a whole lot more work.. definitely 3 holes in size progression filled with copper would look spectacular!“You must unlearn what you have learned.”
– Yoda
-
10-08-2015, 07:15 PM #1616

I would think the hole is typical Wade and Butcher (Whom I am certain made this for Henry Sears).
Welding up the pin-hole would be the first thing to do. As grinding it smooth, more weld may be required.
Drilling on a tang is not in my job description!
I think it will take a long time, but am willing to have a go. Really cannot screw it up. Now can I?"Don't be stubborn. You are missing out."
I rest my case.
-
10-08-2015, 07:33 PM #1617

I would have done a better job Mike but the way I've been feeling, I did just the important part.
Awwww c'mon Tom, it can't take that long. Like ya have said similar, "let's get some work done here" & I'm under the weather.
Alright men..............Charge!!!!
-
10-08-2015, 07:34 PM #1618Senior Member


- Join Date
- Feb 2013
- Location
- Haida Gwaii, British Columbia, Canada
- Posts
- 14,450
Thanked: 4829
It is white at 0.54" I got it from Chuck Bybee. I sealed the back of the bone with very thin CA and then sanded it and then used thick CA to bond it with the G-10. That was my success full attempt. The first was a swing and a miss with cleaning everything well with nail polish remover and then epoxy, just the LePages in a two part tube. It did not bond well and was coming loose as I was filing the G-10 to match the scales. I have had terrible luck with epoxy. I think the next time I am on the mainland I will look for some better brand name stuff.
OOPS!
it is 0.54 mm the unit of measure is very important in this case. In inches it is 0.025Last edited by RezDog; 10-08-2015 at 09:46 PM.
It's not what you know, it's who you take fishing!
-
-
10-08-2015, 07:40 PM #1619
-
10-08-2015, 07:54 PM #1620

Like I said.
 Welding the hole up will go first!
  "Don't be stubborn. You are missing out."
I rest my case.


 13682Likes
 LinkBack URL
 About LinkBacks


 Reply With Quote


