
Results 1,411 to 1,420 of 20573
 91473Likes
Thread: What are you working on?
 LinkBack URL
 About LinkBacks
-
08-30-2015, 12:12 AM #1411Senior Member


- Join Date
- Jun 2013
- Location
- Gladstone QLD AUSTRALIA
- Posts
- 3,245
Thanked: 804
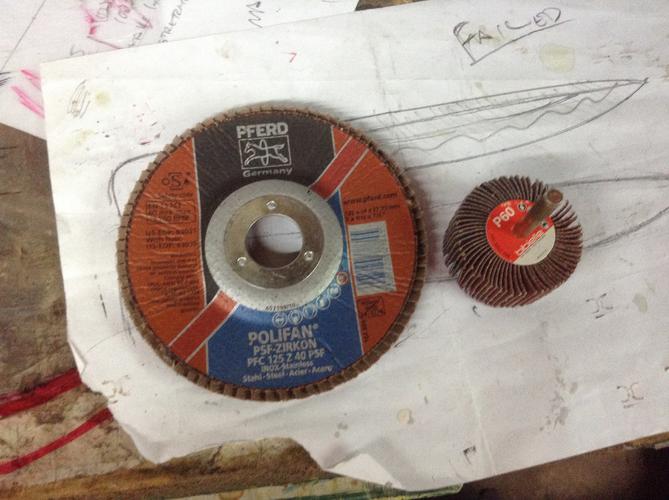
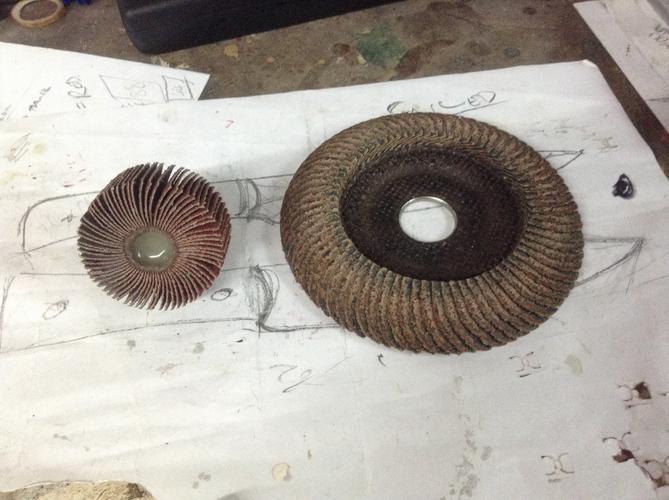
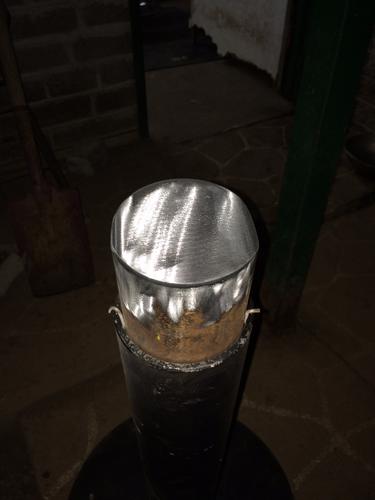
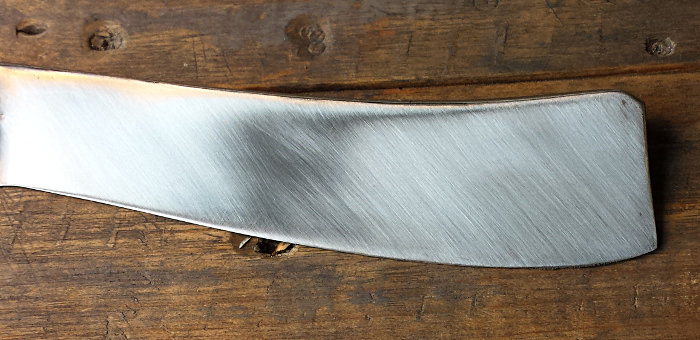
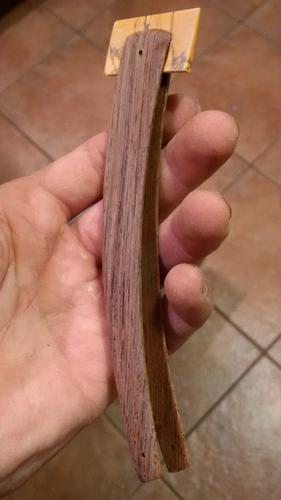
Showing flex
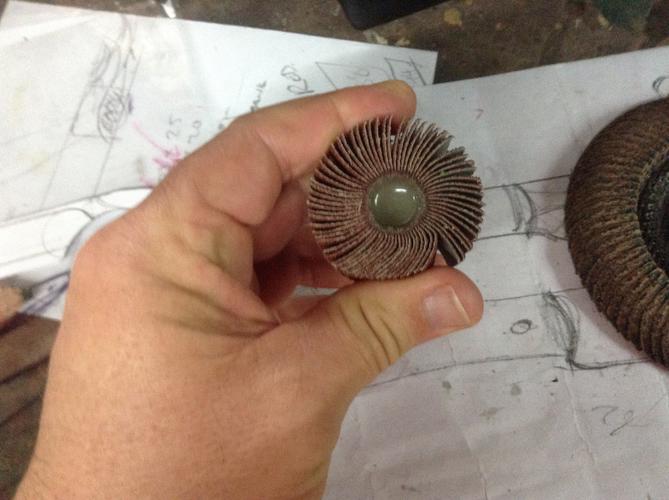
My post anvil was finished with this worn out flap disc
 Saved,
to shave another day.
-
The Following User Says Thank You to Substance For This Useful Post:
MikeT (08-30-2015)
-
08-30-2015, 01:01 AM #1412Senior Member

- Join Date
- Mar 2014
- Location
- Romulus, Michigan
- Posts
- 1,352
Thanked: 332
For me getting wood that thin, and to get a clear finish kicks my butt every time. I seem to get little dust ninjas that show up after I finish them. I use either Tru-Oil for gun stocks, or urethane. What do you use? What do you use to apply it? Originally Posted by MikeT

Your work is beautiful and the attention to detail is obvious. Keep it up.Your only as good as your last hone job.
-
The Following User Says Thank You to ultrasoundguy2003 For This Useful Post:
MikeT (08-30-2015)
-
08-30-2015, 03:59 AM #1413Senior Member

- Join Date
- Jun 2015
- Location
- South Carolina
- Posts
- 1,838
Thanked: 516
Thanks man!
The sanding takes forever and a day. One mistake Ive made a number of times is to switch to a higher grit too soon. But even still it takes a long time. My table sander is terrible Ryobi. So I have to get the scales down on that but not too far or its too late. When I sand them its just constant measuring thickness with calipers or close eye-balling it.
With these last ones I made a block of wood cut on 45 degree angle then setting that on sand paper that is set on a piece of glass on the table. For the insides I used a wooden dowel cut on 45 degree and that put to the sand paper held down over a 8" section of PVC pipe. Pretty simple but I had never tried to do that before so I didnt know what to do. A router would have made it worlds easier I think. These were taken to 2000 grit but Im going to take it maybe all the way to 12k, but that may be overkill.
After that a good wood oil, not sure if it makes that much of a diference Ive got some around the house that I tested and it looks fine on the test piece. Then Renwax.. just got it in the mail. On past scales I used CA. It was a pain in the butt. Id use it again but for now Im liking a more natural look and feel, CA is a little plastic like. The CA has fast drying and not as fast drying.. Use the fast drying for first coat as it will penetrate deeper. but it dries really fast so drip it across the surface and use disposable small paint brushes to push around and remove bubbles. With each coat a new paint brush is ruined. The slower drying for consecutive coats. Thats how I did it.
Ive heard self leveling 2 part epoxy is great for scales. Ive used it on boats, but it would probly have similar feeling as CA. Mirror Coat is one that is a good brand I think.
Anyway I think you know most of this at least. The dust ninjas.. Those are in the finish? I had a bit of that with the CA finish, I figured it was from not having area and scales clean enough but can also result from little bubbles when shaking the finish up, so I try to stir it instead. ... ? I used a paint filter before when my varnish was contaminated.
Your work is great too thats for sure! Ill need to get the courage up to do some horn scales..You must unlearn what you have learned.
Yoda
-
The Following 2 Users Say Thank You to MikeT For This Useful Post:
Geezer (08-30-2015), ultrasoundguy2003 (08-30-2015)
-
08-30-2015, 06:40 AM #1414
MikeT
Horn is pretty easy for me to work with. I will cut my pattern out & use my belt sander to get the right shape close. If you have some horn blanks already with a flat side, use that for the inside where the blade goes. I then use carpet tape which is double sided sticky tape which you can put both pieces together. I then finish the final shape. I thin drill my pin holes, then I go from end to end to make the scales rounded. I then start with my coarsest wet or dry sandpaper & I sand them in progressions, 240, 280, 320, 360, 400, 500, 600, 800, 1000, 1200, 1500, 2000, 2500 & 3000 grit. If using translucent horn like honey horn, sand the blade side as well. I then hand polish with Maas or Mothers Chrome polish. You can see how this old W. Greaves turned out:
http://straightrazorpalace.com/razor...ml#post1445068
-
The Following User Says Thank You to engine46 For This Useful Post:
MikeT (08-30-2015)
-
08-30-2015, 04:14 PM #1415Senior Member
- Join Date
- Jun 2015
- Location
- South Carolina
- Posts
- 1,838
Thanked: 516
I've got some baleen that I'm planning for one of my nice blades. Learning up what I can now and planning first. Also will make standard cattle horn scales first as i obviously need experience with keratin. I believe some broken scales I cut down for a shorty were baleen. They were French scales. No way of knowing for sure. Originally Posted by engine46
Will need to be flattened first, then sanded down, and probably flattened again. But the material looks good!Last edited by MikeT; 08-30-2015 at 04:15 PM. Reason: misspelled
You must unlearn what you have learned.
Yoda
-
08-30-2015, 07:43 PM #1416Shave This

- Join Date
- Jan 2014
- Location
- Pickering, Ontario
- Posts
- 1,036
Thanked: 183
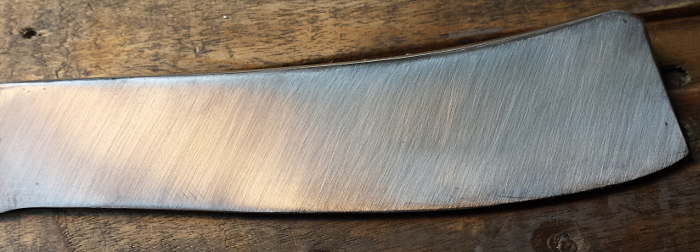
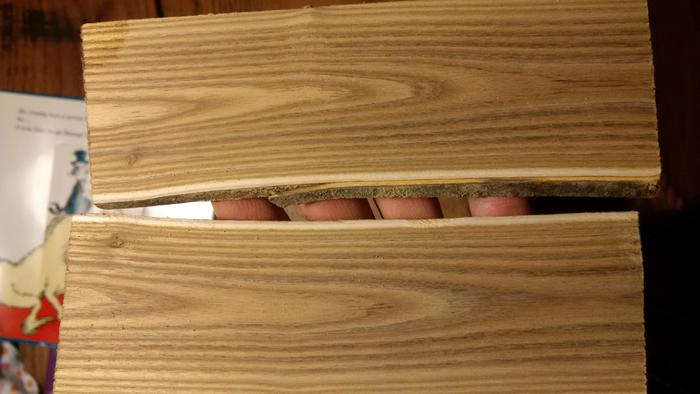
First one direction
Then the other
 Than ≠ Then
Shave like a BOSS
-
09-14-2015, 12:34 AM #1417I love Burls....... and Acrylic


- Join Date
- Mar 2012
- Location
- Baden, Ontario
- Posts
- 5,475
Thanked: 2284
I have a brand new (used) 6" X 48" with a 9" disc sander in the workshop now. Time to get some blades dressed. First one up is this Wade & Butcher Faux Frame back that I'm doing for TrilliumLT.
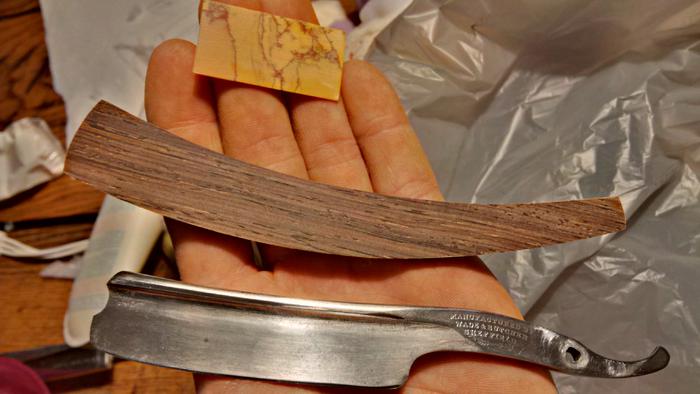
Cocobolo scales, hone jasper TruStone wedge. Need to shape the scales a bit more.Burls, Girls, and all things that Swirl....
-
09-14-2015, 01:32 AM #1418
HARRYWALLY:
I have a brand new (used) 6" X 48" with a 9" disc sander in the workshop now. Time to get some blades dressed. First one up is this Wade & Butcher Faux Frame back that I'm doing for TrilliumLT.
Cocobolo scales, hone jasper TruStone wedge. Need to shape the scales a bit more.
Looks great Harry!HARRYWALLY likes this.
-
09-15-2015, 02:00 AM #1419I love Burls....... and Acrylic
- Join Date
- Mar 2012
- Location
- Baden, Ontario
- Posts
- 5,475
Thanked: 2284
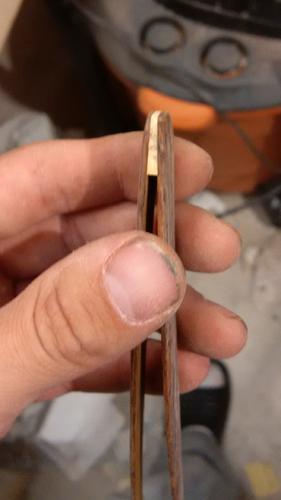
Put the kiddies to bed and got some sanding done, as well as sanded in a coat of oil.

 Burls, Girls, and all things that Swirl....
-
09-15-2015, 11:57 PM #1420I love Burls....... and Acrylic
- Join Date
- Mar 2012
- Location
- Baden, Ontario
- Posts
- 5,475
Thanked: 2284
Sumac...... who'da thought it would be such a gorgeous green. Yup, I'm making scales from it!
 Burls, Girls, and all things that Swirl....


 Reply With Quote

