Results 7,731 to 7,740 of 20573
Thread: What are you working on?
-
02-23-2017, 03:42 AM #7731

Copied and saved!! Thank you so very much my friend
Look sharp and smell nice for the ladies.~~~Benz
Imperfection is beauty, madness is genius and it's better to be absolutely ridiculous than absolutely boring ― Marilyn Monroe
-
02-23-2017, 03:43 AM #7732

Yes Tom,the prep is most important. Clean, clean, is an understatement. The cleaner the steel the better, and more uniform the blueing will look.
Mike
-
The Following User Says Thank You to outback For This Useful Post:
sharptonn (02-23-2017)
-
02-23-2017, 03:51 AM #7733

The killing of the reaction under running water, drying and buffing with the steel-wool and repeating makes it pop as going forward. The oil really enhances it, but do the tang stamps first if you are going to.
Wait for that to dry well before lightly oiling!
The grip on my left hand is tired after going through most of it since I must grasp it for a long time during the process!Last edited by sharptonn; 02-23-2017 at 03:53 AM.
-
02-23-2017, 04:27 AM #7734

There is another way that I have used in the past & that is soaking the tang in oxalic acid.
http://straightrazorpalace.com/custo...mel-6-8-a.html
It comes out more black than blue but it is very durable compared to the cold blues. The finish is kinda grey but darkens when oiled.
A small pinch of the crystals in a 30mm medicine bottle should do the job in anything from 2 hours upwards. I have left stuff overnite sometimes but mostly if I make it too weak. It's not an exact science on how much to use as I think different steels may react at different speeds but hey, if I can do it
A couple of things to remember:
1. The stuff is toxic as is the odourless vapour so don't stick your nose over the bottle & take a big sniff.
2. Don't make it too strong as it will pit steel.The white gleam of swords, not the black ink of books, clears doubts and uncertainties and bleak outlooks.
-
-
02-23-2017, 09:35 AM #7735

Tonight I had a couple projects, first camouflage painting my new 870 Remington, second was taking pics of chip removal to help a member in another thread. Busy night taking a few pics and lots of typing. But fun and hopefully helpful
 keep up the great work fellas
Nothing is fool proof, to a sufficiently talented fool...
-
02-23-2017, 01:10 PM #7736

Well I've been working on 4 razors I picked up on the weekend. I'll have to post pictures later. But I snagged a B&S Cowvan razor 11/16 wedge with ivory scales.
Joseph Rodgers 5/8 half hollow with very nice horn scales.
And another Pipe razor blade was in good shape and still had the original scales in good shape.
-
02-24-2017, 12:14 AM #7737Senior Member


- Join Date
- Dec 2014
- Location
- Virginia, USA
- Posts
- 2,224
Thanked: 481
Decided to replace the poly webbing of my SRD strop with linen, then turn the poly webbing into a standalone hanging strop. What I've got so far:
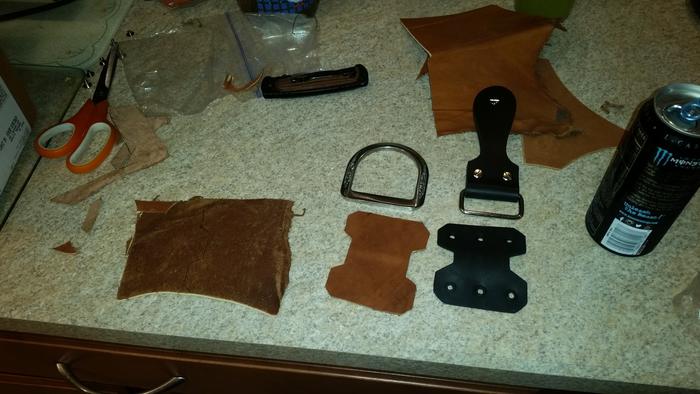
Basic layout. Took the black piece from the SRD strop and traced it onto the leather. Then thought about it and widened/lengthened that thin spot in the center to make room for that big ol' D-ring. Traced the new pattern onto the best looking & closest matching piece I had, and did a little cutting with scissors. Fortunately the bag of scrap remnants was thin. More so than I anticipated.
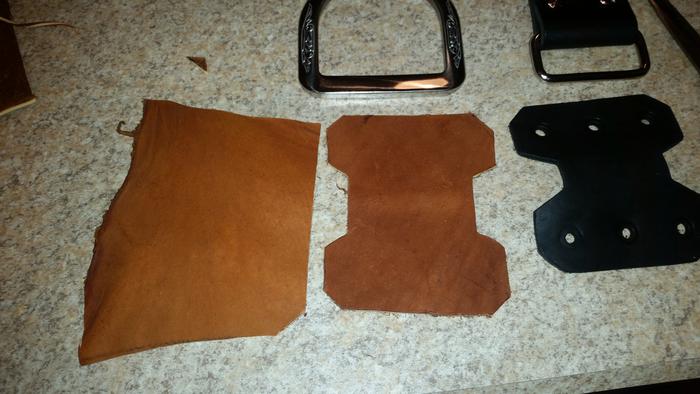
Not a bad match from a bag of scrap leather...
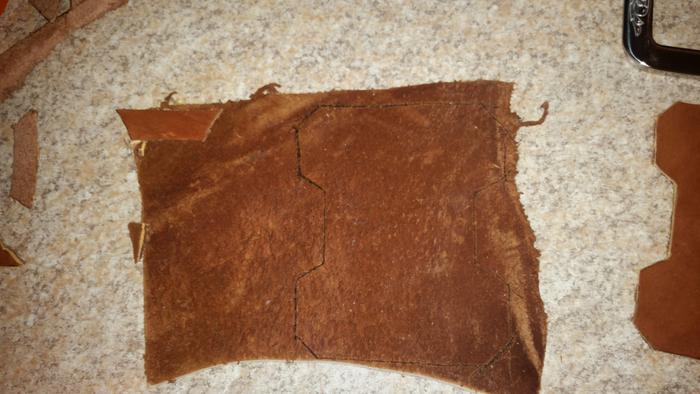
Rough layout...
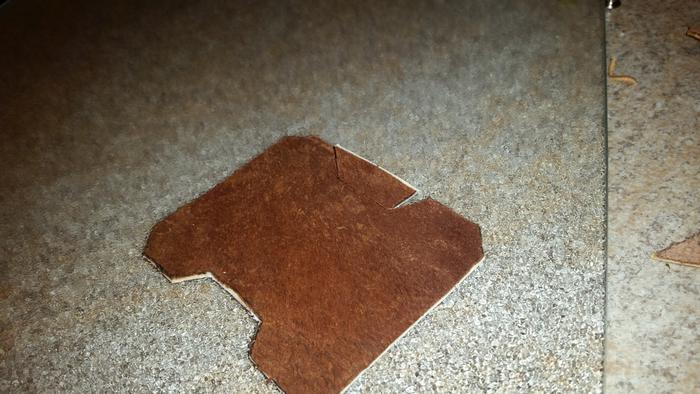
Cutting the tabs out of the center. Had to carefully com from the outside in with scissors, then very carefully use my pocket knife like a razor blade to make that final cut and shave down any left over fuzz. Guess it's a good thing I honed it up on Arkansas stones last time I had them out...
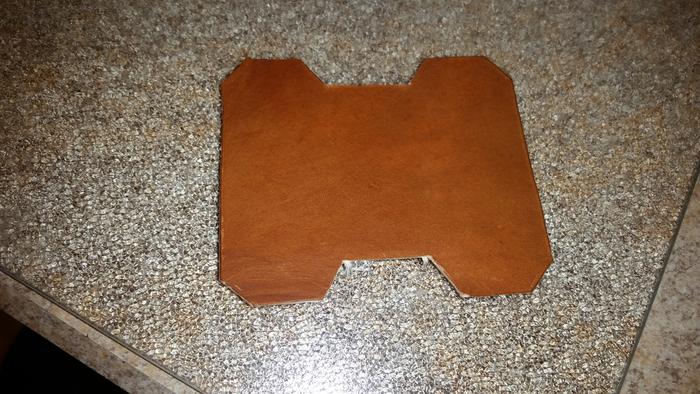
And rough cutout. Tomorrow at work if I find time I'll pop holes into them so I can get Chicago screws through them, then trim them so when they're folded over the edges are a match.
-
02-24-2017, 12:55 AM #7738Senior Member

- Join Date
- Jul 2016
- Location
- Addison Michigan
- Posts
- 627
Thanked: 115
I am working on Joining the Cool Kids Clubman Friday Club, Pics to follow, Ty
-
02-24-2017, 04:03 PM #7739Senior Member


- Join Date
- Dec 2014
- Location
- Virginia, USA
- Posts
- 2,224
Thanked: 481
Quick mock up that kinda made me wish I had the D rings on hand so I could see how everything was gonna fit together.
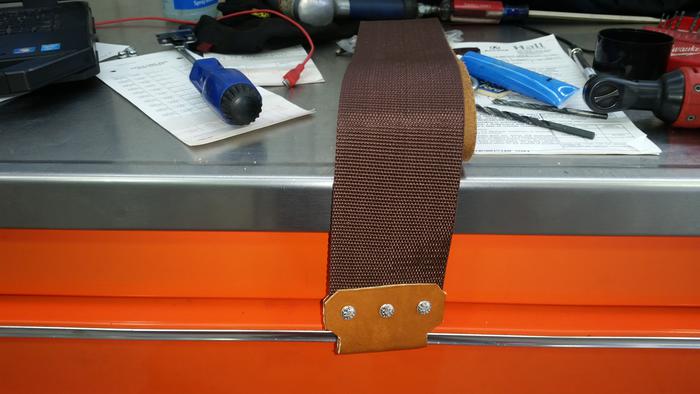
Now I just need to figure out how to space the leather out a tick. I think if there's enough leather there to hide it I might just slip some washers in between it and the poly webbing somewhere. Either that or cut some more leather out and make a backer for the leather tabs. Who knows where I'll go with it, but the shorter Chicago screws that came with the SRD strop were still a bit too long for the thin leather. So I'll have to fiddle around and find a way to fill about another 1/8 or 1/16 of an inch on either side of the poly webbing.
Not looking too shabby though. I'll have to find a way to square up the cuts on either end of the leather tabs, but I'm liking where this is going. And that's good because that bag o' scrap leather doesn't have a whole lot I could use to take a second stab at this lol.
-
02-24-2017, 04:10 PM #7740

There are many heavy 'D' rings available at a hardware store. They are in simple drawer pulls.
They go up to 4" and down from there. I used them on my first strop. Take a sample of the original to help clue in the clerks. The handles, at least around here are in a big drawer unit/ display in the fastener department. Good luck!
~Richard
-


 91474Likes
 LinkBack URL
 About LinkBacks


 Reply With Quote


