Results 3,851 to 3,860 of 4688
Thread: The Butchered Blade
-
02-13-2016, 07:03 PM #3851Str8Faced Gent.


- Join Date
- Aug 2013
- Location
- Orangeville, Ontario
- Posts
- 8,456
- Blog Entries
- 1
Thanked: 4207
Thanks Steve...
You put the idea in my head with those homemade burner links.
Hopefully I can use this rig for other materials as well.
Going to turn to a project which involves replacing an inlay next to see if the laser can help with that application as well. Something in faux tortoise.
Cheers."Depression is just anger,, without the enthusiasm."
Steven Wright
https://mobro.co/michaelbolton65?mc=5
-
The Following User Says Thank You to MikeB52 For This Useful Post:
engine46 (02-14-2016)
-
02-14-2016, 12:25 AM #3852

Absolutely wonderful...thank you!¡
-
02-14-2016, 02:19 PM #3853

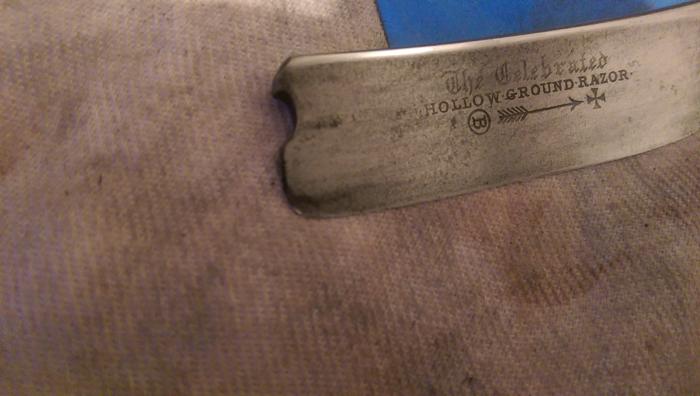
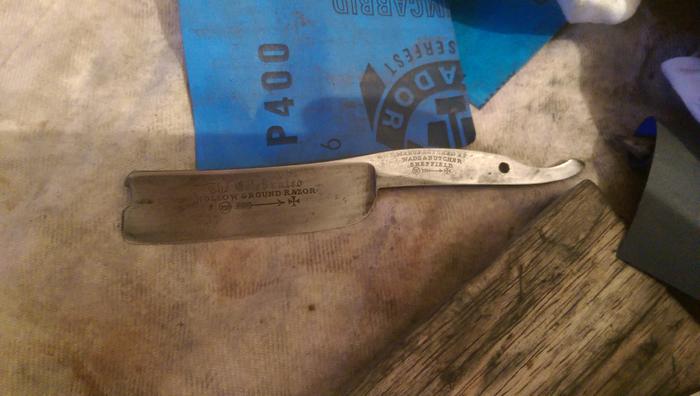
Hi guys,
Need some advise please.
Just started work on this 13/16ths W&B, I think it was all good until I did a bit of 1k sanding, dunno how I did this *tut tut*
I've noticed at the very tip the blade is bent over, only a small part.
I was thinking maybe heat and hammer it gently back or hone it out ?
Any suggestions. Gentle heat n light hammer taps sounds like the preferred option?
I'm probably gonna bag it n tag it, move on to some thing els.
cheers ... Joseph
-
02-14-2016, 02:51 PM #3854

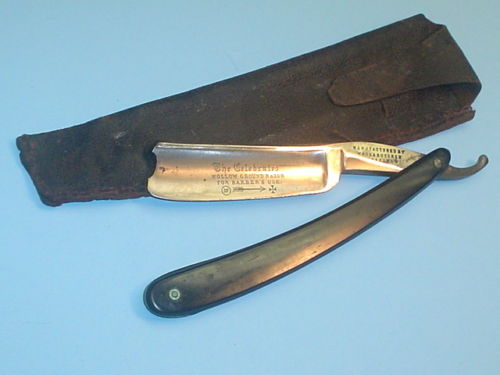
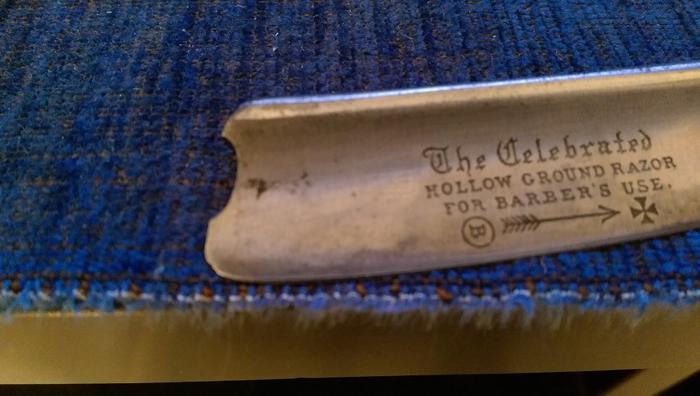
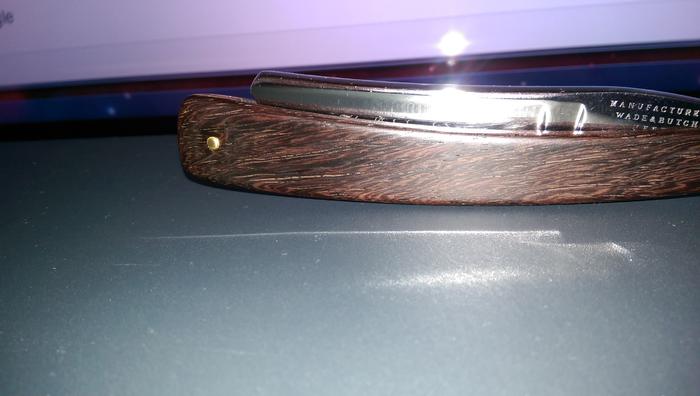
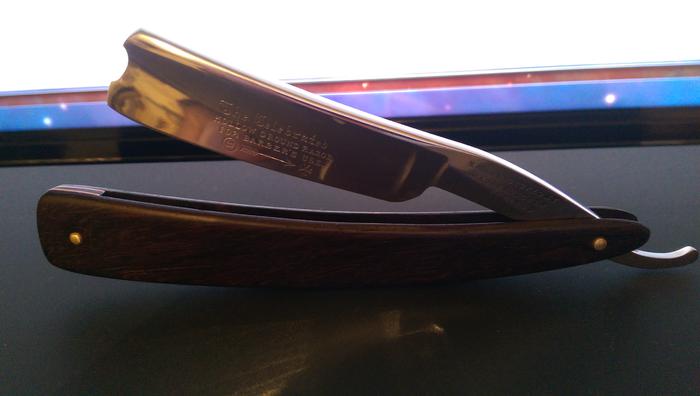
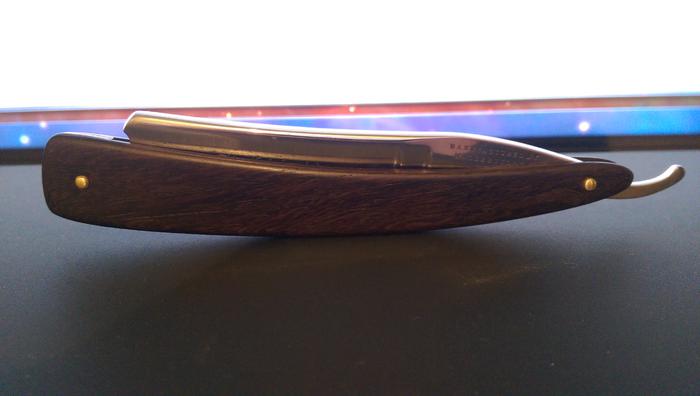
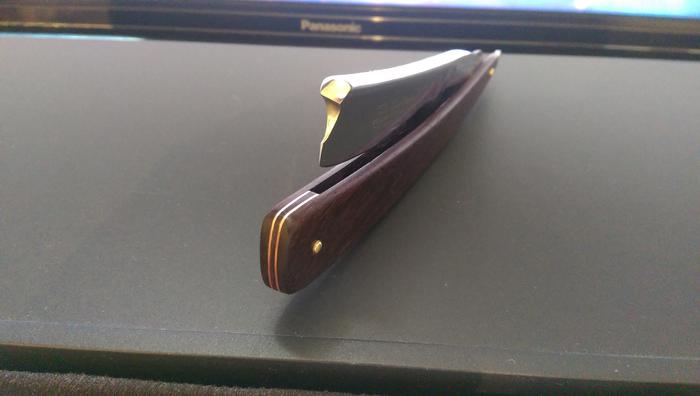
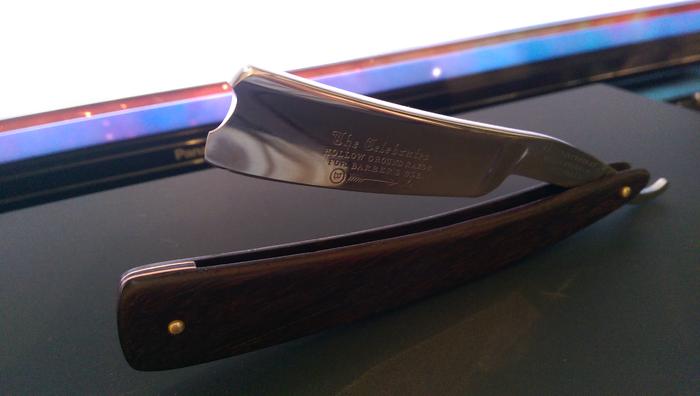
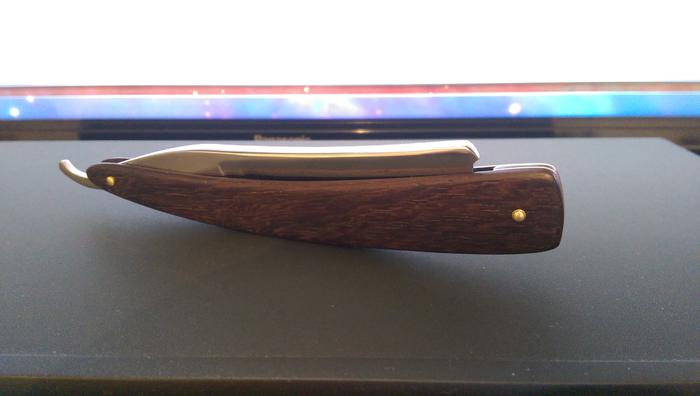
This is my most recent endeavour, a 7/8th W&B . Love the huge tang on this and the way it balloons out tip end, the photos don't really show that or do the blade justice.
THE BLADE..
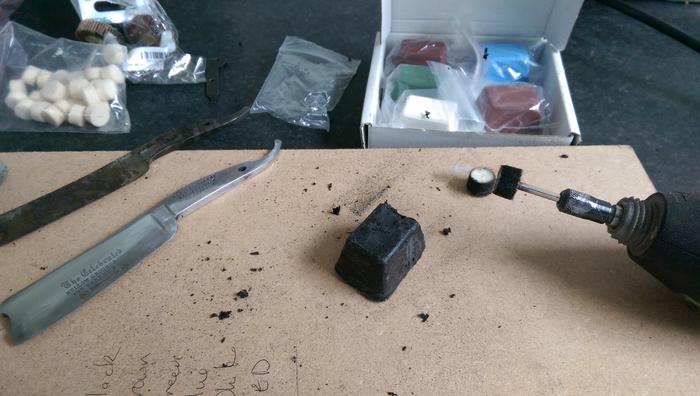
The blade was covered in vertical grind marks from the original grind. I couldn't really remove these from the etched area but luckily the etching is deep so could remove some metal from that area.
Used 400 grit on the whole blade apart from the etching and stamp. Finished with 3k paper, then I went onto the Dremel with greaseless compounds trying to remove the 3k scratches.
Didn't work but it cleaned out the etching a treat.
There are a few pits on the rear side, no point in decimating the blade for a couple of pits, i already spent hours sanding to get it to this point.
THE SCALES..
I made these scales for my 8/8ths (Uncle chop chop). Unfortunately there was a crack , now its a squared off 6/8th and deserves more modern looking scales.
The 7/8th blade fitted nicely with these scales. Made from Rosewood with an amazing grain and not a millimetre to spare from the piece of wood.
Cut, rounded, left in linseed oil for a few days, finally i used some beeswax/olive oil mix to finish.
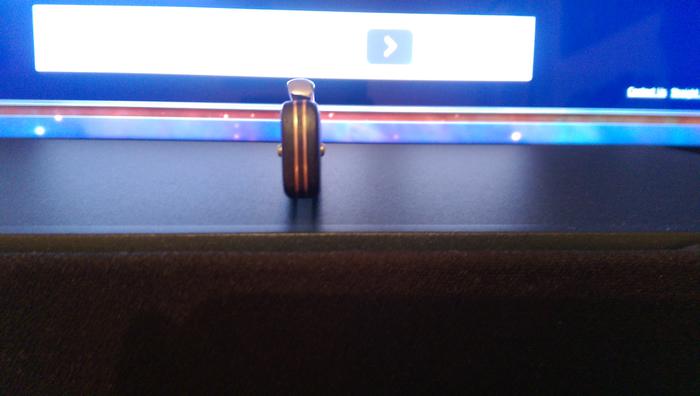
Pinned with brass & collars n internal washers.
The wedge is Rosewood lined with copper.
HONING..
Last night i honed it up. There was a chip in the tip which i took care of pre restoration.
Then there was a chip in the middle of the blade (i did that, woops) came out during normal honing.
The last centimetre of the heel was stepped back which was tricky to deal with .
It took about 70 mins to hone . It also needed an extra piece of tape at the tip due to hone ware.
Set the bevel on the 1k Chosera , killed it then re set it.
Moved onto the Chosera 5k/10k, then Maruka with Koma and finished with DMT slurry .
Stropped ,50 linen, 50 Cordovan.
Edit: I forgot to add , the balance of the blade when open in the shaving position is perfection..
All i need now is some facial hair to cut off
Last edited by JOB15; 02-14-2016 at 02:59 PM.
-
The Following 2 Users Say Thank You to JOB15 For This Useful Post:
ajkenne (02-14-2016), dinnermint (02-14-2016)
-
02-14-2016, 02:59 PM #3855Senior Member


- Join Date
- Feb 2013
- Location
- Haida Gwaii, British Columbia, Canada
- Posts
- 14,450
Thanked: 4829
Joseph, It looks like a dent in the thin material at the end of the blade. If someone has honed onto the toe it happens really easy. It is not much though and should reshape easily on a DMT. Just hold the blade perpendicular and gently rub it back and forth and rock it as you move and it should come right out. You might also get it with a 1K hone or 1K w/d on a hard flat surface.
It's not what you know, it's who you take fishing!
-
The Following User Says Thank You to RezDog For This Useful Post:
JOB15 (02-14-2016)
-
02-14-2016, 03:10 PM #3856Str8Faced Gent.


- Join Date
- Aug 2013
- Location
- Orangeville, Ontario
- Posts
- 8,456
- Blog Entries
- 1
Thanked: 4207
I second Shaun's suggested course of action Joseph. Couple of beautiful WBs you have there. Terrific work on the 7/8th. Looks awesome in those skins!
Congrats on a great job..
 "Depression is just anger,, without the enthusiasm."
Steven Wright
https://mobro.co/michaelbolton65?mc=5
-
The Following User Says Thank You to MikeB52 For This Useful Post:
JOB15 (02-14-2016)
-
02-14-2016, 03:12 PM #3857Senior Member


- Join Date
- Feb 2013
- Location
- Haida Gwaii, British Columbia, Canada
- Posts
- 14,450
Thanked: 4829
The wood turned out pretty fantastic, and the blade looks ver well done. It is so hard to capture the depth of natural product in pictures. I am willing to bet that those pictures don't do the wood justice.
It's not what you know, it's who you take fishing!
-
02-14-2016, 03:27 PM #3858

Joseph..!!![emoji35]
No more heat and no vinager.[emoji38]Mike
-
02-14-2016, 08:28 PM #3859

Yeh the pictures let it down...Thanks for the good feedback guys.
Thanks Rez, I will just hone it with the 1k, although as I said I might just put it away, I have grand ideas for my brass frameback with honey horn. (Shame I wanted to get the hammer on it )
)
I wont give up on the vinegar Mike, those effects are outstanding.
This time I'm gonna hot vinegar the blade and let it settle for a few days and then hit it with bluing ...believe
-
02-14-2016, 08:52 PM #3860Senior Member


- Join Date
- Feb 2013
- Location
- Haida Gwaii, British Columbia, Canada
- Posts
- 14,450
Thanked: 4829
You do get a deeper effect with the vinegar first, however you can get a pretty deep blue with cleaning the blade well with nail polish remover, nitrile gloves are important, the little bit of oil on your skin will effect the outcome, warm the blade with tap water, dry with a clean towel, and apply the bluing. It may take more than one coat of bluing to get it as deep of a color as you want. It is still fairly effect even without the vinegar. I do understand the challenge of wanting to get a process to work out. Dead blade are perfect for learning with. A dead blade is far from useless. Best thing ever for experiments.
It's not what you know, it's who you take fishing!


 13682Likes
 LinkBack URL
 About LinkBacks


 Reply With Quote
