
Results 18,641 to 18,650 of 20574
 91474Likes
Thread: What are you working on?
 LinkBack URL
 About LinkBacks
-
07-06-2020, 05:14 PM #18641Preserver of old grinding methods


- Join Date
- Jun 2012
- Location
- Germany
- Posts
- 654
Thanked: 1238
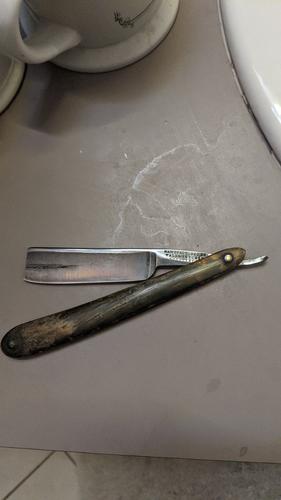
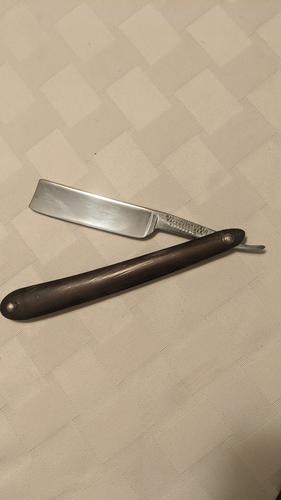
I haven't been posting here for a while, but since I am working continously with razors, here is an example of working on a razor I got from a customer for cleaning/restoration and honing.
This was the condition when the razor arrived:

One scale was broken out, so new scales were necessary.
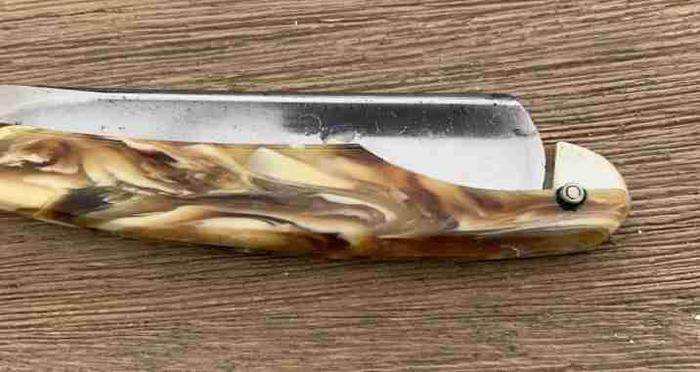
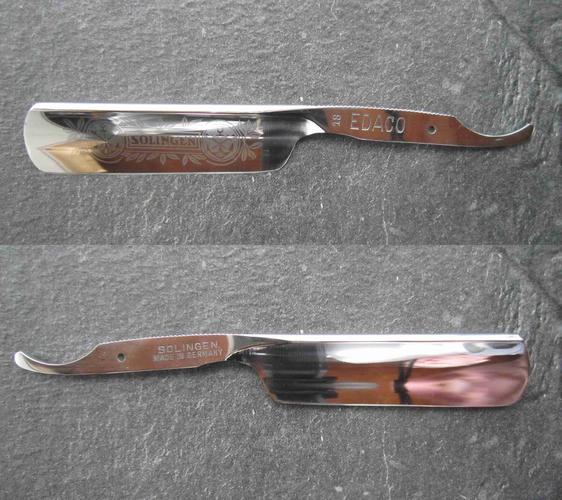
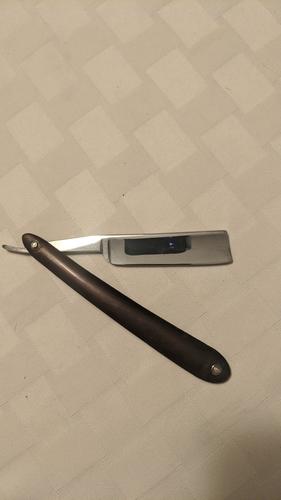
Here is a look at the razor after "Pliesten" and polishing:
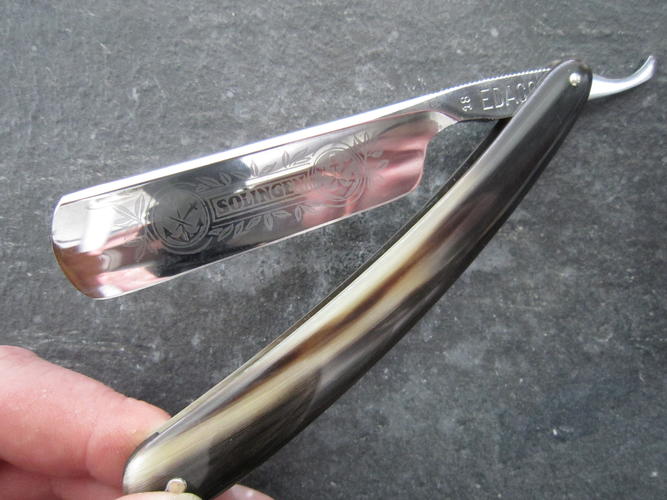
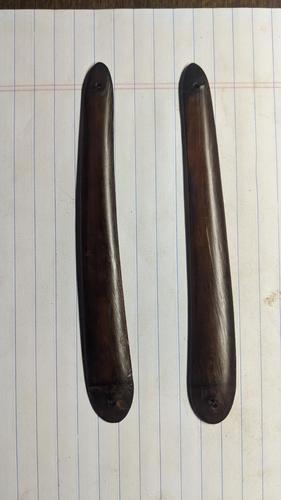
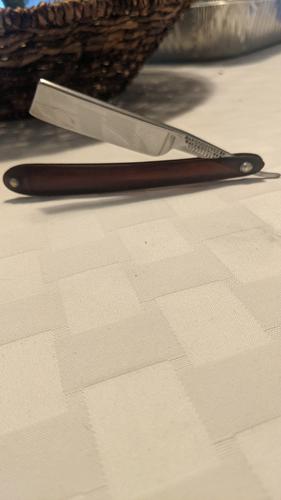
Decided with the customer to choose black, "living" horn scales for the new appearance.
Finally honing on the vintage honing machine, in Solingen called "Hexe" with finishing on yellow-green thuringian honing discs.
That's how it actually look like:
Regards PeterLast edited by hatzicho; 07-06-2020 at 05:16 PM.
-
07-06-2020, 10:57 PM #18642Senior Member


- Join Date
- May 2010
- Location
- Upstate South Carolina
- Posts
- 3,308
Thanked: 987
That is absolutely beautiful, Peter!
There are many roads to sharp.
-
07-06-2020, 11:52 PM #18643Senior Member

- Join Date
- Dec 2018
- Location
- Gainesville, FL
- Posts
- 6,688
Thanked: 675
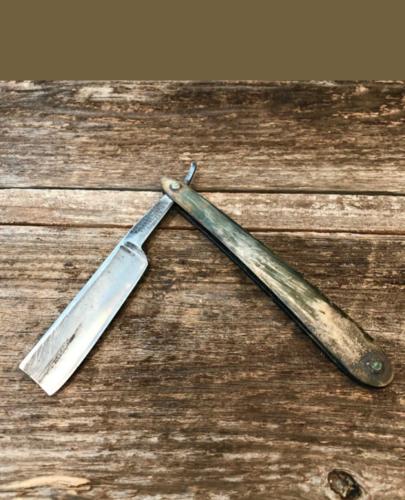
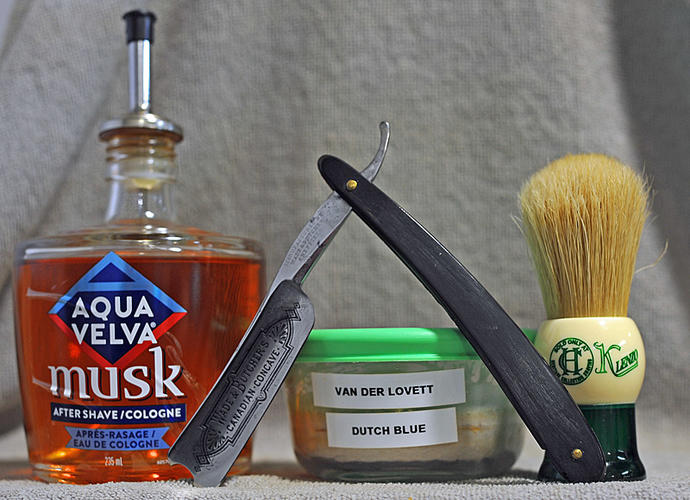
So I finished the restore on the WB wedge circa 1830-1850.
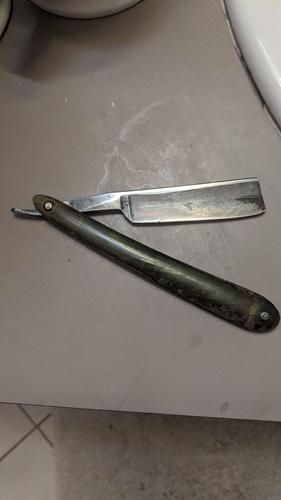
The scales were pretty rough. You couldn't even see that it had a domed collar on the one side. It was weird. There was the polished tin colors at the wedge which wasn't even a wedge. It was all horn cut away to make a slot.
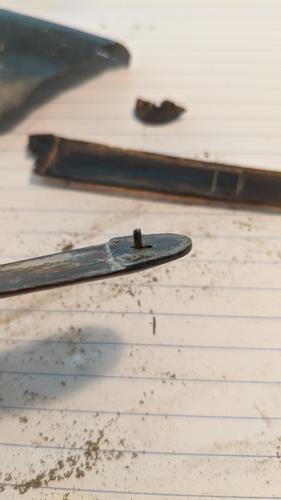
But there was a brass pin that held the collars and then there was
an iron pin underneath the collar.
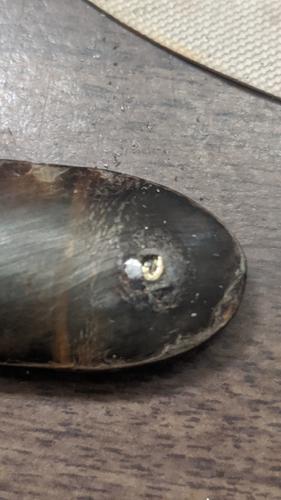
Trying to drive it out the end cracked off of one of the scales. I repaired with CA and horn dust.
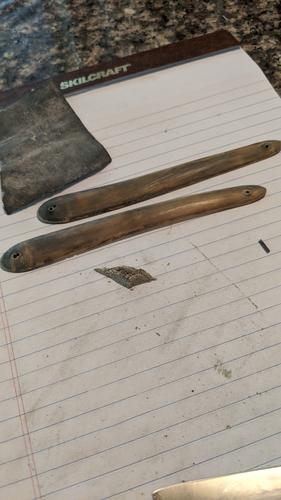
I wanted to leave this one looking old but in better shape so I didn't sand the horn too much so it would still show the grain. I tried hair dye but it did very little to the color and I didn't want to sand it enough to take it back to blond plus I had repairs to cover. I decided to try Rit fabric dye which worked fabulously.
The tail was a little rough so I reshaped it a little.

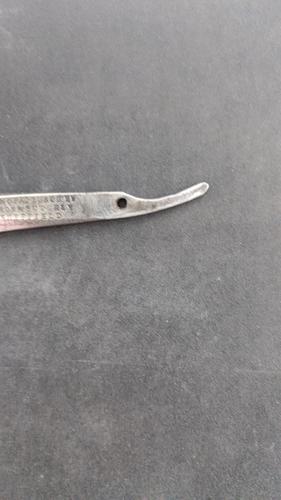
To Be Continued...Last edited by PaulFLUS; 07-07-2020 at 01:31 AM.
Iron by iron is sharpened, And a man sharpens the face of his friend. PR 27:17
-
07-07-2020, 12:15 AM #18644Senior Member
- Join Date
- Dec 2018
- Location
- Gainesville, FL
- Posts
- 6,688
Thanked: 675
...so after sanding the rust and cleaning up the pits the blade improved quite a bit. I sanded up to 5000 and got it to a mirror shine you could yank a nose hair in the reflection of.
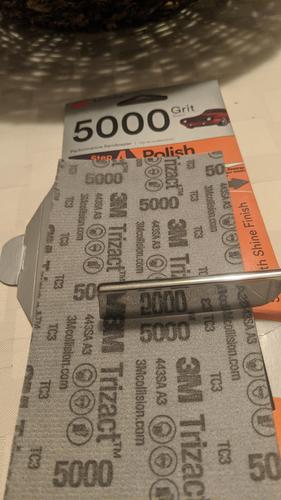
Since the collars were either plated or, more likely polished ferrous metal I didn't get a couple back to mirror polish but, as already stated, I wanted it to look authentic to its age but still restored. I think all in all it came out pretty well.
Before

After
Last edited by PaulFLUS; 07-07-2020 at 01:41 AM.
Iron by iron is sharpened, And a man sharpens the face of his friend. PR 27:17
-
07-07-2020, 12:27 AM #18645Senior Member


- Join Date
- Feb 2013
- Location
- Haida Gwaii, British Columbia, Canada
- Posts
- 14,454
Thanked: 4830
Looking good Paul, now it’s off to the hones!
It's not what you know, it's who you take fishing!
-
07-07-2020, 01:09 AM #18646Senior Member
- Join Date
- Dec 2018
- Location
- Gainesville, FL
- Posts
- 6,688
Thanked: 675
Yep, I didn't mention in there that the first thing I did was do a rough bevel set. It wasn't perfect and I wasn't really trying to get it shaved ready but it would shave. The edge was a little chippy and I was going to do a fair amount of sanding anyway so I killed it.
Last edited by PaulFLUS; 07-07-2020 at 01:37 AM.
Iron by iron is sharpened, And a man sharpens the face of his friend. PR 27:17
-
07-07-2020, 01:36 AM #18647Senior Member
- Join Date
- Dec 2018
- Location
- Gainesville, FL
- Posts
- 6,688
Thanked: 675
Okay, I don't know what happened there. half the pics didn't post correctly but I think it's fixed now. If it will stay that way that is.
RezDog likes this.Iron by iron is sharpened, And a man sharpens the face of his friend. PR 27:17
-
07-07-2020, 03:13 AM #18648Senior Member
- Join Date
- Feb 2013
- Location
- Haida Gwaii, British Columbia, Canada
- Posts
- 14,454
Thanked: 4830
Peter, have you ever tried to use bluing or similar to blacken the etch again? It looks like it is all still there and if you could get it black again it would really pop.
Those scales are fantastic. I love the multi colour horn.It's not what you know, it's who you take fishing!
-
07-07-2020, 07:35 AM #18649Preserver of old grinding methods
- Join Date
- Jun 2012
- Location
- Germany
- Posts
- 654
Thanked: 1238
Well with bruning it is very hard to retrace the exact lines of the original etching.
The colored etchings in blue or red color are done with special color. But you have to be an artist under the microscope to do this really perfect. Also in Solingen there are only very few experts left now. For very fine work they use only one hair of a brush for painting. Unbelievable how precise the lines are drawn when you examine good vintage etching.
Regard PeterLast edited by hatzicho; 07-07-2020 at 08:54 AM.
-
-
07-07-2020, 10:34 AM #18650Senior Member
- Join Date
- Mar 2012
- Location
- Thunder Bay, Ontario, Canada
- Posts
- 17,334
Thanked: 3228
Cold bluing works after a fashion with this type of deep etching but I would not try it on an etching like Peter's razor has with all that frosted area.
Bob
 Life is a terminal illness in the end


 Reply With Quote