Results 4,991 to 5,000 of 20573
Thread: What are you working on?
-
10-02-2016, 10:47 PM #4991

I'll second that Matt.[emoji6]
Mike
-
10-02-2016, 11:17 PM #4992

Nice work, Gentlemen!

-
10-03-2016, 12:36 AM #4993

Taken a few sips, and removing chips, that's how the Henckels goes.
 Mike
Mike
-
10-03-2016, 01:27 AM #4994

Chips removed, ended up against the stabilizer's.
Grabbed the pocket DMT Steve (Engine46) sent me, and reshaped the heal to expose more of the edge, so I could eliminate creating heal hooks while honing.
 Mike
Mike
-
10-03-2016, 02:14 AM #4995

Lookin' good outback! Another one taken off the disabled list and returned to service.
"Go easy"
-
The Following User Says Thank You to xiaotuzi For This Useful Post:
outback (10-03-2016)
-
10-03-2016, 12:24 PM #4996

A few pages back I posted that I was getting back to my shop project. While waiting for the sun to come up, I found
some pics of the remodel. I'll start at the beginning, the carport...
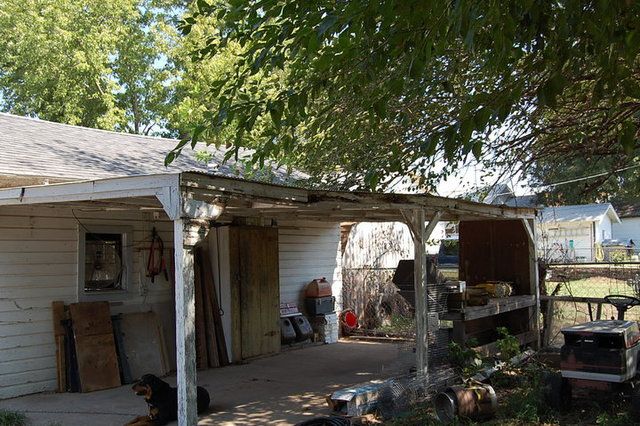
The before shot. A rotten mess that barely slowed the rain down.
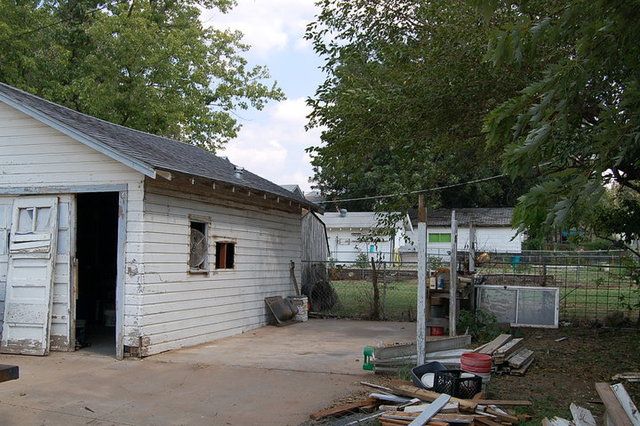
Gone and good riddance! Complete rebuild. Note the garage door is blocked with old wooden doors.
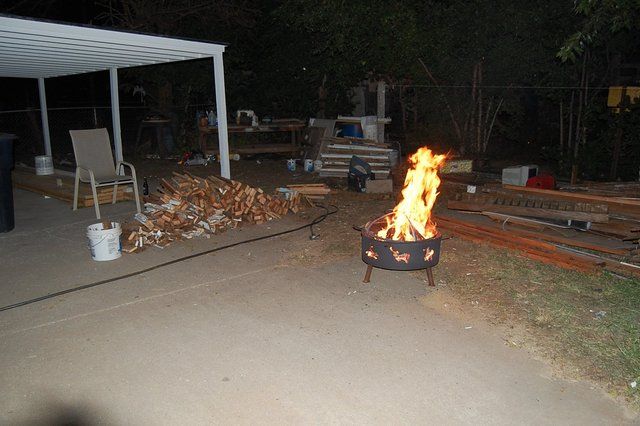
How to properly dispose of an old garage. Great way to relax with a frosty adult beverage.
Sun's up, time to get busy. I'll post more on this later.Rog
-
10-03-2016, 03:50 PM #4997

Why I replaced every king stud....termite damage.
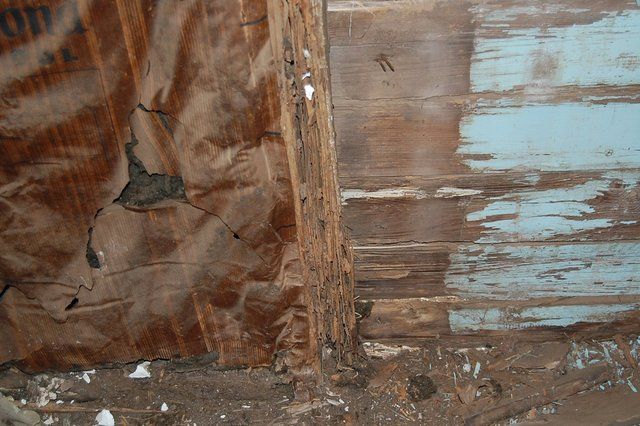
MAJOR termite damage!
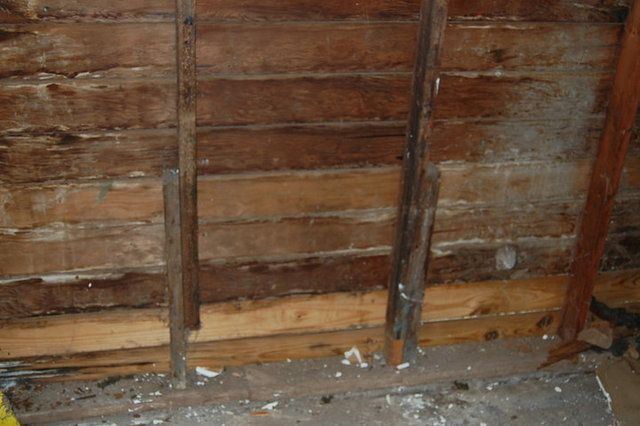
Some previous owner tried to deal with the damage, but not properly. Almost every king stud was spliced.
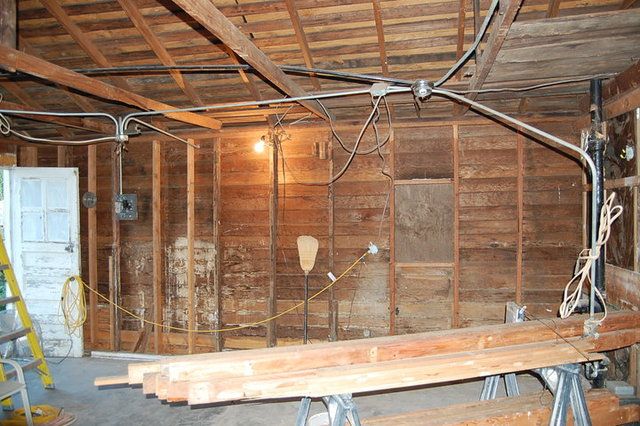
The inside of the shop was JUST NASTY!
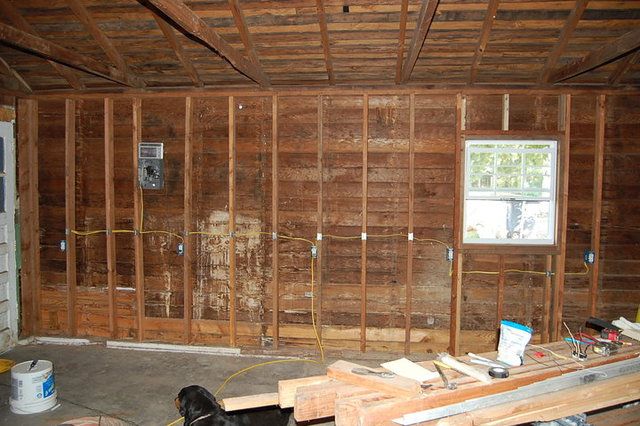
I started in the corner behind the door and replaced each king stud one at a time. Hung a new window and wired
that wall (outlets every 4") before starting on the next wall. (That was the north wall.)
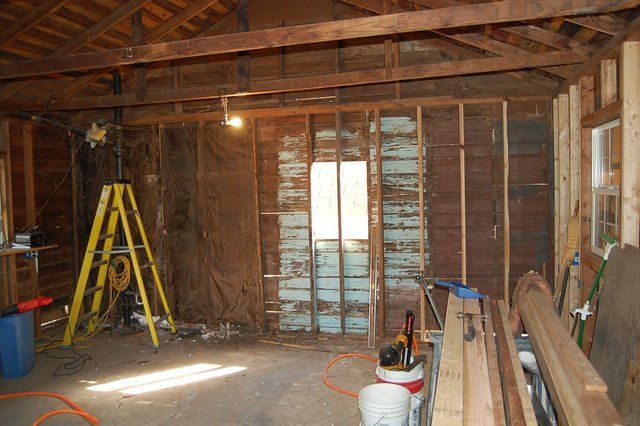
After doing the same to the south wall (plus adding two windows), I saw this when I looked east. The whole wall needed to be replaced.
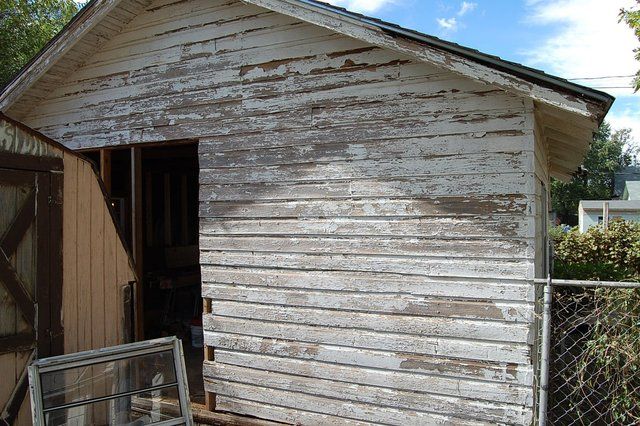
Tear down 1/2 the wall and start throwing king studs up just as fast as you can.
Okay, this break's over. I'll post more later.Rog
-
10-03-2016, 05:40 PM #4998

More of the east wall.
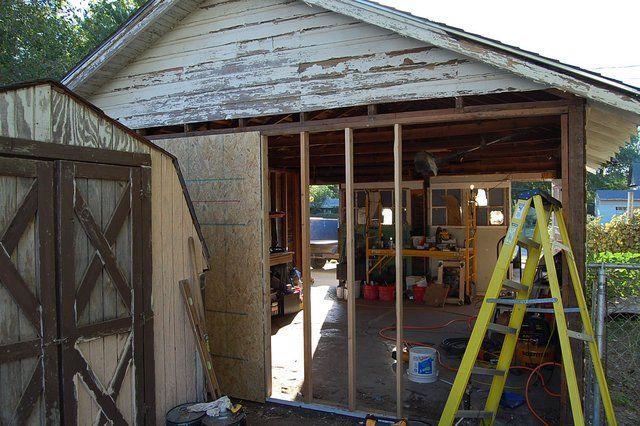
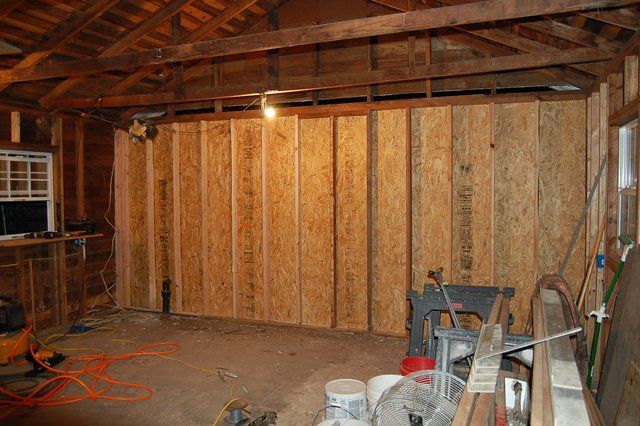
Lower wall replaced. You can see the black sewer vent in the left corner.
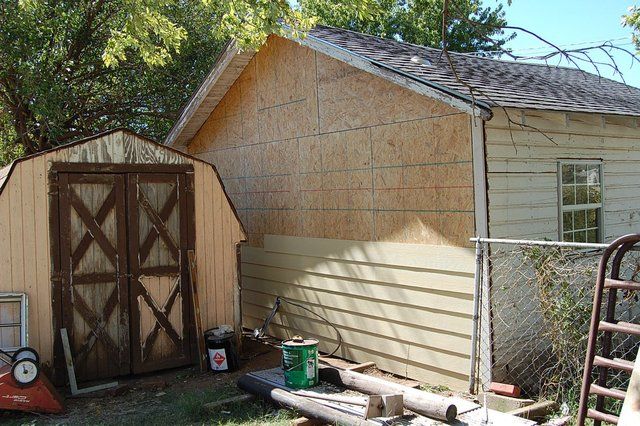
New wall needs new siding.
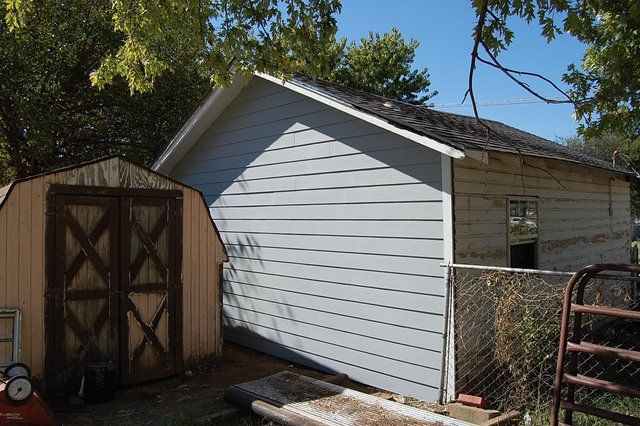
Much better. I put a gable vent in later.
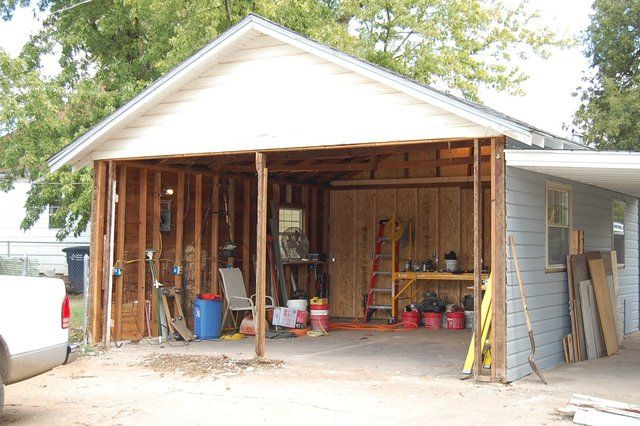
Let's square this puppy up and put a header in there.
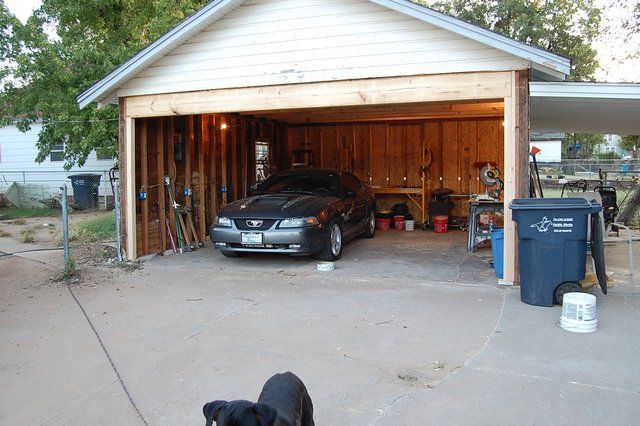
Maybe not exactly square, but I got the header in.
Next installment, ceiling joists.Rog
-
10-03-2016, 06:12 PM #4999

Ceiling joists were 2x4's and too far apart.
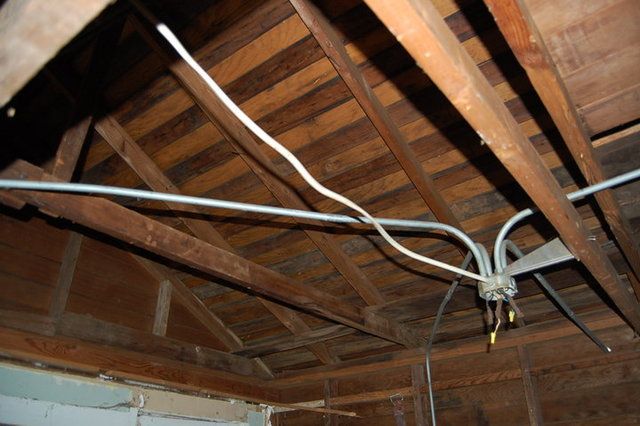
Wasn't much to tear out as far as existing joists went.
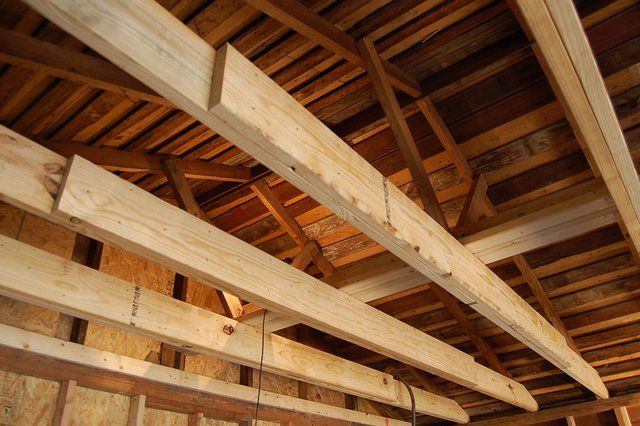
Scabbed together two 2"x10"x12's for the new joists. Garage is 22' wide.
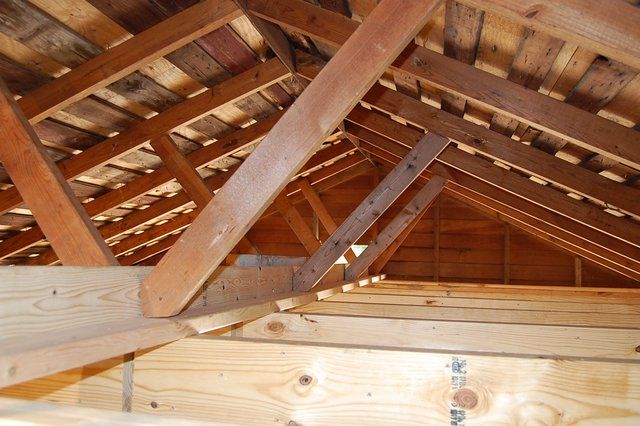
Threw in a rat run and some kickers to take the sag out of the roof. Wired for lights and a garage door opener.
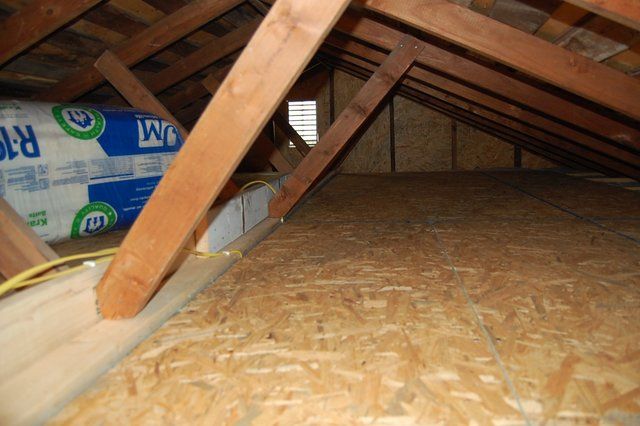
Insulated and decked the attic. Nothing more than a crawl space for an attic, but at least it's storage.
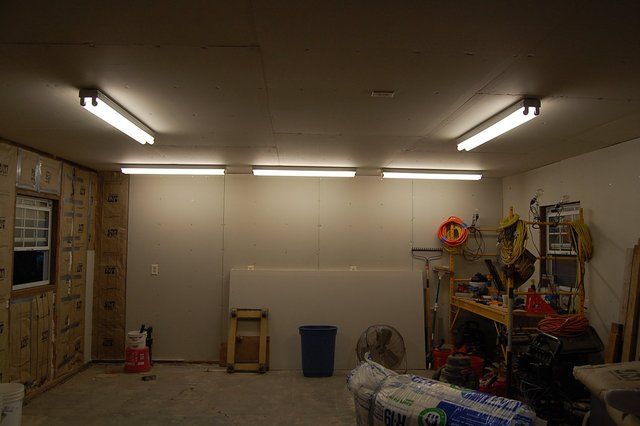
Rocked the ceiling and installed shop lights. We're gonna rock, rock, rock, 'till broad daylight.
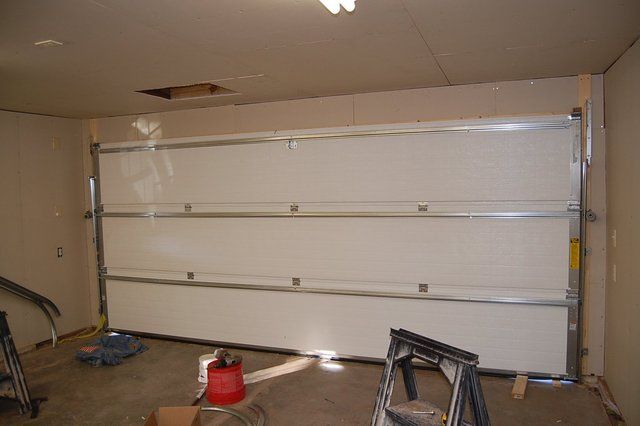
Installed an insulated overhead door. Yes, the attic access is in an odd spot, but I didn't want it in back or in the middle.
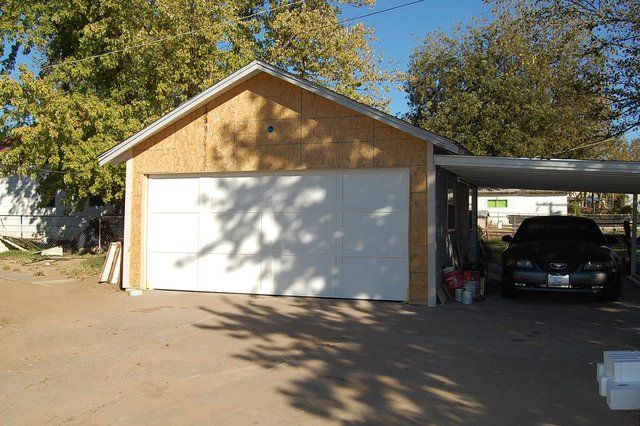
Door opener installed and skinned the west wall. Still need to finish the siding, paint and install the
security light. It's been sitting on the back burner for way too long.
Th.th.th.that's all, folks!Last edited by Panama60; 10-03-2016 at 08:30 PM.
Rog
-
The Following 2 Users Say Thank You to Panama60 For This Useful Post:
Leatherstockiings (10-03-2016), sharptonn (10-13-2016)
-
10-03-2016, 06:30 PM #5000

Your a, handy Andy
Mike


 91473Likes
 LinkBack URL
 About LinkBacks


 Reply With Quote
